How Can You Create Hidden Shapes in Slice and Bake Cookies?

How Can You Create Hidden Shapes in Slice and Bake Cookies?

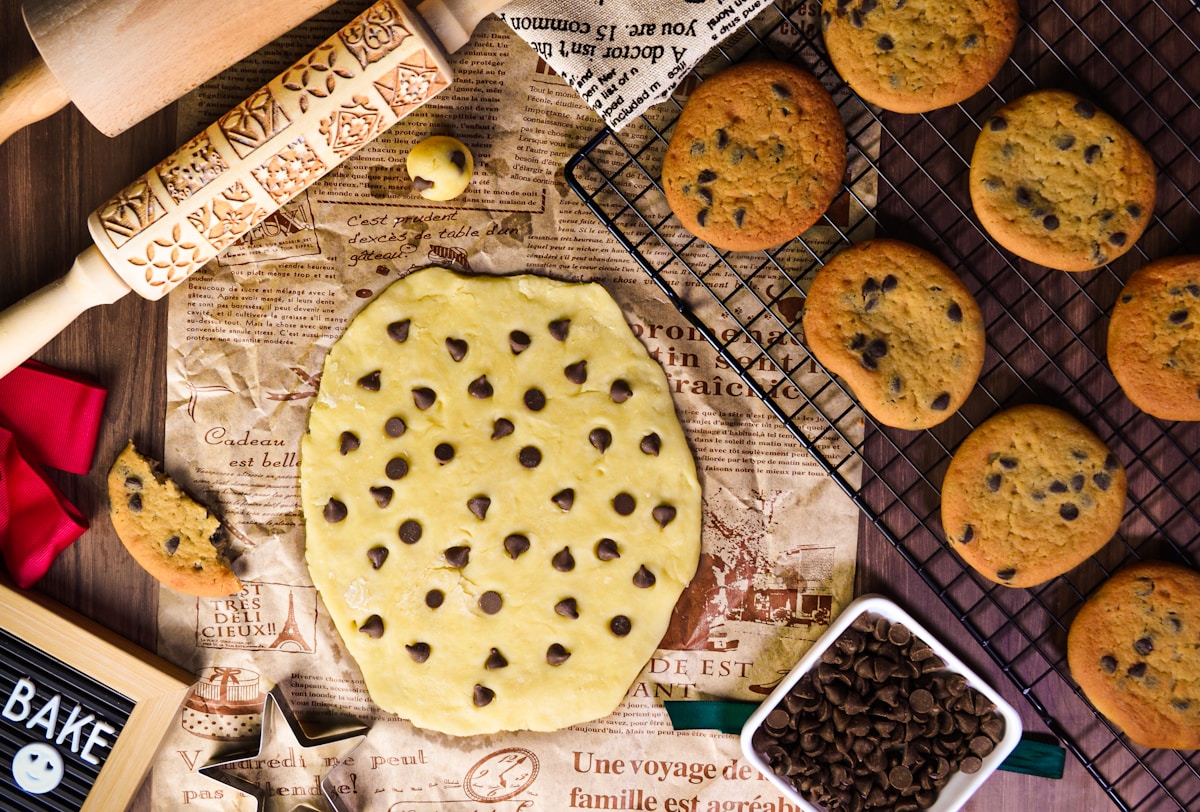
Have you ever seen those stunning slice-and-bake cookies where a perfect little bat or heart appears in the center of every round slice? It feels almost like magic — but the reality is that this technique, sometimes called picture cookies or stencil cookies, is completely achievable with a little patience and the right method. A Reddit baker recently wowed the r/Baking community with their "Aromantic Slice & Bake Cookies," carving a bat shape into a log of dough and filling it with contrasting dough. The result was a clean, defined shape that didn’t smear or distort after baking. The secret? It all comes down to temperature, dough consistency, and a few kitchen hacks that you can replicate right at home.

How Do I Keep My Checkerboard Cookies From Spreading

How Do I Keep My Checkerboard Cookies From Spreading

There are few moments in baking more visually satisfying than slicing into a log of checkerboard cookie dough. You’ve carefully assembled the alternating strips of vanilla and chocolate, creating a perfect mosaic. But then, the oven happens. You watch in dismay as your sharp, geometric squares relax, spread, and melt into sad, blurry circles. The pattern you worked so hard on is gone. It’s a common frustration, but I assure you, it’s not a mystery. The solution lies in understanding the simple chemistry of your dough, particularly the behavior of one key ingredient: butter.

Why Do My Checkerboard Cookies Lose Their Shape in the Oven?

Why Do My Checkerboard Cookies Lose Their Shape in the Oven?

There are few baking projects as satisfying as slicing into a log of checkerboard cookie dough. You’ve carefully crafted the vanilla and chocolate layers, assembling them into a perfect mosaic. You slice, you bake, and you wait with anticipation. But when the timer dings, you pull out a tray of… blobs. The sharp, distinct squares have melted into a blurry, disappointing mess.

How Do I Keep My Checkerboard Cookies From Smudging

How Do I Keep My Checkerboard Cookies From Smudging

There are few moments in baking more deflating than the final slice. You’ve spent hours meticulously crafting two beautiful, distinct doughs. You’ve rolled, measured, and assembled them into a perfect geometric log, a marvel of edible engineering. You reach for your sharpest knife, take a deep breath, and press down. Instead of a clean, crisp square, you get a smudged, distorted mess. The black bleeds into the white, the sharp corners round off, and your perfect checkerboard looks more like a blurry Rorschach test. It’s a common frustration, but I’m here to tell you it’s not a failure of skill—it’s a failure of thermodynamics. And thankfully, that’s something we can control.

Why Must I Chill My Checkerboard Cookie Dough for So Long?

Why Must I Chill My Checkerboard Cookie Dough for So Long?

Hello, fellow bakers. Lucas here. Let’s talk about a moment of potential heartbreak in the kitchen. You’ve spent hours meticulously creating a beautiful, intricate log of checkerboard cookie dough. The lines are perfect, the colors are distinct. You slice it, place the rounds on your baking sheet with care, and slide them into the oven. But when the timer dings, what emerges is not a batch of sharp, geometric marvels, but a series of blurry, melted puddles. The beautiful design is gone, lost to the heat of the oven.

Why Is Chilling Dough Essential for Slice and Bake Cookies?

Why Is Chilling Dough Essential for Slice and Bake Cookies?

You’ve spent hours meticulously assembling a beautiful checkerboard cookie dough log. The lines are perfect, the colors are vibrant, and you can already imagine the “oohs” and “aahs.” You slice it, bake it, and pull out the tray… only to find a single, mottled, blurry cookie-puddle. The sharp squares have melted into sad, rounded blobs. It’s a moment of pure baking heartbreak, and one I know all too well.