There are few moments in baking more deflating than the final slice. You’ve spent hours meticulously crafting two beautiful, distinct doughs. You’ve rolled, measured, and assembled them into a perfect geometric log, a marvel of edible engineering. You reach for your sharpest knife, take a deep breath, and press down. Instead of a clean, crisp square, you get a smudged, distorted mess. The black bleeds into the white, the sharp corners round off, and your perfect checkerboard looks more like a blurry Rorschach test. It’s a common frustration, but I’m here to tell you it’s not a failure of skill—it’s a failure of thermodynamics. And thankfully, that’s something we can control.
Baking is chemistry you can eat, and understanding the ‘why’ behind a technique is the key to mastering it. Today, we’re going to dissect the science of the slice-and-bake smudge and build a foolproof method, from dough to baking sheet, that will guarantee you cookies with lines so sharp they could cut glass. (Well, almost.)
The Science of the Smudge Why Temperature is Everything
The primary culprit behind a smeared checkerboard pattern is butter. In its solid, chilled state, butter is a crystalline fat that provides structure. It creates tiny pockets in the dough that, when baked, release steam and give cookies their tender, flaky texture. However, as butter warms to room temperature, it softens, transitioning from a solid to a semi-liquid state. The entire dough structure becomes pliable, weak, and soft.
Imagine trying to cut a block of ice versus a stick of softened butter. The ice will fracture cleanly, while the butter will squish and deform under the pressure of the blade. The same principle applies to your cookie dough. When the dough is at room temperature, the butter within it is soft. As you press your knife down, you aren’t just cutting; you are applying pressure that physically pushes the soft vanilla dough into the soft chocolate dough. The colors smear, the lines blur, and the shape distorts. It’s a simple matter of physics.
The solution, therefore, is to return the butter to its solid, structural state. Chilling the assembled log doesn’t just make it cold; it forces the fat molecules to recrystallize and harden, transforming the entire log from a soft, pliable mass into a firm, sliceable block. This is the single most critical step to achieving that coveted, perfect checkerboard pattern.
Building a Flawless Foundation Your Dough Recipe
A great checkerboard cookie starts with a great dough. You need a recipe that is sturdy, flavorful, and holds its shape well. A classic butter or sugar cookie dough is the perfect candidate. Here is the base recipe I rely on for its stability and flavor.
Ingredients for the Base Dough (You’ll make two batches):
- 227g (1 cup or 2 sticks) unsalted butter, softened but still cool to the touch
- 200g (1 cup) granulated sugar
- 1 large egg, room temperature
- 1 teaspoon pure vanilla extract
- 340g (2 3/4 cups) all-purpose flour (I prefer King Arthur Unbleached All-Purpose for its consistency)
- 1/2 teaspoon baking powder
- 1/4 teaspoon salt
For the Chocolate Variation: To adapt the base recipe for your chocolate dough, you’ll make one simple substitution. Remove 40g (1/3 cup) of the all-purpose flour and replace it with 40g (1/3 cup) of high-quality unsweetened cocoa powder. For a dramatic, deep black color that contrasts beautifully, I highly recommend using black cocoa powder.
Method:
- In the bowl of a stand mixer fitted with the paddle attachment (a KitchenAid is perfect for this), cream the cool butter and sugar together on medium speed until light and fluffy, about 3-4 minutes. Don’t overdo it; you want it combined, not greasy.
- Add the egg and vanilla, mixing on low speed until just incorporated. Scrape down the sides of the bowl to ensure everything is evenly mixed.
- In a separate bowl, whisk together the flour, baking powder, and salt (and cocoa powder, if making the chocolate version).
- With the mixer on its lowest setting, gradually add the dry ingredients to the wet ingredients. Mix only until the dough just comes together. Over-mixing develops gluten, which can make the cookies tough and more prone to distortion.
- Divide your dough in half, wrap each half in plastic wrap, and gently flatten them into 1-inch thick disks. This is your first chill. Refrigerate for at least 30 minutes. This rests the gluten and makes the dough easier to roll.
The Art of Assembly and the Critical Chill
This is where precision pays off. Your goal is to create uniform strips of dough that can be stacked together perfectly.
- Uniform Rolling: Work with one disk of dough at a time, keeping the other chilled. On a lightly floured surface, roll your vanilla dough into a rectangle that is exactly 1/2-inch thick. A baker’s best friend here is a set of rolling pin guides or even two 1/2-inch square wooden dowels placed on either side of the dough.
- Precise Cutting: Using a ruler and a sharp knife or pizza wheel, trim the edges to create a perfect rectangle. Then, cut the rectangle into 1/2-inch wide strips. Repeat this entire process with the chocolate dough, aiming for the exact same dimensions.
- The Assembly: Now, build your checkerboard. For a simple 3x3 pattern, lay down three strips side-by-side, alternating colors (vanilla, chocolate, vanilla). Lightly brush the tops with a simple egg wash (one egg whisked with a tablespoon of water) which will act as your edible glue. Place the next layer on top, reversing the pattern (chocolate, vanilla, chocolate). Brush with egg wash again and top with the final layer (vanilla, chocolate, vanilla). You should now have a 3-strip by 3-strip block.
- The Wrap & Chill: Gently press the log together to ensure the strips are well-adhered. Tightly wrap the entire block in plastic wrap, smoothing the sides to maintain a perfectly square shape. Now for the most important part: the chill. Place the wrapped log in the refrigerator for a minimum of 2 hours. For truly foolproof results, I recommend 4 hours or even overnight. If you’re in a hurry, you can place it in the freezer for 30-45 minutes, but be careful not to freeze it solid.
The Precision Slice Your Tools and Technique
Your dough is now rock-solid and ready for slicing. The right tool and technique here will preserve all your hard work.
The Right Tool: Do not use a serrated knife. The sawing motion will tear at the edges. You need a long, thin, sharp, non-serrated blade. A chef’s knife or a carving knife is ideal. Ensure it’s impeccably clean before you start.
The Technique: Unwrap your chilled log and place it on a sturdy cutting board. Don’t saw back and forth. Use a single, firm, downward press to slice through the dough. Aim for uniform slices about 1/4-inch (6-7mm) thick.
The Quarter-Turn Kitchen Hack: This is a fantastic tip I picked up that makes a world of difference. After every single slice, rotate the dough log a quarter turn (90 degrees). Why? The downward pressure of the knife, no matter how gentle you are, will slightly compress the bottom of the log. If you cut all your slices without rotating, you’ll end up with cookies that are slightly squashed on one side. By rotating the log each time, you distribute that pressure evenly around all four sides, maintaining a perfectly square shape from the first cookie to the last. (Your future self will thank you for this.)
Baking for Perfect Definition
You’ve done it. You have a tray of perfectly sliced, sharp-looking checkerboard cookies. But there’s one last step to lock in that beautiful pattern.
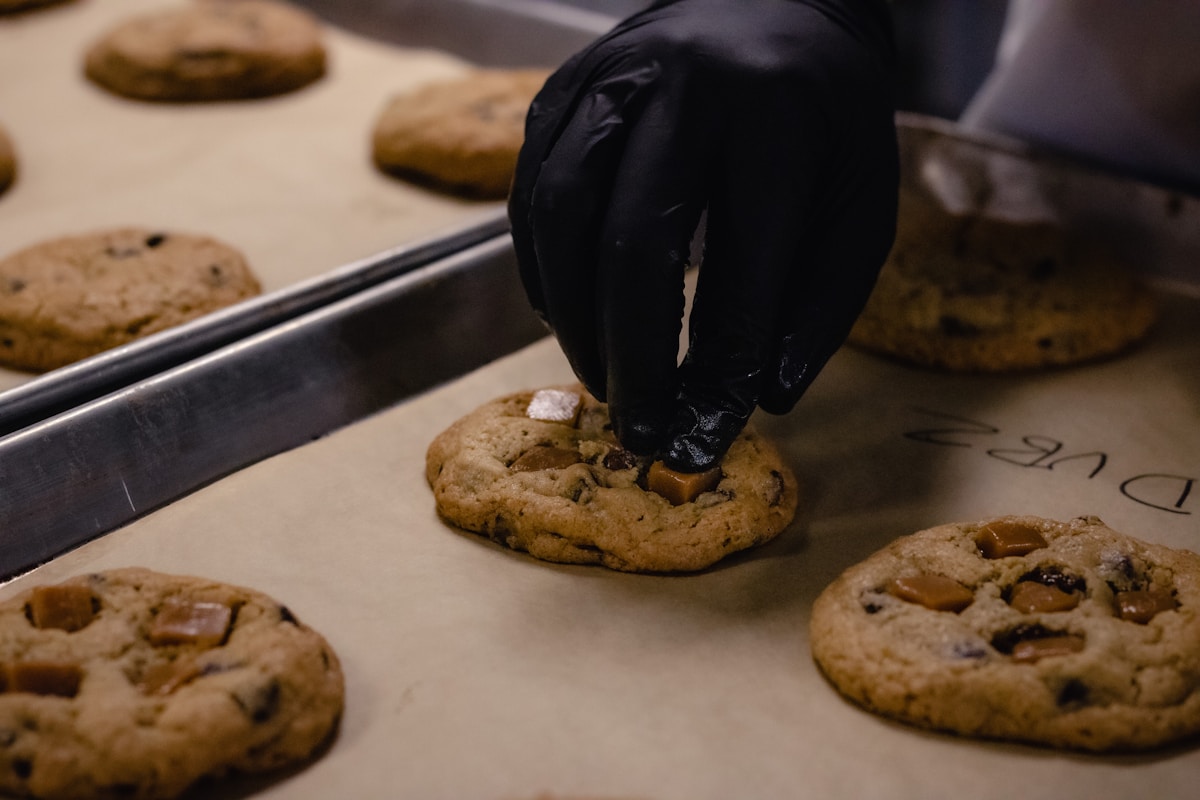
Place your sliced cookies on a baking sheet lined with parchment paper, leaving about 2 inches between them. Now, slide that entire baking sheet back into the refrigerator for 15 minutes. (Yes, really.) This final chill ensures the butter is completely firm right before it hits the heat of the oven. This dramatically minimizes spread, keeping your edges crisp and your lines defined.
Preheat your oven to 350°F (175°C). Bake the chilled cookies for 10-12 minutes, or until the edges of the vanilla squares are just beginning to turn a light golden brown. Let them cool on the baking sheet for 5 minutes before transferring them to a wire rack to cool completely.
The result will be a batch of stunning checkerboard cookies with a satisfying snap and buttery flavor. The lines will be sharp, the squares will be distinct, and the pattern will be a testament to your patience and technique. The difference between a muddled mess and a perfect checkerboard isn’t magic; it’s method, a little bit of science, and a very, very cold log of dough.