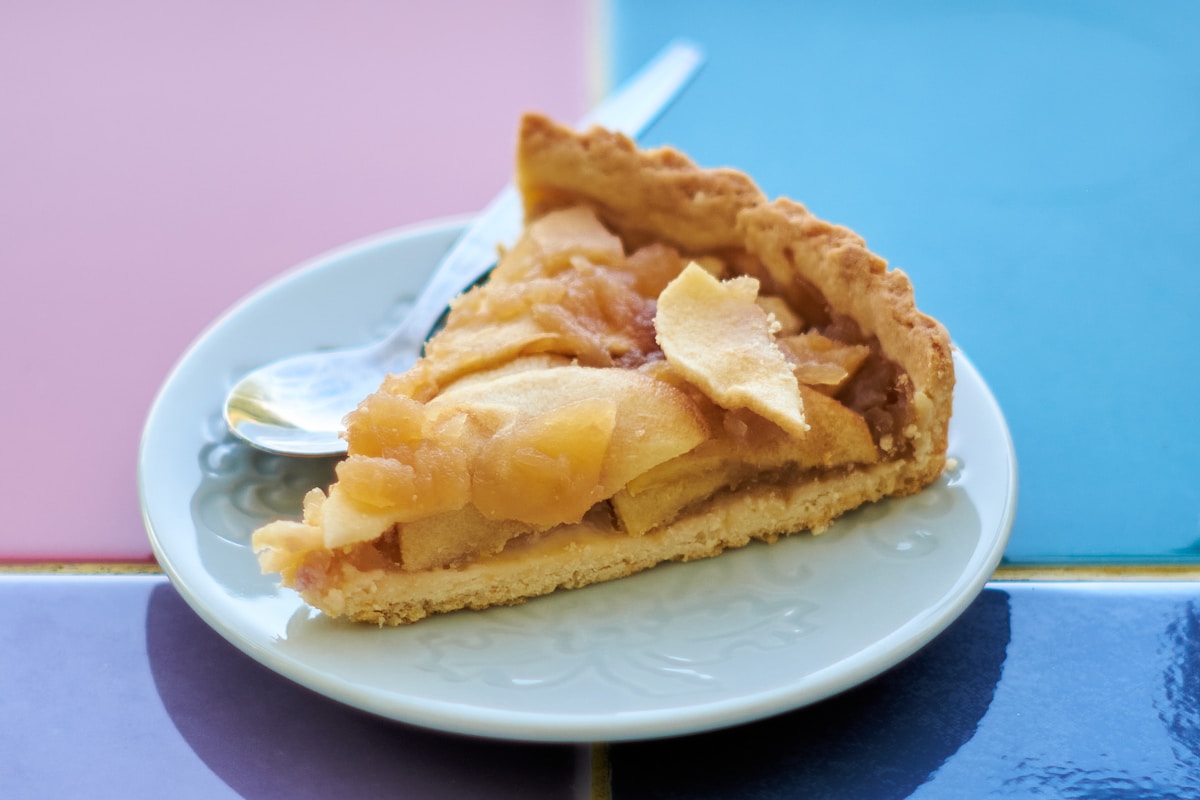
There are few kitchen heartbreaks as keen as pulling a beautiful, golden-brown apple pie from the oven, letting it cool with heroic patience, and then making that first slice… only to watch a watery, soupy filling flood the plate. The crust is perfect, the aroma is heavenly, but the filling has betrayed you. It’s a common frustration, but I want you to know it’s not a personal failure. It’s a chemistry problem. And like any good chemistry problem, it has a solution.
Baking is all about controlling reactions. When we talk about a watery pie, we’re talking about a water management issue. By understanding exactly where that water comes from and how to control it, you can guarantee a perfect, sliceable, gloriously syrupy apple pie every single time. Let’s put on our lab coats—or, you know, our aprons—and figure this out.
The Science of a Soupy Slice
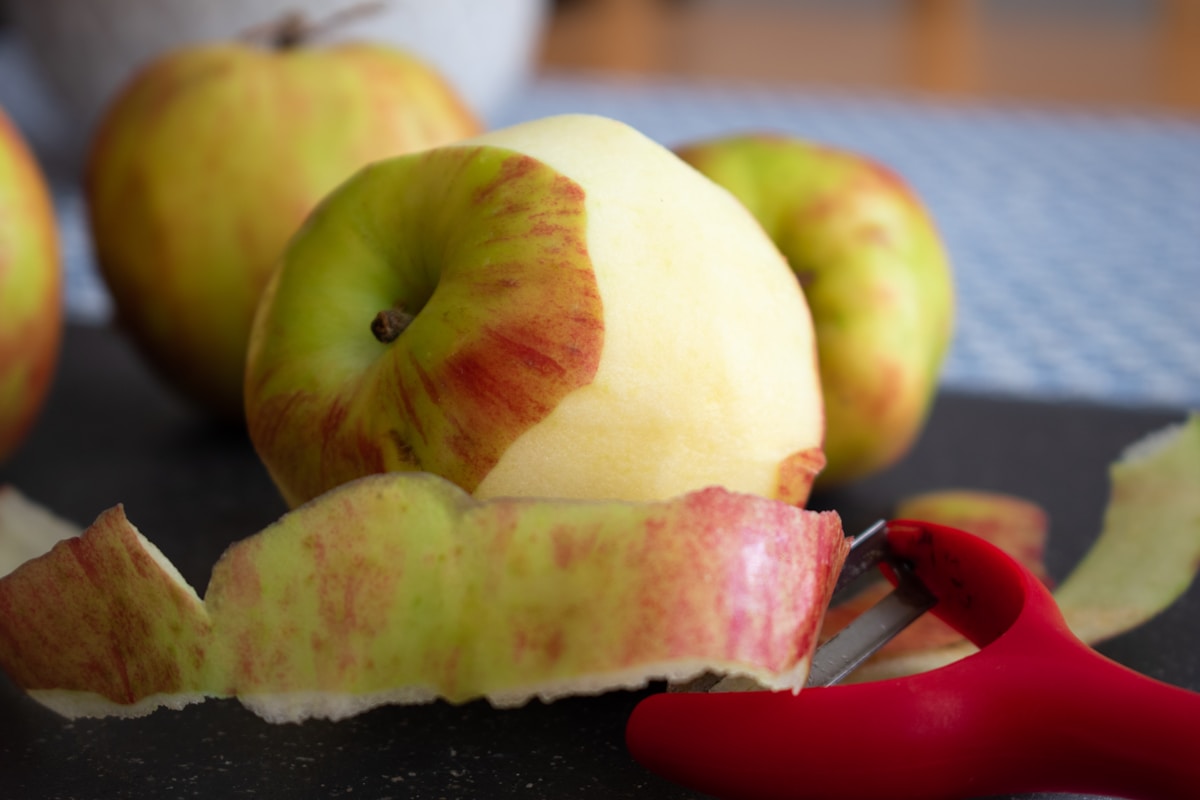
Apples are mostly water. A crisp, juicy Honeycrisp or Granny Smith can be upwards of 85% water, all neatly contained within its plant cell walls. The structure of these cells is held together by a natural gelling agent called pectin.
When you introduce heat in the oven, two things happen. First, the cell walls begin to break down, releasing that vast amount of water into your pie filling. Second, the sugar you added dissolves into this liquid, creating a thin, watery syrup. If you don’t have a plan to manage this liquid, you get pie soup.
The goal isn’t to eliminate the liquid—that would give you a dry, disappointing pie. The goal is to control it and thicken it into a luscious, stable sauce that clings to every piece of apple. This is where a thickener becomes your most valuable player.
Choosing Your Champion Thickener
A thickener’s job is to absorb the free-flowing liquid and swell, creating a gel that suspends the fruit. Think of it as building a microscopic scaffold. Each thickener has a different personality and works best in certain situations. For a standard 9-inch pie using about 6-7 medium apples, here are my go-to options:
-
All-Purpose Flour: This is the old-school, reliable choice. It’s in every pantry. Flour creates an opaque, slightly cloudy filling that has a classic, homespun feel. The downside is that if you don’t bake the pie long enough, it can leave a subtle starchy or raw flour taste.
- Ratio: Use about 1/4 cup (30g) for a 9-inch pie. I find that a quality flour like King Arthur All-Purpose has a consistent protein content that works reliably.
-
Cornstarch: This is my personal favorite for a clean, glossy finish. Cornstarch creates a translucent, shiny gel that really lets the color of the fruit pop. It has twice the thickening power of flour, so you need less. However, it can sometimes break down with very high acidity or prolonged baking, and using too much can result in a chalky texture.
- Ratio: Use 2 to 3 tablespoons (15-22g). Be precise with this one.
-
Tapioca Starch (or Instant/Minute Tapioca): Derived from the cassava root, tapioca is the secret to those crystal-clear, glistening commercial pie fillings. It’s very stable, holds up well to heat, and doesn’t impart any flavor. The only minor drawback is that it can sometimes have a slightly stringy or gooey texture if not fully hydrated and cooked.
- Ratio: Use about 3 tablespoons (25g) of tapioca starch. If using instant tapioca pearls, grind them in a spice grinder first for a smoother texture.
Regardless of your choice, always whisk the thickener thoroughly with the sugar and spices before adding it to the apples. This prevents clumping and ensures even distribution. (Your future self will thank you.)
Method 1 The Maceration Miracle
This technique is a game-changer and my number one tip for preventing a soggy bottom crust. Maceration is simply the process of drawing liquid out of fruit using sugar. It sounds fancy, but it’s incredibly simple and gives you ultimate control.
- Prep Your Apples: Peel, core, and slice your apples to your desired thickness (I prefer about 1/4-inch or 6mm). Place them in a large bowl.
- Add Sugar & Spices: In a separate small bowl, whisk together your sugar, spices (cinnamon, nutmeg, etc.), and a pinch of salt. Pour this mixture over the apples and toss gently to coat every slice.
- Wait and Watch: Cover the bowl and let it sit on the counter for at least 45 minutes, and up to 90 minutes. During this time, osmosis will do its magic, drawing a surprising amount of water out of the apples. You’ll see a pool of liquid at the bottom of the bowl.
- Separate and Reduce: Strain the apples, collecting all of that flavourful liquid in a small saucepan. You should have anywhere from 1/2 to 3/4 of a cup.
- Create a Syrup: Bring this liquid to a boil over medium-high heat. Let it bubble away for 5-7 minutes, or until it has reduced by about half and thickened into a light syrup. It will look like beautiful apple caramel.
- Recombine: Pour this concentrated syrup back over the drained apples. Now, add your chosen thickener and toss to combine. Your filling is ready to go into the crust.
Why does this work so well? You’ve removed a significant portion of the water before it ever hits the oven, and you’ve super-concentrated the apple flavor in the process. It’s an extra step, but it’s foolproof.
Method 2 The Stovetop Solution
If you’re short on time or just want to be absolutely certain of your filling’s consistency, you can pre-cook it. This method fully activates your thickener on the stovetop, so there are no surprises after baking.
- Combine Ingredients: In a large, heavy-bottomed pot or Dutch oven, combine your sliced apples, sugar, spices, and your thickener (cornstarch works brilliantly here). Add a squeeze of lemon juice and about 2 tablespoons of water or apple cider to prevent scorching at the beginning.
- Cook Gently: Place the pot over medium heat and stir gently as the mixture heats up. The apples will start to release their juices.
- Thicken and Soften: Continue cooking, stirring occasionally, for about 10-15 minutes. The apples should become slightly tender (but not mushy!) and the liquid should transform into a thick, bubbly sauce. When you drag a spoon through it, it should leave a clear trail.
- COOL COMPLETELY: This is the most critical step. (Yes, really.) You must let the filling cool to room temperature before pouring it into your raw pie shell. A hot filling will instantly melt the butter in your crust, leading to a greasy, soggy bottom. Patience is a virtue in baking.
This method gives you a visual confirmation that your filling is perfectly thick before the pie is even assembled.
Final Keys to Pie Perfection
Even with a perfect filling, a few other factors can make or break your pie.
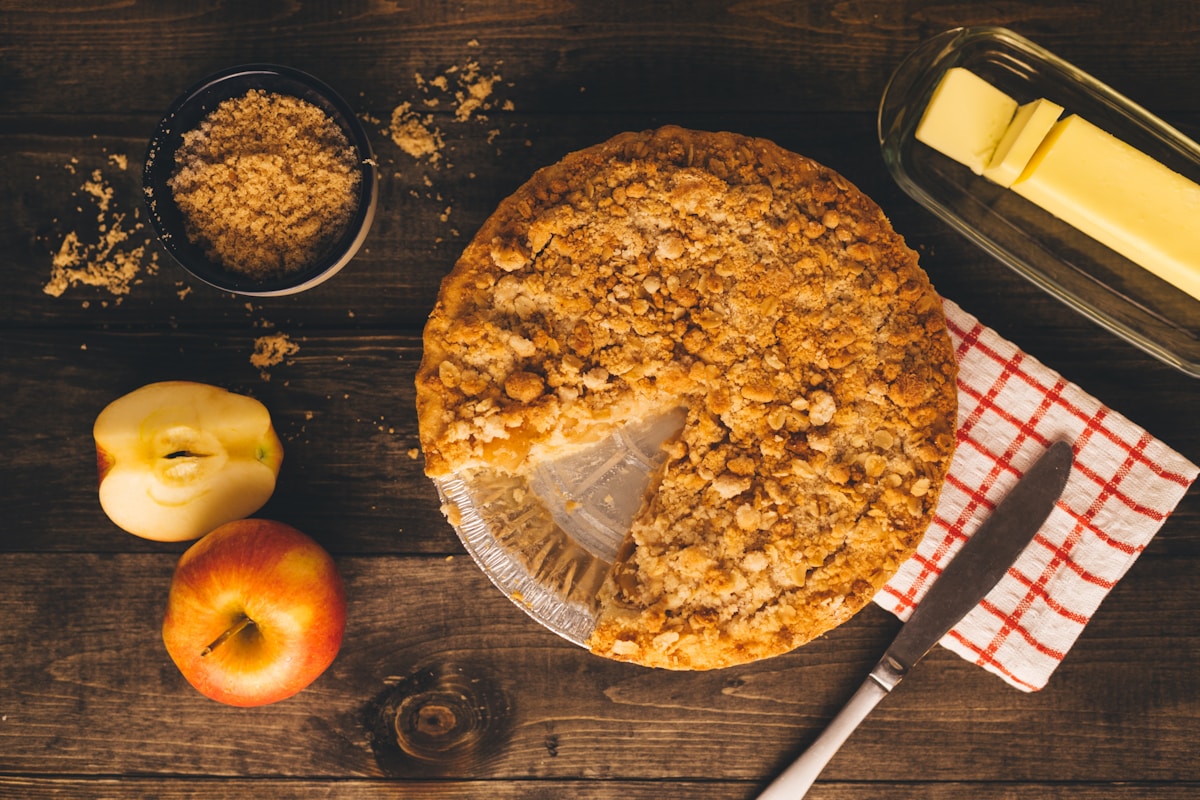
- Apple Choice: Use firm baking apples that hold their shape. A mix is always best for complex flavor and texture. My go-to combination is half Granny Smith (for tartness and structure) and half Honeycrisp or Braeburn (for sweetness and firmness).
- Bake it Through: A common mistake is pulling the pie too early because the crust looks done. You need to see the filling vigorously bubbling through the vents or lattice in the center of the pie. This is the sign that the internal temperature has reached around 200°F (93°C), which is necessary to fully activate the starch.
- Rest, Rest, Rest: I cannot overstate this. The gel structure you so carefully created with your thickener needs time to set as it cools. Slicing into a hot pie is a surefire way to have it run everywhere. For a clean, beautiful slice, you must let the pie cool on a wire rack for a minimum of 4 hours. Six hours is even better.
So the next time you set out to bake an apple pie, don’t just follow the recipe—think about the science. Manage the water, respect the thickener, and give it time to cool. You won’t just be baking a pie; you’ll be conducting a delicious experiment with a guaranteed successful result.