There’s a specific kind of baking heartbreak that I know all too well. You’ve spent hours crafting the perfect, all-butter pie crust. It’s chilled, rolled, and crimped beautifully. The pie bakes to a glorious golden-brown, filling your kitchen with the scent of cinnamon and caramelized sugar. You let it cool (im)patiently, slice a generous wedge, and take that first anticipated bite.
And then you hear it. Crunch.
Instead of a tender, yielding filling, the apples are firm, sharp, and stubbornly raw. The texture is jarring, the flavor underdeveloped. The perfect crust is betrayed by a filling that simply didn’t cook through. If this has happened to you, know that you’re not alone. This is one of the most common frustrations in pie making, but it’s not a mystery. It’s chemistry. And once you understand the reaction you’re trying to create, you can control it every single time.
The Science of a Stubborn Apple
Baking an apple pie is a race against time. You need the crust to become flaky and golden at the same rate that the apples inside break down into a soft, succulent filling. When the filling loses that race, you get crunchy apples. Two main factors are responsible for this textural failure: the apple itself and the way you prepare it.
First, let’s talk about apple anatomy. Apples are packed with pectin, a structural carbohydrate that acts like cement, holding the fruit’s cell walls together. When you heat an apple, this pectin begins to break down, causing the fruit to soften. Different apple varieties have different amounts of pectin and varying cell structures. An apple like a McIntosh will break down very quickly, often turning to applesauce. An apple like a Granny Smith or Honeycrisp, on the other hand, is prized for its ability to hold its shape during baking precisely because its structure is more robust. This is great for avoiding mush, but it also means these apples need more time and heat to become tender.
Second is a matter of simple physics: slice thickness. If your apple slices are too thick—say, over 1/2-inch (1.3 cm)—there simply isn’t enough time for heat to penetrate to the center of each slice before the crust is perfectly baked, or even burnt. Inconsistent slicing is just as problematic. A mix of thick and thin slices will yield a jarring filling with bits of mush and hard, crunchy chunks. The goal is uniformity, allowing every piece to cook at the same rate.
The Foolproof Fix Pre-Cooking Your Filling
So, how do we solve this timing problem? How can we guarantee the apples will be perfectly tender by the time the crust is done? The answer is as elegant as it is effective: you give the apples a head start. By pre-cooking, or par-cooking, the filling on the stovetop, you take all the guesswork out of the equation.
This technique does two critical things. First, it begins the process of breaking down the pectin, ensuring the apples are already on their way to tenderness before they even enter the oven. You’re no longer hoping they cook in time; you’re simply finishing them.
Second—and this is the truly brilliant part—it forces the apples to release their liquid outside the pie. A raw apple filling can release a surprising amount of water during baking, turning your bottom crust into a pale, soggy mess. By cooking the apples on the stovetop, that juice is released into the pan. You can then drain that liquid, thicken it with a starch like cornstarch or even a bit of flour, and create a stable, flavorful glaze. When you pour this thickened glaze back over the par-cooked apples, you’ve created a filling that won’t waterlog your crust. The result is a perfectly tender filling and a crisp bottom crust. (This is the secret to avoiding the dreaded “soggy bottom.”)
A Methodical Guide to the Perfect Pie Filling
Let’s walk through the process. This isn’t just a recipe; it’s a repeatable method grounded in food science. For a standard 9-inch pie, you’ll need about 3.5 to 4 pounds (1.6 to 1.8 kg) of apples. I highly recommend a mix: use half Granny Smith for that essential tartness and structural integrity, and half of a sweeter, flavorful apple like Honeycrisp, Braeburn, or Jonagold.
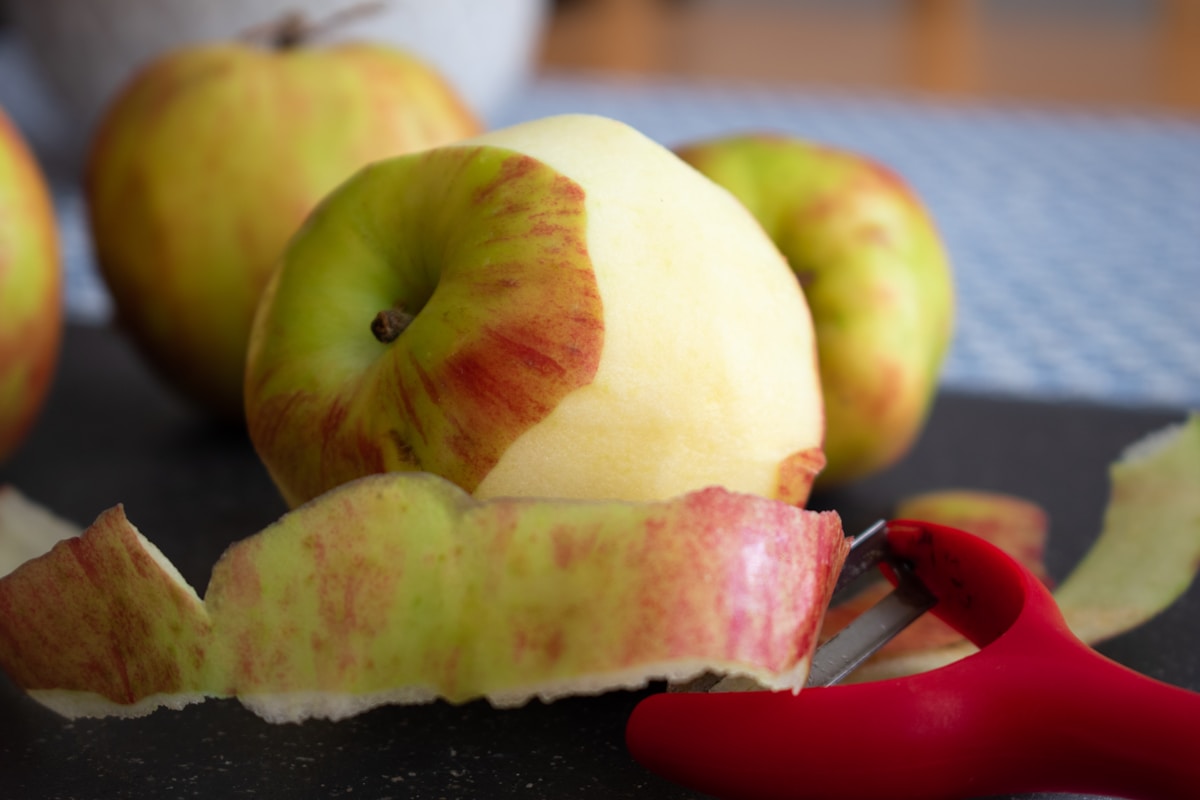
Step 1: Uniform Slicing Peel, core, and slice your apples to a uniform 1/4-inch (about 6mm) thickness. Don’t eyeball this. A mandoline slicer is your best friend for absolute consistency, but careful knife work will do. Uniformity is the key.
Step 2: The Stovetop Sauté In a large Dutch oven or heavy-bottomed pot, melt 4 tablespoons (57g) of unsalted butter over medium heat. Add your sliced apples, 3/4 cup (150g) of granulated sugar, 1/4 cup (55g) of packed brown sugar, 1 teaspoon of ground cinnamon, 1/4 teaspoon of ground nutmeg, a pinch of allspice, and 1 tablespoon of lemon juice. Stir gently to combine.
Cook, stirring occasionally, for about 8-12 minutes. You are not trying to cook them through completely. The goal is for the slices to become pliable and slightly translucent at the edges. They should bend easily without snapping. This is the visual cue that the pectin has begun to break down.
Step 3: Create the Glaze Pour the entire contents of the pot through a colander set over a bowl to capture all of that delicious liquid. Return the apples to the now-empty pot and set them aside. You should have about 1 cup of juice.
Pour the collected juice into a small saucepan. In a separate small bowl, make a slurry by whisking 2 1/2 tablespoons of cornstarch (I prefer the results from a non-GMO brand like King Arthur) with 2 tablespoons of cold water until smooth. Pour the slurry into the saucepan with the apple juice and whisk to combine.
Bring the juice mixture to a boil over medium-high heat, whisking constantly. You will see it transform from a thin, cloudy liquid into a thick, glossy gel. This is the cornstarch activating. Once it boils and thickens, remove it from the heat.
Step 4: Combine and Cool Pour the hot glaze over the par-cooked apples in the pot and gently fold everything together until each slice is coated. Now for the most important step: let the filling cool completely. I mean completely. Putting a hot or even warm filling into a cold pie crust will melt the butter and ruin its flaky structure. You can speed this up by spreading the filling on a baking sheet.
Assembling and Baking for Guaranteed Success
Once your filling is at room temperature, you can assemble your pie. Because you’ve already managed the moisture and texture, the baking process is now focused solely on the crust.
Place your pie on a baking sheet to catch any drips. For the best bottom crust, start your oven hot. I bake at 425°F (220°C) for the first 15 minutes. This initial blast of heat helps to set the bottom crust quickly, before the filling has a chance to make it soggy. After 15 minutes, reduce the oven temperature to 375°F (190°C) and continue to bake for another 35-45 minutes, or until the crust is a deep golden brown and the filling is bubbling gently through the vents.
Here’s a fantastic kitchen hack for total peace of mind: use a digital thermometer. Carefully insert the probe through a steam vent and into an apple slice. If the apple’s internal temperature reaches 195°F (90°C), you know for a fact that the pectin has fully broken down. It’s a foolproof way to know your apples are tender.
Beyond the Crunch A Final Thought
This method of par-cooking the filling might seem like an extra step, but the payoff is immense. It transforms apple pie from a game of chance into a predictable, repeatable success. You’re no longer a passive baker hoping for the best; you are actively controlling the variables of moisture and texture.
You’ve taken the time to understand the chemistry of what’s happening inside that pie crust. You’ve addressed the potential for a watery filling and undercooked fruit before it even enters the oven. The result is a pie with a sturdy, flaky crust and a perfectly tender, gloriously glazed filling every single time. And that first bite will be one of pure satisfaction, not a disappointing crunch. That’s the beauty of baking when you treat it like the delicious science it is.

