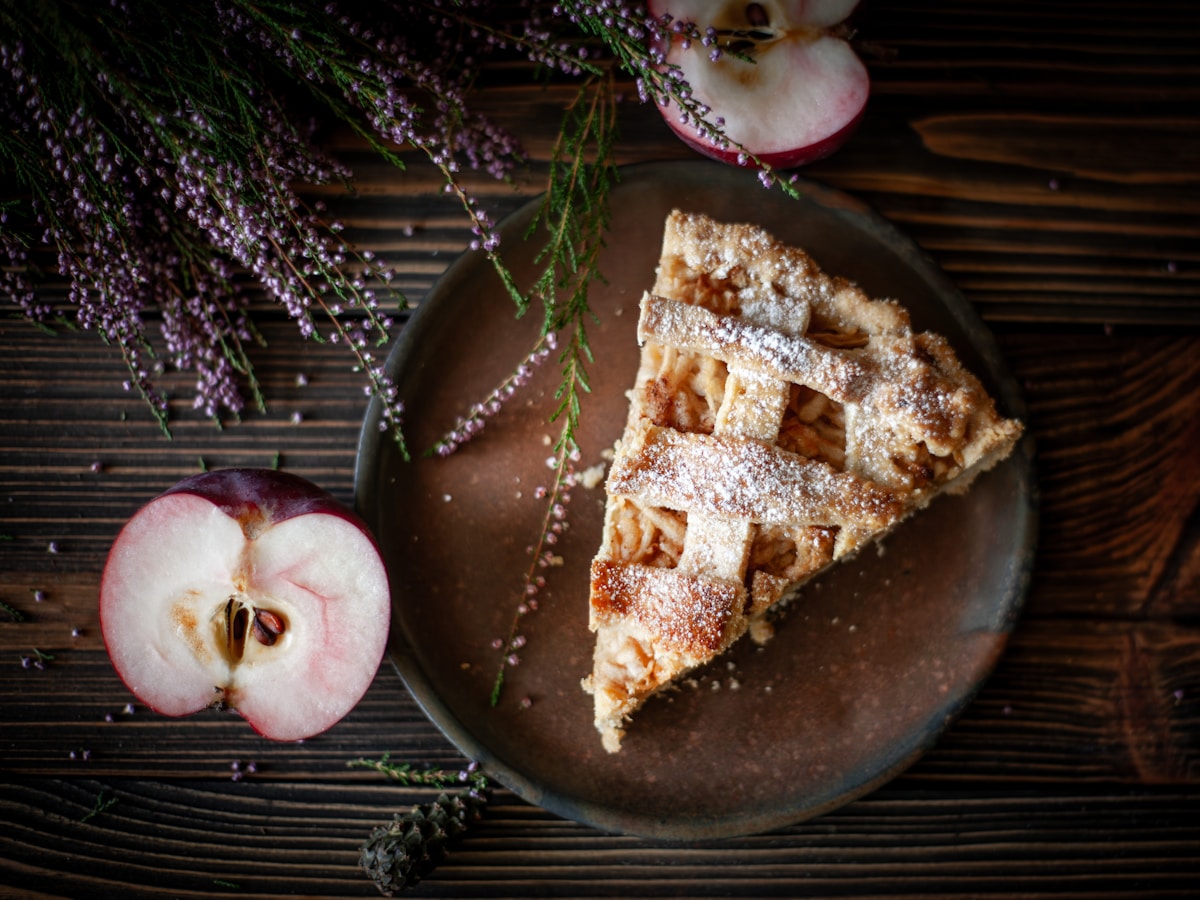
There are few kitchen moments as promising as pulling a golden-brown apple pie from the oven. The crust is flaky, the sugary top is glistening, and the whole house smells of cinnamon and comfort. You let it cool (impatiently), slice into it, and serve a generous portion. Then comes the test: the first bite. Instead of tender, yielding apples, your fork meets a disappointing crunch. Or, perhaps you have the opposite problem—a filling that has collapsed into a bland, formless applesauce.
This is a classic baking crossroads, and one I’ve navigated many times. The perfect apple pie filling is a delicate balance, a beautiful piece of edible chemistry. It’s not about luck; it’s about understanding what’s happening inside that crust. Let’s break down the science to guarantee a perfectly tender, sliceable, and delicious filling every single time.
The Apple Equation Choosing Your Players
Not all apples are created equal, especially when faced with the sustained heat of an oven. The key difference lies in their cellular structure and pectin content. Pectin is the natural fiber that gives fruits their structure. Apples high in pectin tend to hold their shape when cooked, while those with less break down more easily.
For a pie that holds its shape, you need a majority of firm, high-pectin apples. My go-to choices are:
- Granny Smith: The undisputed champion of baking apples. They are intensely tart, which balances the sugar, and they remain incredibly firm.
- Honeycrisp: A fantastic balance of sweet and tart with a wonderfully crisp texture that holds up beautifully to heat.
- Braeburn: Firm, crisp, and bursting with a complex, spicy-sweet flavor.
- Golden Delicious: A softer choice, but they hold their shape reasonably well and offer a lovely mellow sweetness.
But a pie made with only firm apples can sometimes lack a certain depth. The secret to a truly sublime filling is to use a blend. I follow a simple ratio: about 60% firm apples for structure and 40% softer, more aromatic apples that will break down slightly to create a rich, saucy matrix around the firmer slices.
Good softer apples for this purpose include:
- McIntosh: A classic pie apple that cooks down into a beautiful, tangy puree.
- Cortland: Similar to McIntosh, but they have the added benefit of being slow to brown after slicing.
By using a mix, you get the best of both worlds: distinct slices of apple suspended in a naturally thick and flavorful sauce. (This is chemistry and art working together.)
The Geometry of the Slice Uniformity is King
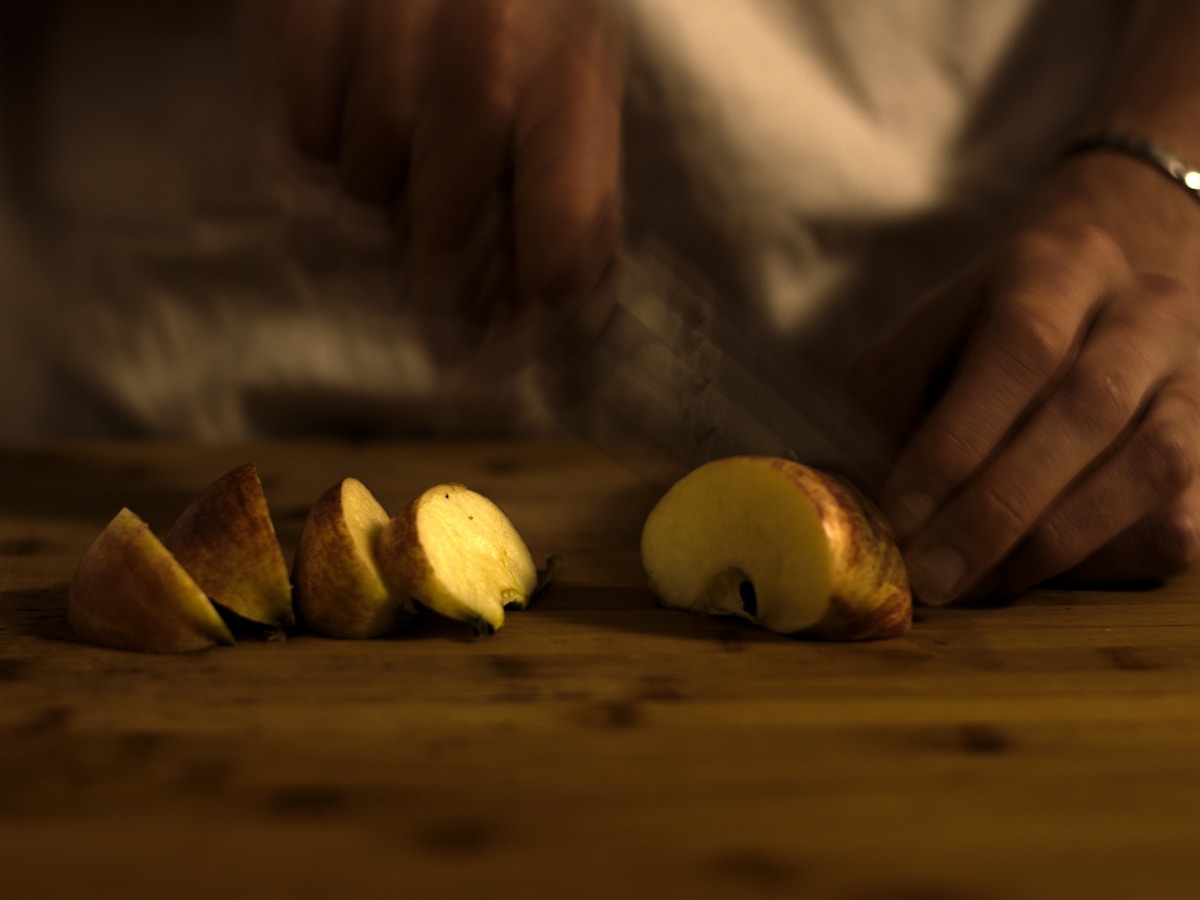
Once you’ve chosen your apples, how you cut them is the next critical step. If your slices are a jumble of different thicknesses—some paper-thin, others a half-inch thick—they will cook at dramatically different rates. The thin ones will turn to mush long before the thick ones are even close to tender.
Your goal is uniform thickness. The ideal target is 1/4-inch (about 6mm). This is substantial enough to feel like a proper slice of apple but thin enough to cook through evenly in a standard baking time.
How do you achieve this uniformity? You have two main tools:
- A Mandoline: This is the tool for absolute precision. It guarantees every single slice is identical. Just be extremely careful and always, always use the safety guard. (Your fingertips will thank you.)
- A Sharp Chef’s Knife: With a bit of practice, you can achieve very consistent slices by hand. First, peel, core, and quarter your apples. Then, place a quarter flat-side-down on your cutting board for stability and slice thinly and evenly. It’s less about speed and more about rhythm and control.
The Science of the Set Why Bubbling Matters
Have you ever seen a recipe instruct you to bake a pie until the filling is “bubbly”? This isn’t just a quaint suggestion; it’s a crucial scientific indicator. That bubbling tells you that your thickening agent has been fully activated.
Most apple pie fillings are thickened with a starch, typically cornstarch, tapioca starch, or all-purpose flour. For these starches to work their magic, they must undergo a process called gelatinization. This happens when starch granules are heated in a liquid (in this case, the apple juices). They absorb the liquid, swell up, and burst, releasing long starch molecules that tangle together and form a gel. This is what transforms watery juice into a thick, sliceable filling.
This process requires a specific temperature. For cornstarch, it’s around 203°F (95°C). When you see the filling bubbling slowly and thickly through the vents in your top crust, it’s a sure sign that the center of your pie has reached this critical temperature. The starch has done its job, and your filling will set up perfectly as it cools. If you pull the pie out before you see this thick bubbling, you risk a runny, soupy mess.
My Preferred Method The Stovetop Pre-Cook
While baking the raw filling in the pie is the classic method, it leaves a lot to chance. My preferred technique, and one I recommend for foolproof results, is to pre-cook the filling on the stovetop. This gives you complete control over the final texture.
It also solves another common pie problem: the dreaded gap between the filling and the top crust. When apples cook, they release water and shrink significantly. By cooking them first, you get that shrinkage out of the way before the pie is even assembled.
Here is a reliable recipe and method for a standard 9-inch pie filling using this technique:
Ingredients:
- 7-8 medium apples (about 3.5 lbs / 1.6 kg), a mix of firm and soft
- 3/4 cup (150g) granulated sugar (adjust based on apple sweetness)
- 1/4 cup (50g) packed light brown sugar
- 1/4 cup (30g) cornstarch
- 1 teaspoon ground cinnamon
- 1/4 teaspoon ground nutmeg
- 1/8 teaspoon ground allspice
- Pinch of salt
- 2 tablespoons (28g) unsalted butter
- 1 tablespoon lemon juice
Instructions:
- Prep the Apples: Peel, core, and slice your apples to a uniform 1/4-inch thickness. As you slice, place them in a large bowl and toss with the lemon juice to prevent browning.
- Combine Dry Ingredients: In a small bowl, whisk together the granulated sugar, brown sugar, cornstarch, spices, and salt. This prevents the cornstarch from clumping when it hits the heat.
- Cook the Filling: Melt the butter in a large, heavy-bottomed pot or Dutch oven over medium heat. Add the sliced apples and cook, stirring occasionally, for about 5-7 minutes, until they begin to soften but still hold their shape. They should be tender-crisp—pliable, but not mushy.
- Thicken: Sprinkle the sugar-and-starch mixture over the apples. Stir gently to combine. Continue to cook, stirring constantly, for another 2-3 minutes. The mixture will look cloudy at first, then as it comes to a boil, it will become thick and glossy. This is gelatinization in action!
- Cool Completely: Remove the pot from the heat and pour the filling onto a baking sheet in a single layer to cool down quickly. You MUST let the filling cool to room temperature before putting it into your unbaked pie crust. A hot filling will melt the butter in your pastry, leading to a soggy bottom crust.
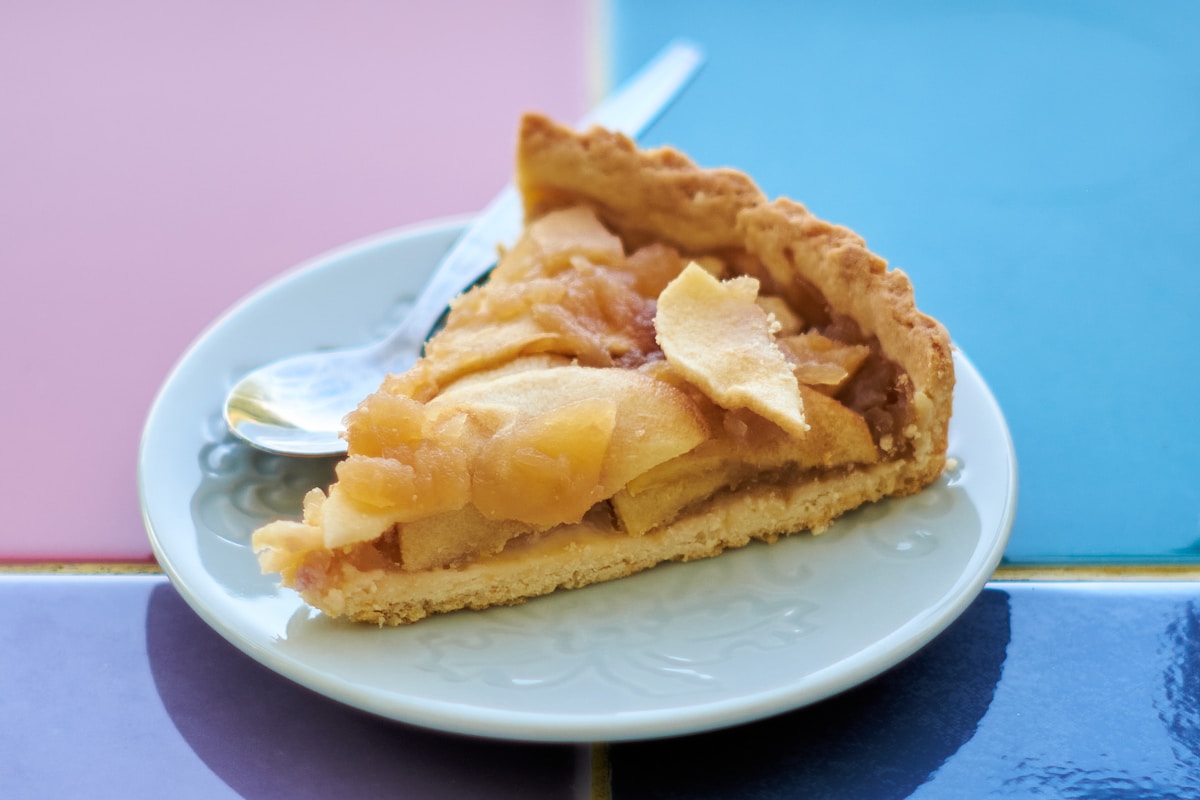
Once cool, you simply pile the filling into your prepared pie dish, top with your second crust, and bake. Because the filling is already cooked, your primary goal in the oven is to cook the pastry. Bake at 400°F (200°C) for 20 minutes, then reduce the heat to 375°F (190°C) and bake for another 25-35 minutes, or until the crust is a deep golden brown and you see some gentle bubbling at the vents.
By taking these extra steps and understanding the simple chemistry at play, you move from hoping for a good result to ensuring one. You can finally cut into that beautiful pie with confidence, knowing that the perfect texture and flavor are waiting for you. That’s the real magic of the kitchen.