It’s one of the most disheartening moments in baking. You pull a magnificent apple pie from the oven. The crust is a deep, golden-brown, flaky and glistening with sugar. The aroma is intoxicating. But when you slice into it, the truth is revealed: the apples are still stubbornly crunchy, or worse, they’ve collapsed into a formless, soupy mush.
This isn’t a failure of your recipe; it’s a failure of geometry. The secret to a sublime apple pie filling—tender apples that still hold their shape with a satisfying bite—lies in one deceptively simple detail: the thickness of your slice.
The Anatomy of an Apple Slice
Baking is chemistry, and an apple pie is a delicious experiment in heat transfer and structural integrity. An apple slice is made of plant cells held together by a natural “glue” called pectin. When you apply heat, two things happen: the water inside the cells turns to steam, softening the flesh, and the pectin begins to break down.
If your slices are too thick—say, a full 1/2-inch (12mm)—the heat can’t penetrate to the center of the slice fast enough. By the time your crust is perfectly baked, the core of the apple slice is still raw and crunchy. This is a simple matter of thermal dynamics; the exterior of the slice receives far more energy than the insulated interior.
Conversely, if the slices are paper-thin, their structure is too delicate. The cell walls rupture almost immediately, releasing all their water and dissolving the pectin completely. This is how you end up with a watery, applesauce-like filling that creates the dreaded “soggy bottom.” The excess liquid turns your beautiful, flaky bottom crust into a dense, wet paste.
The 1/4-Inch Rule for Perfect Texture
Through countless pies and careful observation, the baking community has landed on a golden measurement. For a consistently perfect texture, aim to slice your apples to a uniform thickness of 1/4-inch (about 6mm).
This thickness is the ideal balance. It’s substantial enough to maintain its shape and a pleasant bite, but thin enough to cook through completely in the time it takes to bake a beautiful crust. For most double-crust pies, this is typically 45-55 minutes, starting at a high heat of 425°F (220°C) for the first 15 minutes before lowering to 375°F (190°C) to finish cooking the filling without burning the crust.
Uniformity is just as important as the measurement itself. If your slices vary wildly in thickness, they will cook at different rates, leaving you with an inconsistent filling full of mushy bits and hard chunks. A simple mandoline slicer (please, use the hand guard!) is a fantastic tool for achieving perfect uniformity. If you’re using a knife, take your time. A sharp chef’s knife and a steady hand are all you need. (Think of it as kitchen meditation.)
Choosing Your Fruit Wisely
Of course, the slice is only half the story. The type of apple you use is critical. You need apples with a firm flesh and a high pectin content that can withstand the heat of the oven without turning to mush. Their cellular structure is simply more robust.
- Excellent Pie Apples: Granny Smith (for its classic tartness and firm texture), Honeycrisp (sweet, tart, and very crisp), Braeburn, Golden Delicious, and Jonagold. These varieties become tender but won’t disintegrate.
- Apples to Use with Caution: McIntosh, Gala, or Red Delicious are wonderful for eating fresh, but they tend to break down quickly when baked. If you love their flavor, I recommend using them as part of a blend—perhaps half McIntosh for its soft, aromatic quality and half Granny Smith for structure.
A mix of two or three different apple varieties is my personal secret for a pie with a truly complex, memorable flavor and texture. The interplay between a tart, firm apple and a sweeter, softer one creates a filling that is far greater than the sum of its parts.
The Pro Technique Par-Cooking for a Foolproof Filling
Here is a technique that will completely change your pie game and eliminate any guesswork: par-cooking your filling. It might seem like an extra step, but it guarantees perfectly tender apples and, most importantly, helps prevent a soggy crust. (Your future self will thank you.)
Here’s the method, step-by-step:
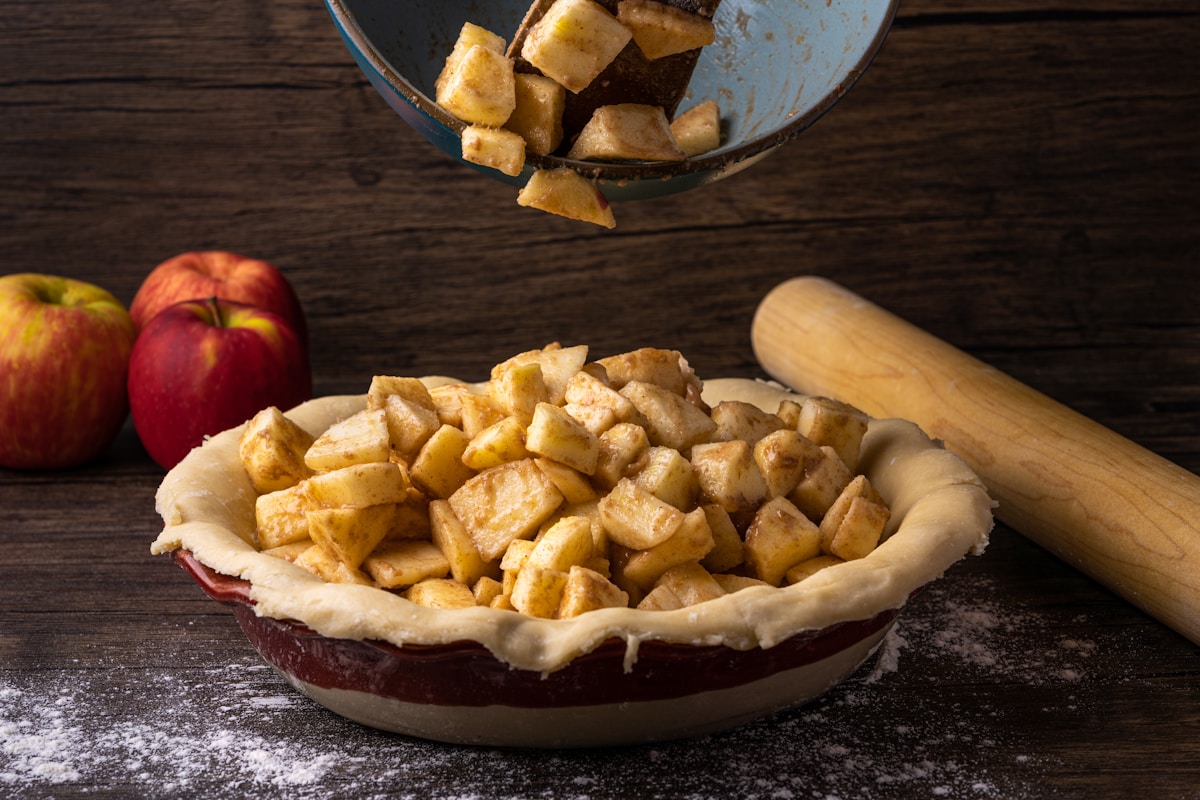
- Prepare the Apples: Peel, core, and slice about 8 medium baking apples (around 3.5 lbs or 1.6 kg) to that perfect, uniform 1/4-inch thickness. This should yield about 8-9 cups of slices.
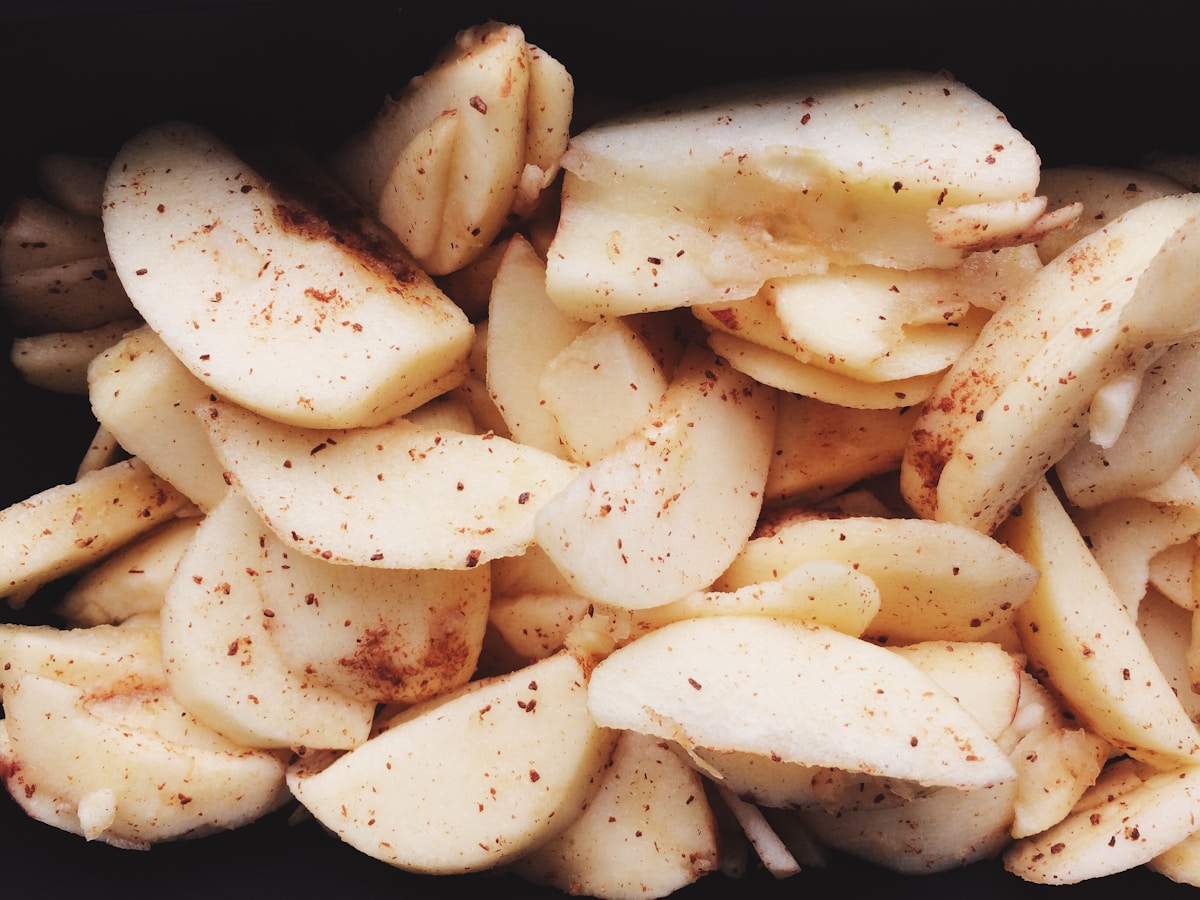
- Sauté the Slices: In a large skillet or Dutch oven, melt 3 tablespoons of unsalted butter over medium heat. Add the apple slices, 3/4 cup of sugar (I like a 50/50 mix of granulated and light brown sugar), 1 teaspoon of cinnamon, 1/4 teaspoon of nutmeg, and a pinch of salt. That pinch of salt is vital; it enhances all the other flavors.
- Cook Gently: Stir to coat the apples and cook for 5 to 8 minutes, stirring occasionally. You’re not trying to cook them completely, just until they begin to release their juices and soften slightly at the edges. They should still be firm and hold their shape when you lift them.
- Cool and Thicken: Remove the pan from the heat. You’ll notice a significant amount of liquid has pooled at the bottom. This is water that would have otherwise made your bottom crust soggy! Let the mixture cool for at least 30 minutes. Before adding it to your pie shell, drain off most of that liquid (you can save it and reduce it to a syrup to drizzle over ice cream) and toss the now-cooler apples with 2-3 tablespoons of cornstarch or tapioca flour. This will thicken any remaining juices into a beautiful glaze during baking.
This simple pre-cook ensures your apples are perfectly seasoned and tender every single time. The heat has already done the hard work of beginning to break down the pectin, so all they need to do in the oven is finish cooking through and meld with the crust.
By focusing on the simple science of the slice and employing a professional technique like par-cooking, you take control of the final texture. No more crossing your fingers and hoping for the best. You’ll be able to bake an apple pie with a glorious, flaky crust and a sublime, perfectly tender filling, every single time. That’s the beauty of baking when art and chemistry come together in your kitchen.