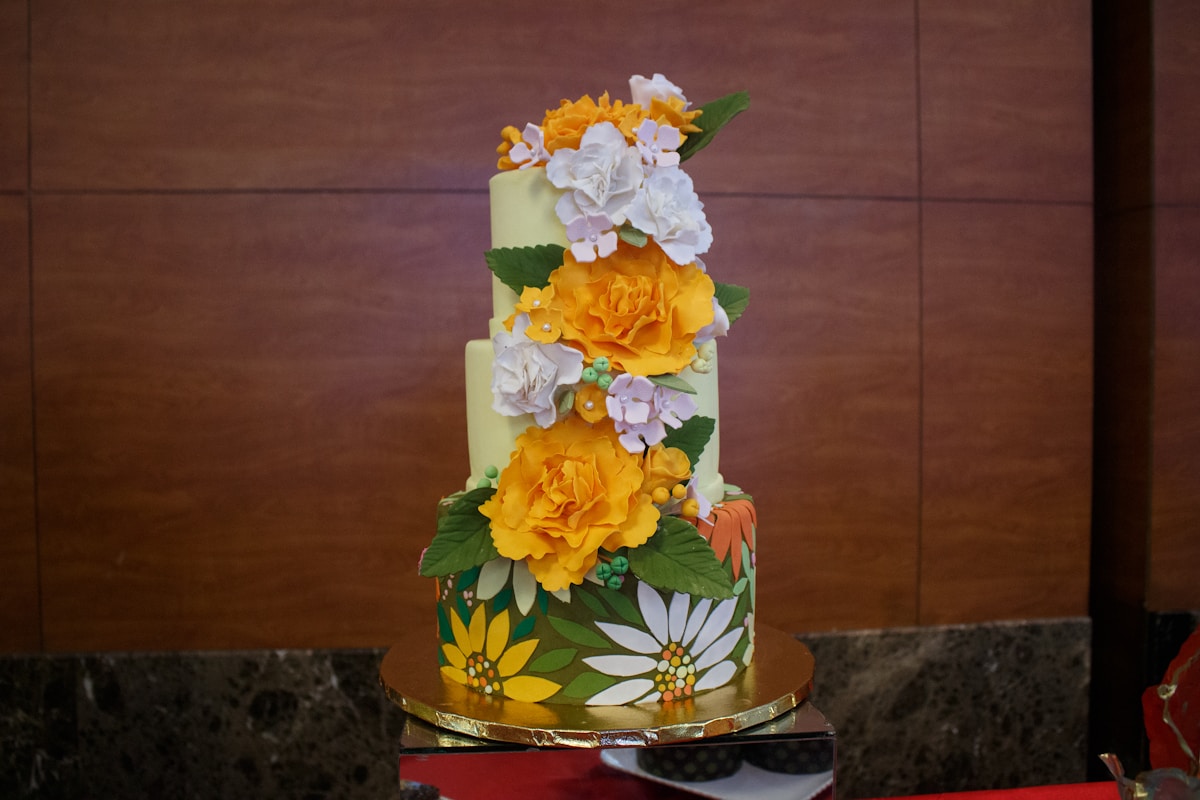
You spent hours baking the perfect double chocolate cake. The layers are moist, the mousse is silky, and the crumb is tender. But then comes the final act: the ganache. You pour it over the cake and instead of a glossy, mirror-like finish, you get a dull, streaky mess. What went wrong? The answer lies in the chemistry of chocolate and cream. As a baker who treats the kitchen like a lab (a delicious one), I’ve been there. Here’s how to get that coveted shine every time, backed by real science and tested techniques.
The Science Behind the Shine
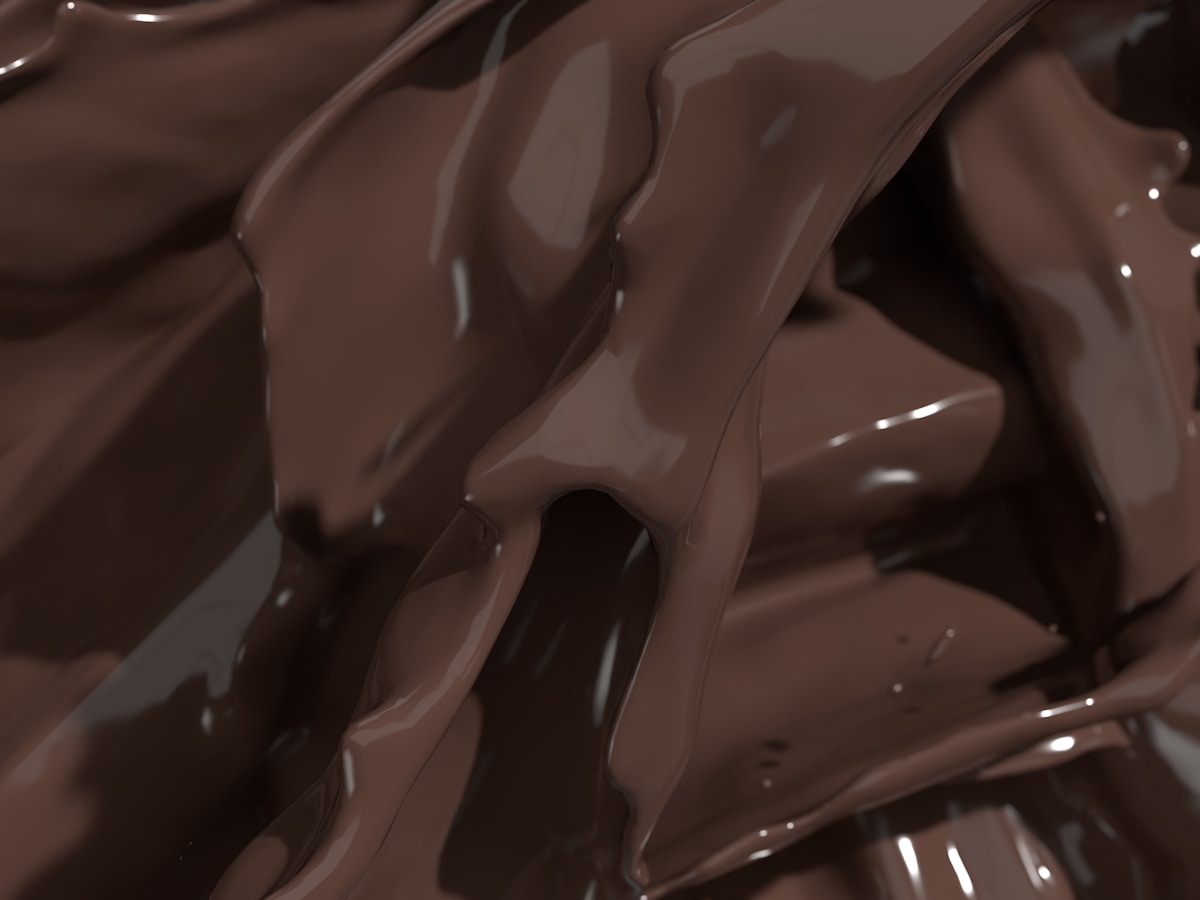
Ganache is an emulsion—a stable mixture of fat and water. In this case, the fat comes from cocoa butter in the chocolate, and the water comes from the cream. When you heat cream and pour it over chopped chocolate, the heat melts the cocoa butter, and the fat droplets disperse into the water phase. If done correctly, the emulsion reflects light evenly, creating a glossy sheen. If the emulsion breaks—if the fat separates from the water—the surface becomes dull. The key is controlling temperature, agitation, and the ratio of fat to water. Cocoa butter also contains natural emulsifiers like lecithin, which help stabilize the mixture, but only if you treat them gently.
Choosing the Right Chocolate
Not all chocolate is created equal for ganache. You need couverture chocolate with a high cocoa butter content, typically 35-40%. Brands like Valrhona, Guittard, or Callebaut are excellent choices. Avoid chocolate chips, which contain stabilizers that inhibit smooth melting. For the deepest flavor and best shine, use a dark chocolate with 60-70% cacao. The cocoa butter is the star here; it’s what gives ganache its fluidity and mirror-like finish. (Trust me on this one—spend a little more on quality chocolate. Your cake deserves it.)
The Perfect Cream Temperature
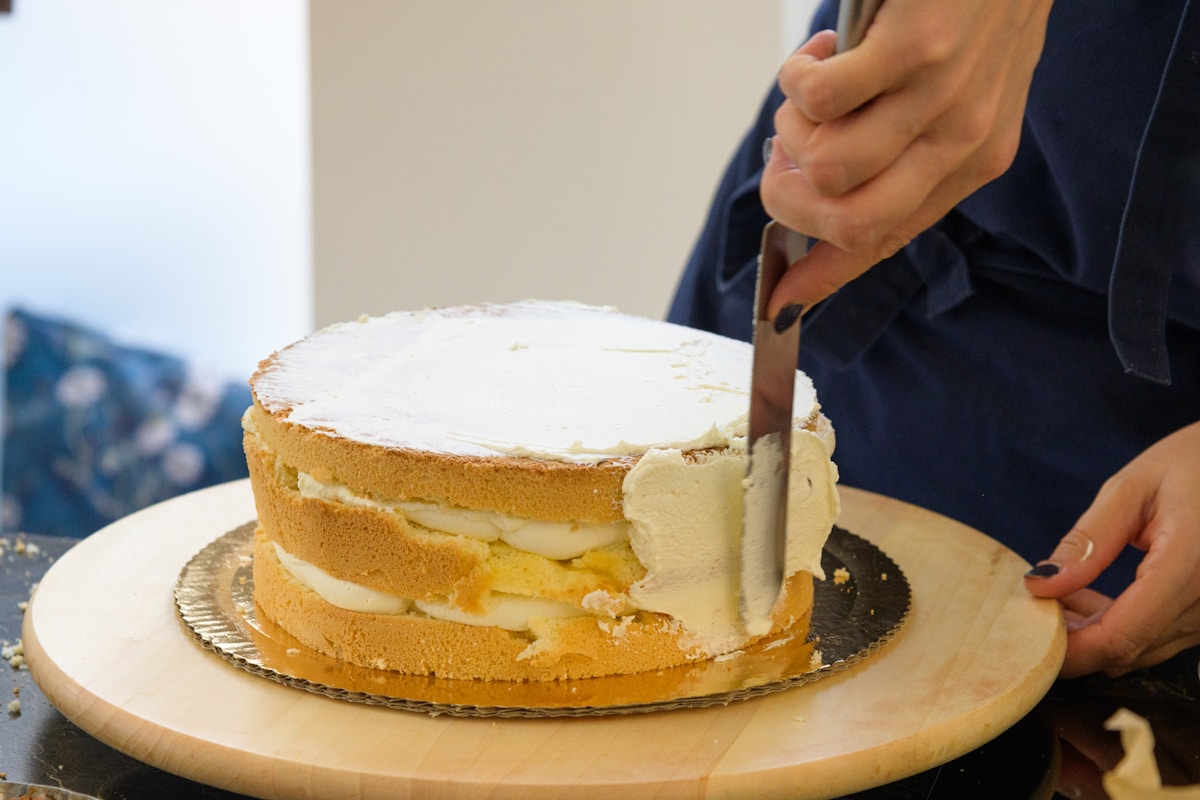
Temperature is critical. Heat your heavy cream to just below boiling, around 80°C (176°F). If it boils, it can cause the fat to separate too quickly. If it’s too cool, it won’t melt the chocolate fully. Use an instant-read thermometer for precision—I recommend the Thermapen or Lavatools Javelin. Pour the hot cream over the finely chopped chocolate and let it sit for 2-3 minutes without stirring. This gentle melt ensures the cocoa butter crystals dissolve evenly. Then, stir slowly with a spatula, starting from the center and working outward in concentric circles. Over-stirring introduces air, which dulls the sheen. Stir until just smooth—about 15-20 strokes.
Mixing and Cooling Techniques
Once your ganache is smooth, let it cool to 85-90°F (29-32°C) before pouring. This is the ideal viscosity: thin enough to flow and self-level, but thick enough to stay on the cake. If you pour it too hot, it will run off; too cold, it will be too thick to spread evenly. You can speed cooling by placing the bowl in an ice bath—but stir gently to avoid shocking the emulsion. For that mirror finish, pour the ganache over a chilled cake (refrigerated for 30 minutes). The cold surface helps the ganache set quickly, trapping the shine. Use an offset spatula to smooth the surface in one or two passes. Don’t overwork it. For a perfect drip effect on the sides, let the ganache cool to a slightly thicker consistency (about 90°F).
Troubleshooting Dull or Separated Ganache
If your ganache turns dull after setting, it likely means the cocoa butter has crystallized unevenly. This can happen if the ganache cooled too quickly or you stirred too vigorously. To fix, gently reheat the ganache over a double boiler, stirring until it reaches 90°F again. Then re-pour. If it separates—looks greasy or curdled—you’ve added too much liquid or the cream was too hot. Rescue it by adding a splash of warm cream and whisking vigorously. A pinch of salt not only enhances flavor but also helps stabilize the emulsion. Common mistakes include using cream that’s too cold, chopping chocolate unevenly, or pouring onto a warm cake. (Your future self will thank you for that pinch of salt and a cold cake.)
Pro Tips for a Flawless Finish
- Use a digital scale for accuracy. Ganache ratios matter: 2 parts chocolate to 1 part cream for a thick, spreadable ganache; 1:1 for a pourable glaze. For an 8-inch cake, 200g chocolate and 100g cream is perfect.
- Filter your ganache through a fine-mesh sieve to remove any undissolved chocolate pieces or air bubbles.
- Let the finished cake sit at room temperature for at least an hour before serving. This allows the ganache to soften slightly and develop that even, mirror-like sheen.
- Humidity matters: if it’s a very humid day, the ganache may set slower. Work in a cool, dry room if possible.
- For an extra mirror effect, you can try a gelatin-based mirror glaze, but for pure chocolate ganache, these steps deliver the shine you’re after.
That mirror-like sheen isn’t magic—it’s science. By controlling chocolate quality, cream temperature, and cooling, you can achieve a finish that would make a pastry chef proud. Next time you bake that stunning double chocolate cake, remember the emulsion, the thermometers, and that pinch of salt. Now go pour that glossy ganache and watch your cake shine.