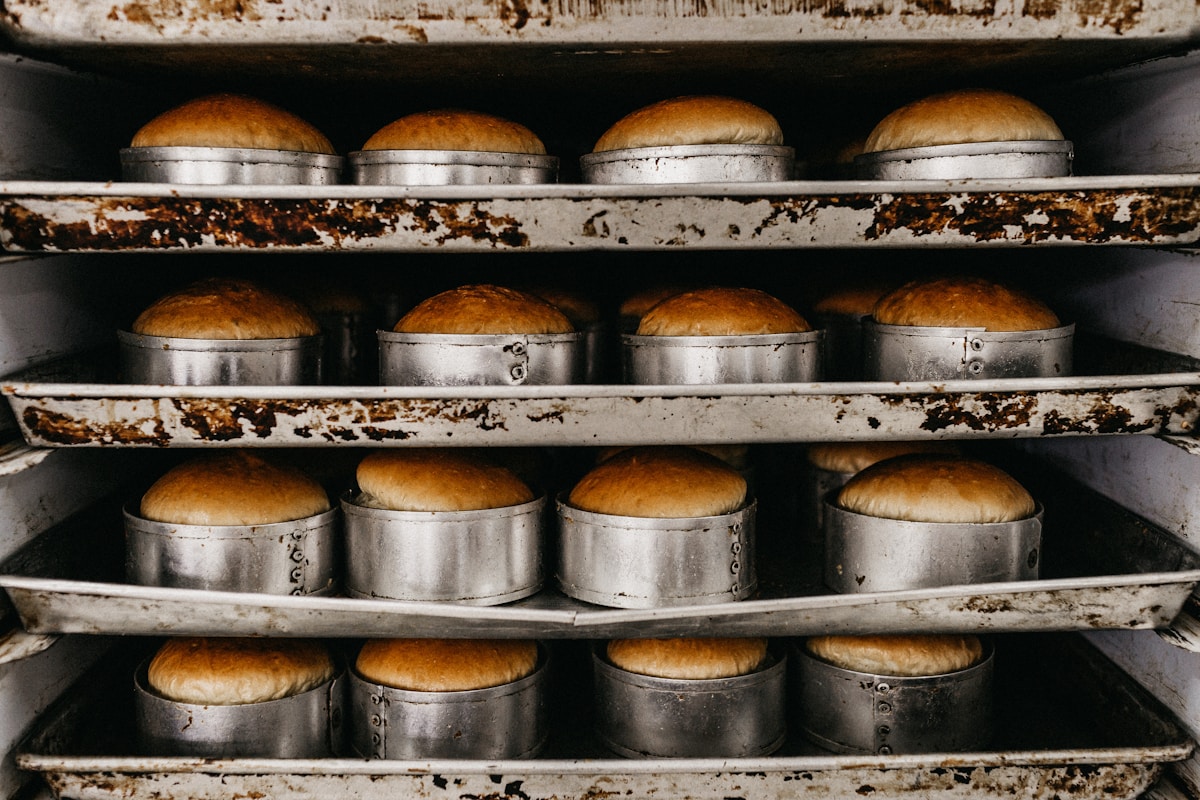
Let’s be honest. You’ve been there. You followed the recipe for that glorious three-layer birthday cake to the letter. You measured your flour perfectly, brought your eggs to room temperature, and creamed the butter and sugar into a fluffy cloud. The batter was perfect. But when you pull the pans from the oven, your heart sinks a little. Instead of a set of flat, stackable canvases for your frosting masterpiece, you have three miniature volcanoes, each with a rounded dome and cracked, slightly darker edges.
Now you’re faced with a choice: try to frost a wobbly, unstable tower or grab a serrated knife and perform surgery. You trim the domes, sending a shower of precious cake crumbs all over your counter. It works, but it’s wasteful, messy, and you lose that perfect height. For years, I just accepted this as part of baking. Then I spent about twelve dollars on a set of glorified wet rags, and it completely changed my cake-baking game.
Those glorified wet rags are called baking strips, and they are one of the cheapest, most effective tools you can add to your kitchen arsenal. They solve a fundamental physics problem in your oven, and today, we’re going to break down exactly how they work, which ones are worth your money, and how to use them to get flat, tender, professional-looking cakes every single time.
The Real Reason Your Cakes Dome
Before we talk about the solution, you need to understand the problem. A domed cake isn’t your fault; it’s just physics at work. Your metal cake pan is an excellent conductor of heat. When you slide it into a hot oven, say at 350°F (177°C), the metal heats up much faster than the wet, dense batter inside it.
This means the batter at the outer edge of the pan starts cooking and setting almost immediately. The proteins in the eggs and flour coagulate, forming a solid crust around the perimeter. Meanwhile, the batter in the center is still liquid and just beginning to warm up. As it heats, the leavening agents (baking powder or soda) activate, releasing carbon dioxide gas. This gas, along with steam, needs to go somewhere. Since the edges are already locked in place, the only direction for the expanding batter to go is up.
Voila. You get a dome. The center of the cake is literally pushed upwards as it finishes baking. This also explains why the edges can sometimes be a little dry while the center is perfectly moist—they simply had a huge head start on the cooking process.
How Baking Strips Defy Physics
Baking strips are simple insulating bands that you wrap around the outside of your cake pan. The most common type is made of fabric, but you’ll also see silicone versions. The concept is genius in its simplicity.
For fabric strips, you soak them in cold water for about 10-15 minutes before wrapping them around your pan. This damp layer acts as a cooling insulator. As the pan sits in the hot oven, the water in the strips has to evaporate. The process of evaporation creates a cooling effect (this is called evaporative cooling, the same reason sweating cools you down), which significantly slows down how quickly the metal sides of the pan heat up.
By keeping the sides of the pan cooler for longer, you allow the batter at the edges and the batter in the center to bake at a much more even rate. The entire cake rises together, gently and evenly, instead of the center erupting like a science fair project. The result? A perfectly flat top, a more tender crumb from edge to center, and no need to trim away delicious cake.
The Head-to-Head Test: Wilton Fabric vs. Generic Silicone
Saying they work is one thing, but I wanted to see the difference firsthand. I grabbed a box of standard yellow cake mix (for consistency’s sake) and baked three 8-inch round cakes. One with no strip (our control), one with the classic Wilton Bake-Even Strips, and one with a popular generic set of silicone strips.
Cake 1: The Control (No Strips)
- Result: Predictably, a pronounced dome. The center rose a full inch higher than the edges, with a deep crack down the middle. The edges were golden brown and firm to the touch, while the very center was just barely cooked through. This is the cake we all know and begrudgingly trim.
Cake 2: Wilton Bake-Even Strips (Fabric)
- Price: ~$12 for a set of two.
- Process: I soaked the purple fabric strips in cold water for 10 minutes, squeezed out the excess, and cinched one tight around the pan. It felt secure.
- Result: Absolutely game-changing. The cake was almost perfectly flat, maybe rising a quarter-inch in the very center, but in a gentle, barely-there curve. No trimming would be required for stacking. The color was uniform from edge to center, and when I sliced into it, the crumb was noticeably more tender and consistent all the way to the outer edge. (Your future self will thank you for this.)
- Pros: Extremely effective, cheap, and reliable.
- Cons: You have to remember to soak them. Over time, they can get a bit discolored from caramelized sugar and look a little grungy.
Cake 3: Generic Silicone Strips
- Price: ~$15 for a set of four.
- Process: No soaking needed. I just wrapped the silicone band around the pan and connected the notches to secure it. It was faster, for sure.
- Result: A definite improvement over the control cake, but not quite as flat as the cake with the wet fabric strip. It had a low, gentle dome—about a half-inch high. The cake still baked more evenly than the control, with a better texture at the edge, but the fabric strip’s evaporative cooling simply provided a better insulating effect. The silicone acts more like a standard insulator, like a koozie for your cake pan.
- Pros: Incredibly easy to use (no soaking!), a breeze to clean, and very durable.
- Cons: Not quite as effective at creating a perfectly flat surface as the wet fabric strips.
The Verdict: For pure performance, the classic Wilton Bake-Even fabric strips are the winner. They deliver the flattest cakes for the lowest price. However, if convenience is your absolute top priority and you hate the idea of soaking and dealing with wet fabric, the silicone strips are a solid B+ option that are still miles better than using nothing at all.
Your Step-by-Step Guide to a Flatter Cake
Ready to try them out? Using them is simple, but doing it right makes all the difference.
- Prep the Strips (Fabric Only): If you’re using fabric strips, place them in a bowl of cold water. Make sure they are fully submerged and let them soak for at least 10 minutes. Don’t rush this part.
- Remove Excess Water: Take the strips out and gently squeeze them. You want them to be saturated but not dripping wet all over your floor. Think damp sponge, not sopping towel.
- Wrap the Pan: Prepare your cake pan as usual (grease and flour, or line with parchment). Wrap the baking strip snugly around the outside of the pan. Most fabric strips have a loop you feed the other end through to tighten.
- Fill ‘Er Up: Pour your cake batter into the prepared pan.
- Bake: Place the pan in your preheated oven and bake according to the recipe. Kitchen Hack: Because you’ve slowed down the cooking process, you may need to add 5-10 minutes to your total baking time. Always test for doneness with a toothpick or cake tester in the center.
That’s it. It adds maybe 30 seconds of active prep time to your routine if you use silicone, and just a few minutes of soaking time for fabric. A tiny price to pay for perfect results.
No Strips? No Problem. Other Tricks to Try
If you’re in a pinch and don’t have baking strips, you can still improve your results. Here are a couple of my go-to methods:
-
Lower and Slower: This is the easiest trick. Lower your oven temperature by 25°F (about 15°C)—so, from 350°F to 325°F (177°C to 163°C). The lower temperature allows the cake to bake more gently and evenly, reducing the severity of the dome. You’ll need to increase the baking time accordingly, so keep an eye on it.
-
The Flower Nail: This works wonders for larger cakes (10 inches or more). A flower nail is a simple metal tool used for piping icing flowers. Because it’s metal, it’s a great heat conductor. Just lightly grease a flower nail and place it, point-side up, in the center of your cake pan before you add the batter. It will conduct heat directly to the very center of the cake, helping it cook at the same rate as the edges. It’s an old-school professional baker’s trick that really works.
So, are baking strips worth it? For a baker who makes layer cakes even a few times a year, the answer is an overwhelming yes. For about the price of a fancy coffee, you can eliminate the frustrating dome, stop wasting cake, and produce layers that are beautifully flat, tender, and ready for stacking. It’s the definition of a high-value, low-cost kitchen tool. This is Lucas, signing off. Spend your money wisely, and happy baking.