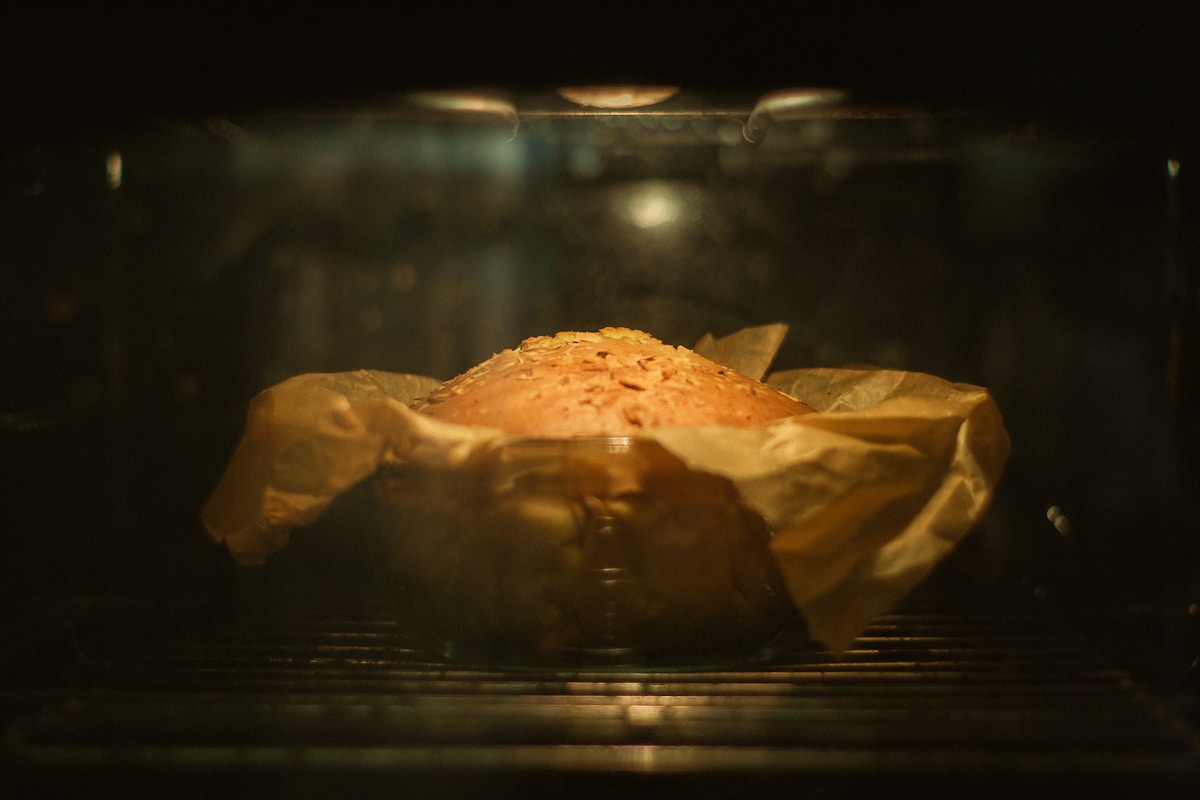
You know the moment. The timer goes off, and the whole house smells like buttery, vanilla-scented heaven. You pull your cake from the oven, admiring its golden-brown surface… and then you see it. The Dome. That stubborn, rounded peak in the center of your otherwise perfect cake layer.
Now you have to perform surgery, carefully slicing off the top with a serrated knife, trying to get a level surface for stacking and frosting. Not only is it an extra, messy step, but you’re wasting precious cake! (Though I admit, those scraps rarely make it to the compost bin.) For years, bakers have accepted this as a necessary evil. But what if it wasn’t? What if a simple, inexpensive gadget could give you perfectly flat cake layers right out of the oven?
Enter the baking strip. It’s a simple band of fabric that wraps around your cake pan, promising to eliminate domes forever. But is it a game-changing tool or just another piece of gear destined to gather dust in a drawer? Let’s break it down.
What’s The Science Behind Cake Domes Anyway?
Before we can fix the problem, we need to understand it. That dome on your cake isn’t your fault—it’s a simple matter of physics. Your oven heats the air, and that hot air heats your metal cake pan.
Metal is an excellent conductor of heat. This means the sides and bottom of your pan get hot very, very quickly. The cake batter that’s in direct contact with that hot metal—the edges—starts to cook and set almost immediately. It forms a crust while the center of the cake is still a liquid batter.
As that liquid center continues to heat up, the leavening agents (baking powder or soda) activate, creating gases that cause the batter to rise. But since the edges are already cooked and set, that rising batter has nowhere to go but up, right in the middle. The result is that familiar volcanic dome and, often, a crack across the top where the pressure finally escaped.
So, the core issue is uneven heating. The edges cook too fast, and the center cooks too slow. To get a flat cake, you need to even out that cooking process.
How Do Baking Strips Fix The Problem?
This is where those funny-looking fabric strips come in. A commercial baking strip, like the popular purple ones from Wilton, is essentially an insulated band. The magic happens when you soak it in cold water before wrapping it around your pan.
You secure the wet strip snugly around the outside of your cake pan. As the pan heats up in the oven, the strip acts like a cooling jacket. The water in the fabric slowly evaporates, creating a cooling effect that insulates the metal pan. (It’s the same principle as sweating to cool down your body.)
This insulation dramatically slows down how quickly the sides of the pan heat up. Now, the edges of the batter don’t set prematurely. Instead, the entire cake—edges, center, and all—heats up and rises at a much more uniform rate. The result? A beautifully level cake with a tender, even crumb from edge to center and no wasted, trimmed-off dome.
These strips typically cost between $10 and $20 for a set that will cover a couple of standard 8-inch or 9-inch round pans. They are adjustable and reusable, making them a one-time purchase for most home bakers.
The Real-World Test Do They Actually Work?
Theory is great, but I’m all about practical results. So, I ran a simple side-by-side test in my own kitchen. I whipped up a standard batch of vanilla buttermilk cake batter—enough for two 8-inch round layers.
- Cake Pan A: The control. A standard aluminum cake pan, greased and floured as usual.
- Cake Pan B: The test subject. An identical pan, but wrapped in a Wilton Bake-Even Strip that I’d soaked in cold water for about 5 minutes.
I poured the exact same amount of batter into each pan and baked them side-by-side in a 350°F (177°C) oven. The results were undeniable.
The Control Cake (No Strip): After 30 minutes, this cake had risen significantly higher in the center. A definite dome had formed, with a small crack running across the top. The edges were a noticeably darker brown and had pulled away from the sides of the pan by about a quarter-inch. When I sliced into it, the crumb was lovely, but the edges were slightly drier than the very center.
The Test Cake (With Strip): This cake took about 5-7 minutes longer to bake, which is normal since the strips keep the pan cooler. When I pulled it out, the difference was stunning. The top was almost perfectly flat, maybe a tiny, gentle swell in the middle but nothing that would require trimming. The color was a uniform pale gold all the way across, and the sides were soft and hadn’t pulled away from the pan. The texture of the crumb was consistent and moist from edge to edge.
My Verdict: Yes, they absolutely work. The difference isn’t subtle; it’s a night-and-day improvement in the evenness of the bake.
The DIY Option Can You Make Your Own Baking Strips?
I get it. The last thing you might want is another single-purpose kitchen tool. If you’re skeptical or just want to try the principle before you buy, you can create a makeshift baking strip using materials you already have.
Here’s the method:
- Create the Sleeve: Tear off a long piece of heavy-duty aluminum foil, about four times the height of your cake pan. Fold it lengthwise into a long strip that is the same height as your pan.
- Make the Insulator: Take a few sheets of paper towel and fold them into a strip that will fit inside your foil sleeve.
- Soak and Assemble: Run the paper towel strip under cold water until it’s fully saturated. Gently squeeze out the excess water—you want it damp, not dripping.
- Wrap it Up: Place the wet paper towels inside the foil sleeve and fold the foil over to encase them completely. Now you have a DIY baking strip.
- Secure It: Wrap your homemade strip around the cake pan and secure the ends with a metal paperclip. (Do not use a plastic-coated one, as it could melt!)
This DIY version works on the exact same principle of evaporative cooling. It’s a fantastic way to see the results for yourself without spending a dime. The downside? It’s more fiddly to make each time, and the paper towels can sometimes dry out on bakes longer than 45 minutes.
Are There Alternatives To Baking Strips?
Of course! For every kitchen gadget, there’s usually an alternative technique, and baking strips are no exception. The most common alternative is the “low-and-slow” baking method.
Lower Your Oven Temperature: Many bakers swear by simply reducing their oven temperature by 25°F (about 15°C). So, if your recipe calls for 350°F, you’d bake at 325°F. This slows down the entire baking process. The lower, gentler heat gives the center of the cake more time to catch up with the edges, which naturally results in a smaller, less pronounced dome.
- Pros: It’s free and requires no extra equipment.
- Cons: You’ll need to significantly increase your baking time, often by 10 to 20 minutes or more depending on the cake. You have to be more vigilant, checking for doneness frequently. Some bakers feel this longer bake time can lead to a slightly drier cake, though others don’t notice a difference.
The Flower Nail Hack: Here’s a great tip, especially for larger cakes (10 inches or more). A flower nail—that little metal pedestal used for piping buttercream flowers—can be repurposed as a heating core. Just grease the nail, place it flat-side down in the very center of your pan, and pour the batter over it. The metal nail will conduct heat directly to the deepest part of the cake, helping the center cook at a rate closer to the edges.
The Final Verdict Are Baking Strips Worth Your Money?
After testing the strips, the DIY version, and the low-and-slow method, my conclusion is clear. It all comes down to what kind of baker you are.
-
For anyone who regularly bakes layer cakes, celebration cakes, or just wants consistent, professional-looking results with minimal fuss: Yes, absolutely. A set of commercial baking strips is one of the best, most cost-effective investments you can make. For under $20, you eliminate a frustrating step, reduce cake waste, and get a better-textured product. The Wilton Bake-Even Strips are the industry standard for a reason—they’re durable, easy to use, and they just work.
-
For the occasional baker who makes a layer cake once or twice a year: Start with the DIY foil and paper towel method. It works surprisingly well and will show you the benefits. If you find yourself enjoying cake-making and want to upgrade for convenience, you can always buy a set later.
-
For the staunch minimalist who refuses to buy another gadget: The low-and-slow oven temperature method is your best bet. It takes patience and a bit of experimentation with your specific oven and recipes, but it can get you a much flatter cake than baking at the standard temperature.
In the end, my philosophy is about using the right tool for the job, not necessarily the most expensive one. And when it comes to achieving perfectly flat cake layers, baking strips are an inexpensive, highly effective tool that delivers on its promise. Your future, less-frustrated self will thank you.