You’ve done everything right. You followed the recipe to the letter, measured your ingredients with a scale, and even sifted the flour twice. You divide the batter perfectly between three identical cake pans and slide them into your preheated oven. Thirty minutes later, the timer dings. You pull them out, and your heart sinks.
One cake is golden brown and domed perfectly. The one next to it is a little pale. And the one in the back? It’s dark on one side and still looks a little wet in the middle. It’s one of the most frustrating moments in baking. You blame the recipe, you blame the leavening, you might even blame yourself.
I’m here to tell you to stop. In my years of testing kitchen gear, I’ve learned one crucial lesson: it’s probably not you, it’s your oven. Most home ovens are inconsistent, finicky beasts with hot spots and inaccurate thermostats. But the good news is you don’t need a new, expensive appliance. You just need a little knowledge and a few simple tricks to master the oven you already have.
The Real Culprit Your Oven’s Hot and Cold Secrets
Think of your oven as a small room with a heater. The heating element, usually at the bottom or top, blasts out heat, which then tries to fill the space evenly. The problem is, it rarely succeeds. This creates “hot spots”—areas that are significantly hotter than the temperature you set on the dial. A pan placed in a hot spot will cook much faster, leading to dark, dry edges or even a burnt bottom.
Conversely, other areas might be “cold spots,” where the air circulation is poor. A cake in a cold spot will take longer to bake, potentially ending up dense, gummy, or with pale, unappetizing sides. This is often an issue near the oven door or in corners.
The other big secret? Your oven’s thermostat is probably lying to you. It’s incredibly common for a home oven’s internal temperature to be off by 25°F to 50°F (that’s about 14°C to 28°C). If your recipe calls for 350°F and your oven is actually running at 390°F, you’re going to have a bad time. You’ll end up with a cake that’s burnt on the outside before the center is even cooked through. Without knowing your oven’s true temperature, you’re just baking blind.
How to Diagnose Your Oven for Under Ten Dollars
Before you can fix the problem, you need to understand it. Luckily, mapping your oven’s unique personality is cheap and easy. You just need two things: a bag of cheap white bread and a good oven thermometer.
The Bread Test: Mapping Your Hot Spots
This is the classic, low-tech way to see exactly where your oven runs hot. It’s like creating a heat map of your oven’s interior.
- Preheat Your Oven: Set your oven to 350°F (177°C) and make sure the middle rack is in place.
- Cover the Rack: Once preheated, quickly arrange slices of basic white bread across the entire rack, edge to edge. Don’t leave large gaps.
- Watch Closely: Close the door and let them “toast” for 5 to 7 minutes. Keep an eye on them through the oven window.
- Analyze the Results: Carefully remove the rack. You will now have a perfect visual map. Some slices will be dark brown or even black (your hot spots), while others might be barely toasted (your cold spots). Take a picture with your phone so you don’t forget!
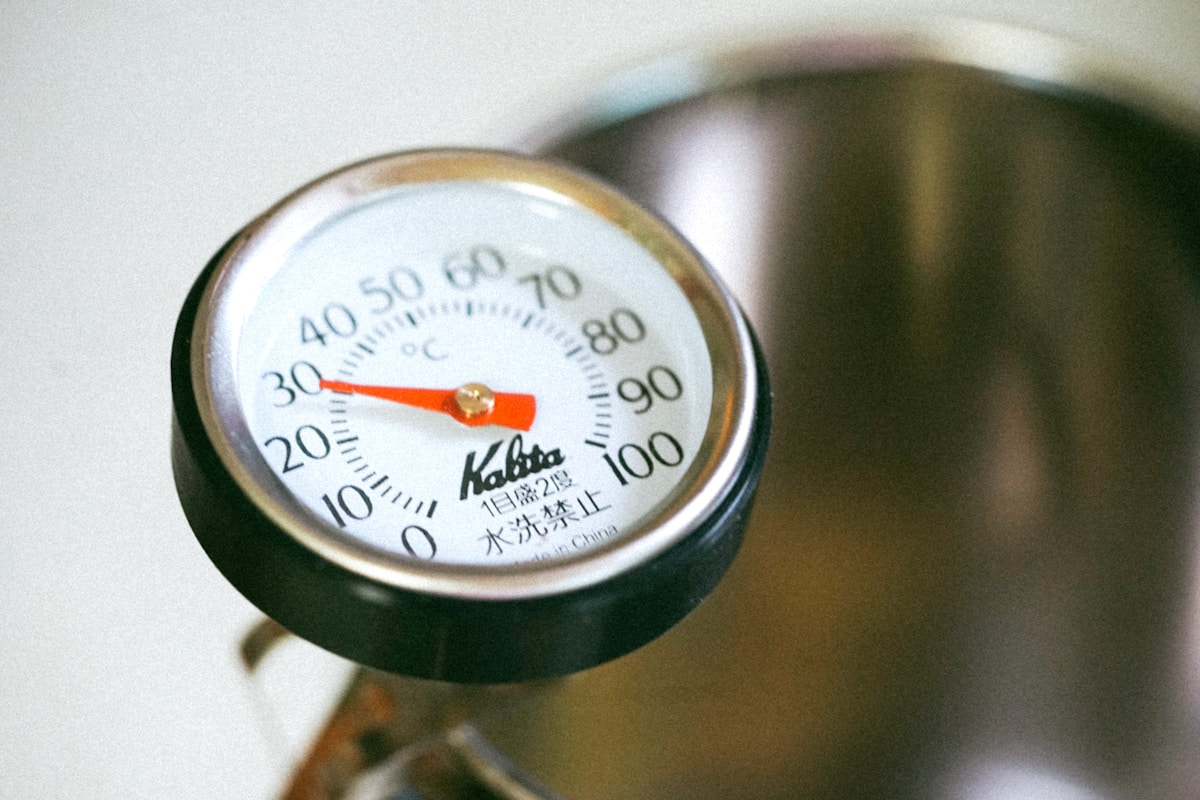
The Essential Tool: An In-Oven Thermometer
This is, without a doubt, the most important $10 you will ever spend on your baking. Do not trust your oven’s dial. An in-oven thermometer hangs from or sits on the rack and gives you a real-time, accurate reading of the actual temperature inside.
I personally use a simple Taylor Classic Series Large Dial Oven Thermometer. It’s durable, easy to read, and costs less than a fancy coffee. The OXO Good Grips Chef’s Precision Oven Thermometer is another excellent, reliable choice. Place it in the center of the middle rack, let your oven preheat for a full 20 minutes, and then check the reading. If you set your oven to 350°F and the thermometer reads 375°F, you now know you need to set your dial to 325°F to achieve the correct baking temperature. (Yes, really.)
The Baker’s Golden Rules for Even Cooking
Now that you know your oven’s quirks, you can work with them instead of fighting against them. These are the non-negotiable techniques for achieving perfectly even layers, every single time.
-
Rule #1: Rotate Your Pans. This is the single most effective technique. If you have hot spots in the back, you need to give the pans in the front their turn in the heat. The rule is simple: halfway through the baking time specified in the recipe, open the oven and rotate the pans 180 degrees. If you have pans on two different racks, swap their positions as well (top goes to bottom, bottom goes to top) in addition to rotating them. This ensures every side of every cake gets an equal amount of time in every temperature zone.
-
Rule #2: Give Them Space to Breathe. Hot air needs to circulate to cook things properly. If you cram your pans together or push them right up against the oven walls, you block that airflow. This is what causes pale, gummy sides on your cakes. As a rule of thumb, always leave at least one inch of space between your pans and between the pans and the oven walls. If your oven is too small to fit three 8-inch pans with proper spacing, it’s better to bake them in two batches.
-
Rule #3: The Center Rack is Best. For most cakes, cookies, and breads, the center rack provides the most even exposure to both the top and bottom heating elements. The top rack is great for browning and the bottom rack is good for crisping a crust, but for the delicate structure of a cake, the middle is where you want to be.
Does Your Bakeware Matter? (It Absolutely Does)
The tools you use are just as important as the technique. The color and material of your cake pans have a huge impact on how they bake.
Most professional bakers prefer light-colored, heavy-gauge aluminum pans. Brands like Fat Daddio’s or Nordic Ware are fantastic investments. Aluminum is an excellent heat conductor, which means it heats up quickly and evenly. The light color reflects some heat, which promotes gentle, even browning. This gives you a tender crust and a soft crumb.
Dark, non-stick pans are very common in home kitchens, but they behave differently. The dark surface absorbs and radiates more heat, much like a black t-shirt on a sunny day. This causes the sides and bottom of your cake to cook and brown much faster than the center. This can lead to a thick, dark, and sometimes dry crust. If you are using dark metal pans, a good practice is to reduce the oven temperature called for in the recipe by 25°F (about 15°C) and start checking for doneness a few minutes earlier. (Your future self will thank you.)
What about glass or ceramic? They are great insulators, which means they take longer to heat up but retain that heat very well. This makes them ideal for casseroles or pies, but less so for delicate cakes where you want more precise and even cooking.
A Simple Test A Perfect Yellow Cake
Ready to put this all to the test? Here is a simple, no-fail yellow cake recipe. Use it to practice your new oven-wrangling skills.
Ingredients:
- 2 1/2 cups (300g) all-purpose flour
- 2 1/2 teaspoons baking powder
- 1/2 teaspoon salt
- 1 1/2 cups (300g) granulated sugar
- 1/2 cup (113g) unsalted butter, softened
- 1/2 cup vegetable oil
- 3 large eggs, at room temperature
- 1 tablespoon vanilla extract
- 1 cup (240ml) buttermilk, at room temperature
Instructions:
- Prepare Your Oven and Pans: Place a rack in the center of your oven and pop your oven thermometer inside. Preheat to 350°F (177°C). Once preheated, check your thermometer and adjust the dial as needed to hit the target temperature. Grease and flour two 8-inch round cake pans.
- Mix Dry Ingredients: In a medium bowl, whisk together the flour, baking powder, and salt.
- Mix Wet Ingredients: In a large bowl with an electric mixer, beat the butter and sugar until light and fluffy, about 3-4 minutes. Beat in the oil. Add the eggs one at a time, beating well after each addition. Mix in the vanilla extract.
- Combine: Alternate adding the dry ingredients and the buttermilk to the wet ingredients, beginning and ending with the dry ingredients. Mix on low speed until just combined—do not overmix.
- Bake Evenly: Divide the batter evenly between your prepared pans. Place them on the center rack, ensuring at least an inch of space around each one. Bake for 30-35 minutes. At the 15-minute mark, open the oven and rotate the pans 180 degrees.
- Check for Doneness: The cakes are done when a wooden skewer or toothpick inserted into the center comes out clean. Let them cool in the pans for 10 minutes before inverting them onto a wire rack to cool completely.
Baking is a science, but your oven is an imperfect variable. By understanding its flaws and using simple techniques like rotating pans and verifying the temperature, you take back control. Stop fighting your equipment and start working with it. The right knowledge is the most valuable tool in your kitchen. Now go bake something amazing.