Let’s be honest. You spend a solid chunk of your Sunday dicing, chopping, and cooking for the week ahead. You’ve got your containers lined up, your macros calculated, but by Wednesday, that pre-cooked chicken breast tastes… well, sad. It’s often rubbery, a bit grey, and lacks any real satisfying flavor. You’re eating it for fuel, not for fun.
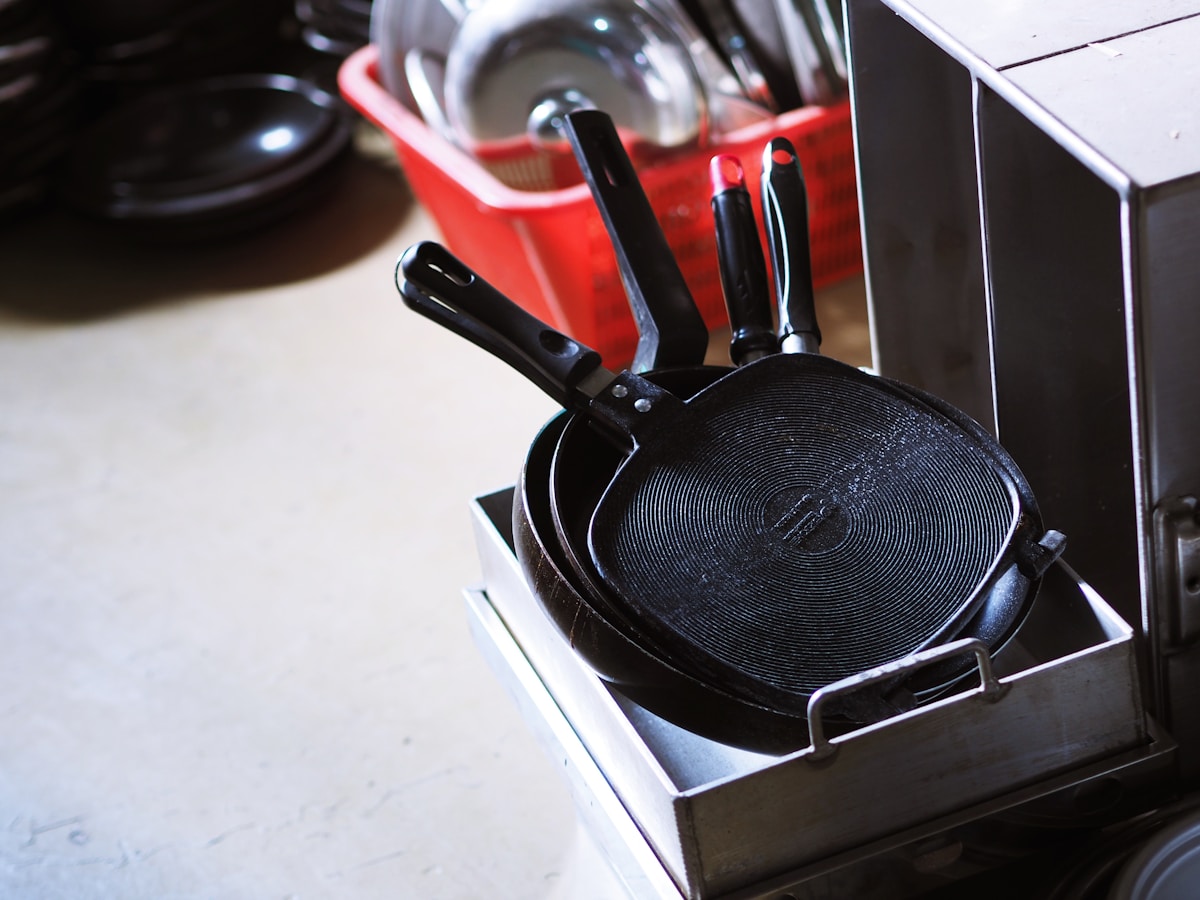
If this sounds familiar, I’m going to let you in on a little secret. The problem might not be your recipe or your cooking time. It’s probably your pan. That trusty non-stick skillet you use for your morning eggs is actively working against you when it comes to batch-cooking proteins. But there’s a simple, affordable, and time-tested tool that can completely change your meal prep game: a cast iron skillet.
The Sunday Scaries of Soggy Chicken
The core issue with most meal prep protein is a failure to launch—a failure to sear, that is. When you cook multiple pieces of chicken, salmon, or steak back-to-back in a thin aluminum or stainless steel non-stick pan, you’re fighting a losing battle against physics.
Here’s what happens: you preheat your lightweight pan, add the first piece of cold chicken, and get a decent sizzle. But that cold meat instantly sucks a huge amount of heat out of the thin pan. By the time you add the second or third piece, the pan’s temperature has plummeted. The sizzle dies down to a pathetic hiss. Instead of searing in a hot, dry environment, your chicken is now simmering in its own juices. The result is that steamed, pale protein we all dread.
You end up waiting for the pan to heat back up between every small batch, which drags out your prep time and leaves you with inconsistent results. It’s a frustrating cycle that makes a chore feel even longer.
Why Cast Iron Is Your Batch-Cooking Champion
This is where cast iron flips the script. The magic of a cast iron skillet isn’t just about getting hot; it’s about staying hot. This property is called heat retention, or thermal mass.
Think of your cast iron skillet like a brick pizza oven and your non-stick pan like a sheet of aluminum foil. Both can get hot, but which one holds onto that heat? A cast iron pan is a thick, heavy piece of dense iron. It takes a few minutes longer to preheat properly (a crucial step we’ll cover), but once it reaches searing temperature, it has so much thermal energy stored that adding a few pieces of cold protein barely affects its surface temperature.
The sizzle doesn’t stop. The second batch gets the same intense, even heat as the first. The third batch, too. You can move from one piece of salmon to the next without significant downtime or temperature drops. This incredible heat retention not only makes your meal prep faster and more efficient, but it’s also the key to unlocking incredible flavor.
Unlocking Flavor The Science of the Perfect Sear
That deep brown, crispy crust on a perfectly cooked steak or piece of chicken has a name: the Maillard reaction. It’s a complex chemical reaction that occurs between amino acids and sugars when food is exposed to high heat. It’s not just browning; it’s the creation of hundreds of new aromatic compounds that give seared and roasted foods their irresistible, savory depth.
To trigger a powerful Maillard reaction, you need a surface temperature of at least 350°F (177°C), and the sweet spot is often closer to 400-450°F (204-232°C). You also need a dry surface. As we discussed, a lightweight pan that loses its heat will cause moisture to pool, effectively steaming the food and preventing that beautiful crust from forming.
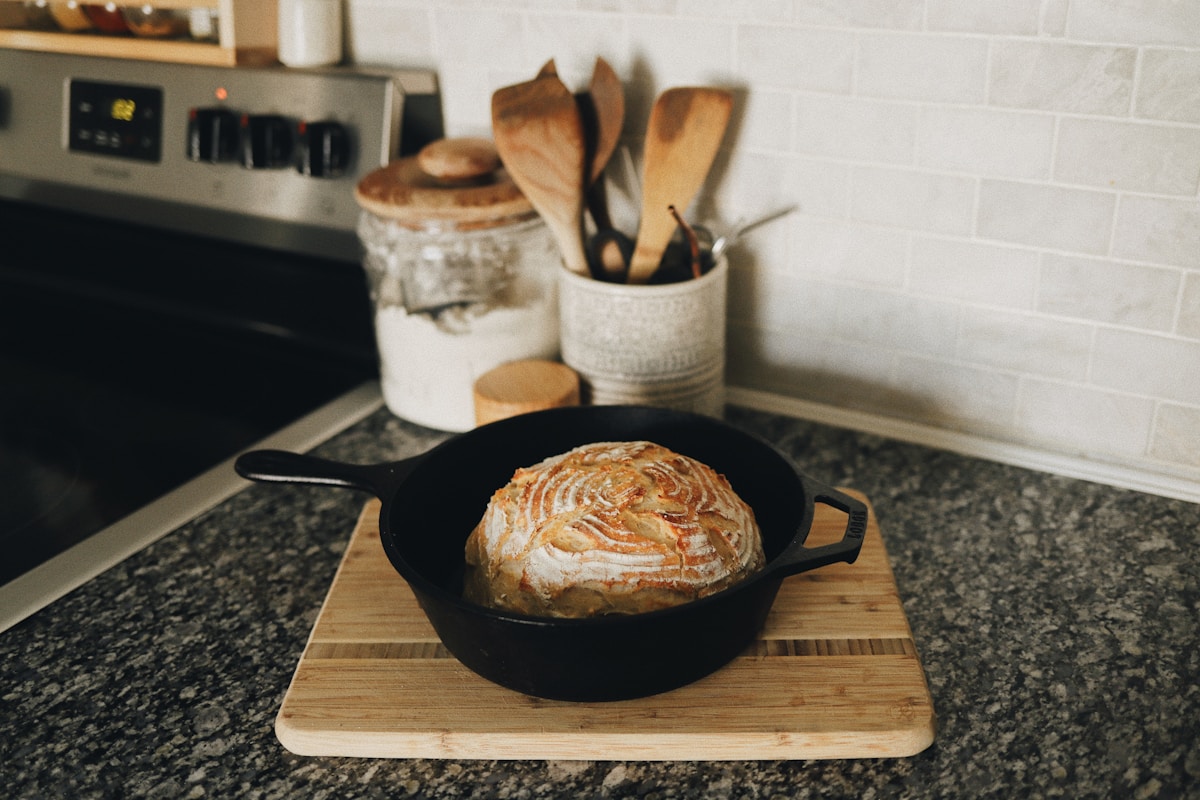
Cast iron is the ideal Maillard machine. Its ability to maintain a scorching-hot, even temperature provides the perfect environment for this reaction to happen quickly and effectively. That crust isn’t just for looks; it’s a layer of concentrated flavor that makes your meal prep taste like it was freshly cooked, even when you’re reheating it on day four. (Trust me, it makes a world of difference.)
Picking Your Meal Prep Workhorse Which Skillet To Buy
You do not need to spend a fortune to get a fantastic cast iron skillet. In fact, one of the best pans on the market is also one of the most affordable. Every kitchen, in my opinion, should have one.
-
The Go-To Value Pick: Lodge 12-Inch Cast Iron Skillet
- Price Range: $25 - $40
- Pros: This is the undisputed king of value. It’s incredibly durable (you’ll pass it down to your kids), made in the USA, and delivers phenomenal searing performance. A 12-inch pan gives you enough real estate to cook 3-4 chicken thighs or two large salmon fillets at once without crowding.
- Cons: It’s heavy. The pre-seasoned surface from the factory is a bit rough and pebbly, but it smooths out beautifully with use, developing a slick, non-stick patina over time.
-
The Modern Upgrade: Field Company or Stargazer 12-Inch Skillet
- Price Range: $140 - $200+
- Pros: These are stunning pieces of cookware. Their main advantage is a machine-smoothed cooking surface, which feels more like vintage cast iron and offers slightly better non-stick performance right out of the box. They are also noticeably lighter than a Lodge of the same size.
- Cons: The price. For the core task of searing meal prep proteins, the performance gain over a Lodge is minimal. This is a luxury, a “buy it for life” item for those who truly love the craft.
My Verdict: Start with the 12-inch Lodge. For less than the cost of a couple of takeout meals, you get a kitchen tool that will fundamentally improve your cooking and last forever. It is the best bang-for-your-buck purchase you can make for your kitchen.
Practical Test Batch-Searing Chicken Thighs
Let’s put this into practice. Here’s how you get perfectly seared, juicy chicken thighs every single time for your weekly prep.
-
The Prep: Start with 2-3 pounds of boneless, skinless chicken thighs. The single most important step is to pat them completely dry with paper towels. Moisture is the enemy of a good sear. Season them aggressively on all sides with salt, black pepper, garlic powder, and smoked paprika.
-
The Preheat: Place your 12-inch cast iron skillet on a burner over medium heat. Let it preheat for a solid 5-10 minutes. Don’t rush this! You’ll know it’s ready when a flick of water sizzles and evaporates almost instantly.
-
The Oil: Turn the heat up to medium-high and add one tablespoon of a high-smoke-point oil, like avocado or canola oil. Swirl to coat the bottom of the pan. It should shimmer slightly.
-
The Sear: Gently place 3-4 chicken thighs in the hot pan, making sure not to overcrowd them. You should hear an immediate, loud sizzle. Do not touch them. Let them sear undisturbed for 4-5 minutes.
-
The Flip: Using tongs, flip the chicken. You should see a magnificent deep golden-brown crust. Sear the other side for another 4-5 minutes, or until an instant-read thermometer registers 165°F (74°C) in the thickest part.
-
Rest and Repeat: Remove the cooked chicken to a plate or cutting board to rest for a few minutes before slicing. Your pan will still be screaming hot. Add another small splash of oil if needed and go right into your next batch. Notice how there’s no waiting and no weak sizzle. That’s the cast iron advantage.
Keeping Your Skillet Happy The 60-Second Cleanup
Forget the myths you’ve heard about cast iron care being complicated. It’s incredibly simple.
- Scrape & Rinse: While the pan is still warm (not scorching hot), use a flat-edged spatula or a pan scraper to remove any food bits. Rinse it under hot water.
- A Little Soap is Okay: For greasy jobs, using a small drop of dish soap is perfectly fine. A well-seasoned pan can handle it. (Yes, really.) Just avoid harsh scouring pads.
- Dry Thoroughly: This is the most critical rule. Never let your cast iron air dry, as it can rust. Towel dry it, then place it back on the stove over low heat for a minute to evaporate any remaining moisture.
- Oil It: Turn off the heat. Pour about a teaspoon of neutral oil into the warm pan and use a paper towel to wipe a micro-thin layer over the entire cooking surface. It should look dark and glossy, not pooled with oil.
That’s it. This entire process takes less than a minute and builds up the pan’s non-stick seasoning over time. Your future self will thank you. The right tool doesn’t just make cooking easier; it makes the food better. And when it comes to meal prep, a simple cast iron skillet is the right tool for the job.