Let’s be honest for a second. Have you ever spent good money on a beautiful steak, brought it home with visions of a sizzling, steakhouse-worthy dinner, only to end up with… a sad, gray, slightly rubbery piece of meat? The inside might be cooked okay, but the outside has none of that deep, dark, flavorful crust you were dreaming of. If you’re nodding along, please know you are not alone. This is one of the most common frustrations for new cooks, and it’s a hurdle I remember well.
The good news is that the solution isn’t some complicated chef secret. It’s science, and it’s simpler than you think. That beautiful browning has a name—the Maillard reaction—and today, we’re going to learn how to make it happen in your kitchen, on your stove, with confidence. We’re going to turn that gray steak into a golden-brown masterpiece.
The Real Villain Behind a Bad Sear
Before we can become searing superheroes, we need to understand our arch-nemesis: moisture. That’s it. The number one reason a steak steams instead of sears is excess water on its surface.
Think about it this way: a pan can only do one thing at a time. It can either boil off water (which happens at 212°F or 100°C), or it can sear the meat. The magical Maillard reaction—that chemical process between amino acids and sugars that creates hundreds of new, delicious flavor compounds—doesn’t really get going until the temperature hits around 300°F (150°C).
If your steak’s surface is wet, the pan has to spend all its energy boiling off that surface moisture first. It acts like a little steam engine, keeping the surface temperature of the steak stuck at the boiling point. By the time the water is finally gone and the pan can start its real job of searing, the inside of your steak is already on its way to being overcooked. The result? A gray, steamed exterior and a tough interior. (We’ve all been there.)
To get that gorgeous crust, our mission is simple: eliminate surface moisture and get the pan hot enough to bypass the steaming stage and jump straight to the searing stage. Fast.
The Three Golden Rules for a Perfect Crust
Mastering a steak crust comes down to three non-negotiable rules. Get these right, and you’re 90% of the way to a perfect steak, every single time. Let’s break them down.
Rule 1: Get That Steak Bone-Dry
I cannot say this enough. Your steak needs to be as dry as possible on the outside before it ever touches the pan. When you think it’s dry, pat it again.
- The Basic Method: Take your steak out of the packaging and pat it thoroughly on all sides with paper towels. Press down gently to really absorb any surface moisture.
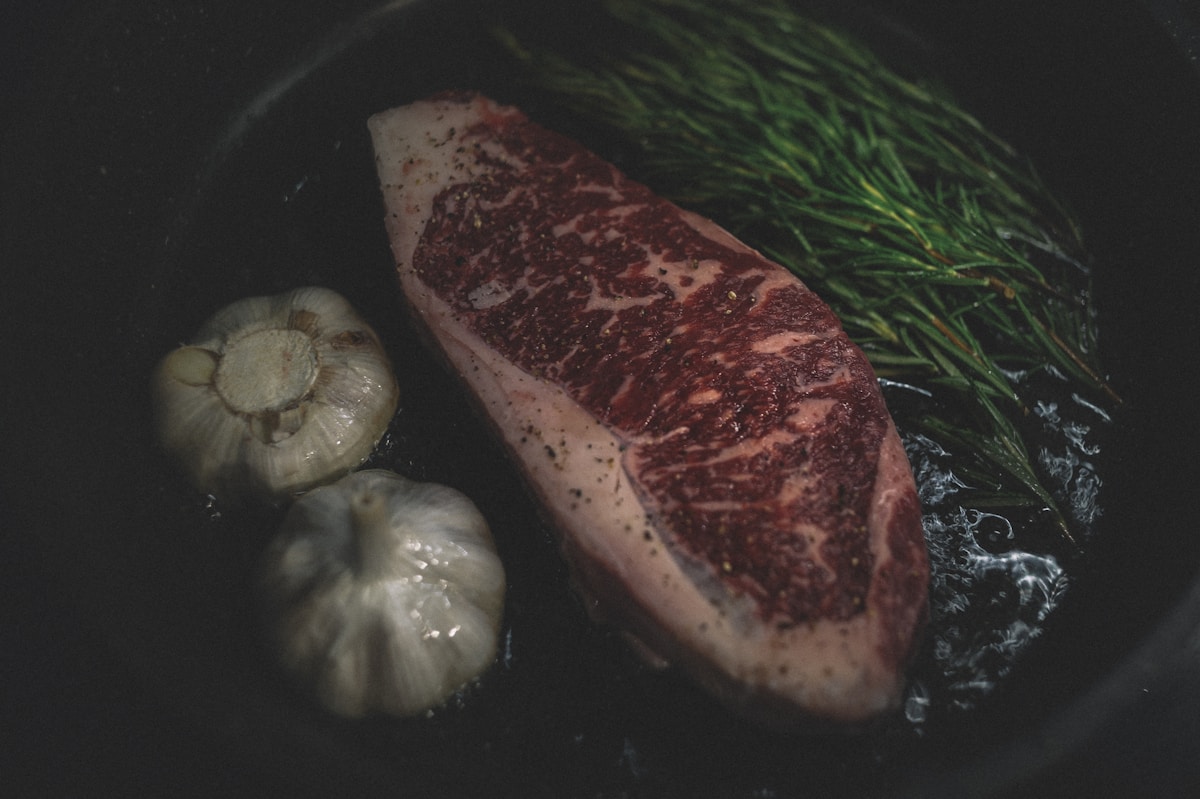
- The Pro-Level Method (My Favorite): This takes a little planning but the results are incredible. About an hour before cooking (or even up to 24 hours before!), pat the steak dry and season it generously with coarse salt. Place it on a small wire rack set inside a baking sheet and leave it uncovered in the refrigerator. The salt will draw moisture out of the steak (a process called osmosis), and the cold, circulating air of the fridge will evaporate it. The surface will look a little dry and dark, which is exactly what you want!
Rule 2: Bring the Heat (Seriously)
Beginners are often timid with heat, and I get it! A screaming hot pan can feel intimidating. But for a great sear, high heat is your best friend. You need to get your pan incredibly hot before the steak goes in.
- The Right Tool: A heavy-bottomed pan that retains heat well is essential. Cast iron is the undisputed king here. A 10 or 12-inch skillet from a brand like Lodge is an affordable workhorse you’ll have for life. Stainless steel is a good second choice. Please, avoid thin non-stick pans; they generally can’t handle the high heat required and won’t produce the same quality of crust.
- The Preheating Process: Place your empty skillet on the stove over medium-high heat. Now, wait. Don’t rush this. Let it heat up for a solid 5-7 minutes. You’ll know it’s ready when you see tiny wisps of smoke starting to rise from the pan’s surface. That’s your green light.
Rule 3: Choose Your Fat Wisely
Not all oils are created equal. For high-heat searing, you need a fat with a high “smoke point”—the temperature at which it starts to break down and smoke.
- Good Choices: Fats with high smoke points include avocado oil (around 520°F / 271°C), ghee or clarified butter (485°F / 252°C), grapeseed oil, or even beef tallow. These won’t burn and create acrid flavors at searing temperatures.
- Poor Choices: Butter has a low smoke point because of its milk solids; it will burn almost instantly in a properly heated pan. (We can add it at the end for flavor, but not at the beginning for searing.) Many common extra virgin olive oils also have a lower smoke point, making them better for sautéing than for a ripping hot sear.
Your Step-by-Step Steak Searing Guide
Alright, let’s put the theory into practice. Here’s how you’ll cook a fantastic 1.5-inch thick ribeye or New York strip steak to a perfect medium-rare.
-
Prep the Steak: About 45 minutes before you plan to cook, take the steak out of the fridge. Pat it completely dry with paper towels. Season it very generously on all sides with coarse salt and freshly ground black pepper. Let it sit at room temperature.
-
Prep the Pan: Ten minutes before cooking, place your cast iron skillet over medium-high heat. Let it preheat thoroughly.
-
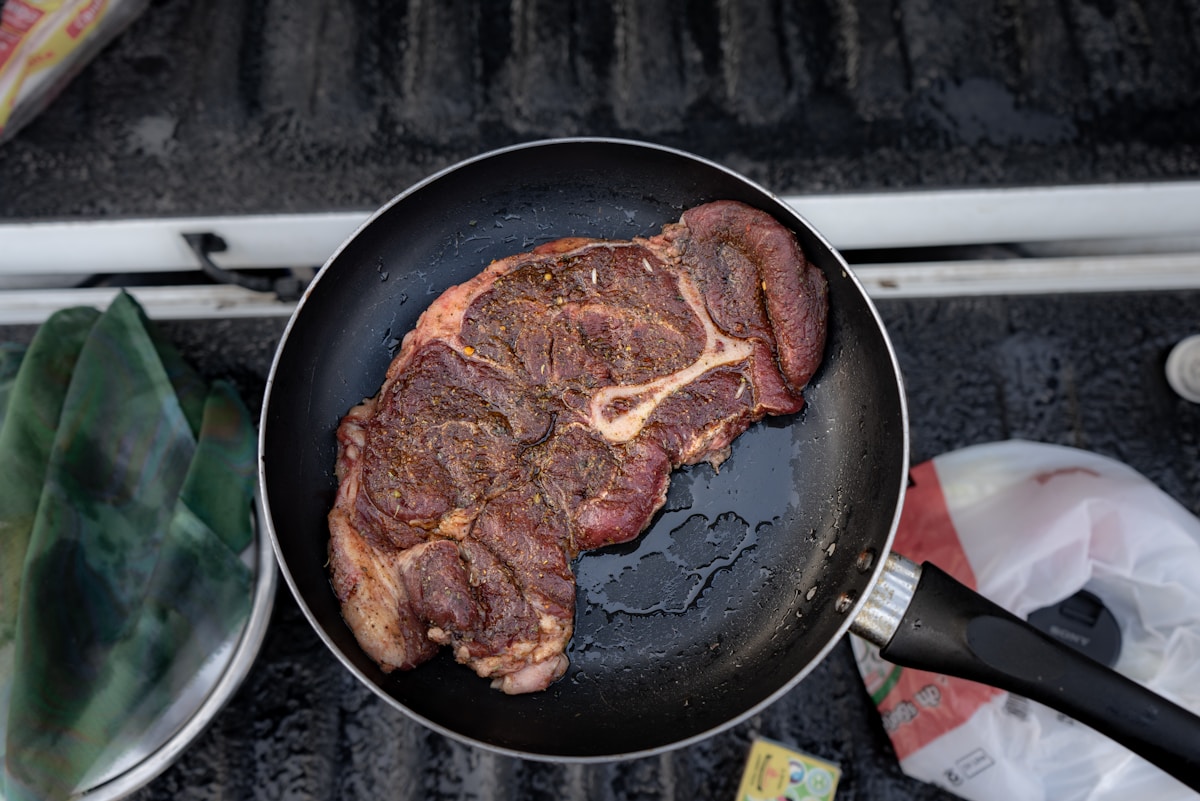
Add Fat & Steak: Add one tablespoon of avocado oil to the hot pan. It should shimmer almost immediately. Gently lay the steak in the pan, placing it away from you to avoid any oil splashing back. You should hear a loud, aggressive sizzle. (This is the best sound in the kitchen.)
-
Sear Side One: Do not touch it. Don’t poke it, don’t move it, don’t even look at it funny. Let it sit and sear for 3-4 minutes. You need to let that crust form an unbreakable bond with the pan.
-
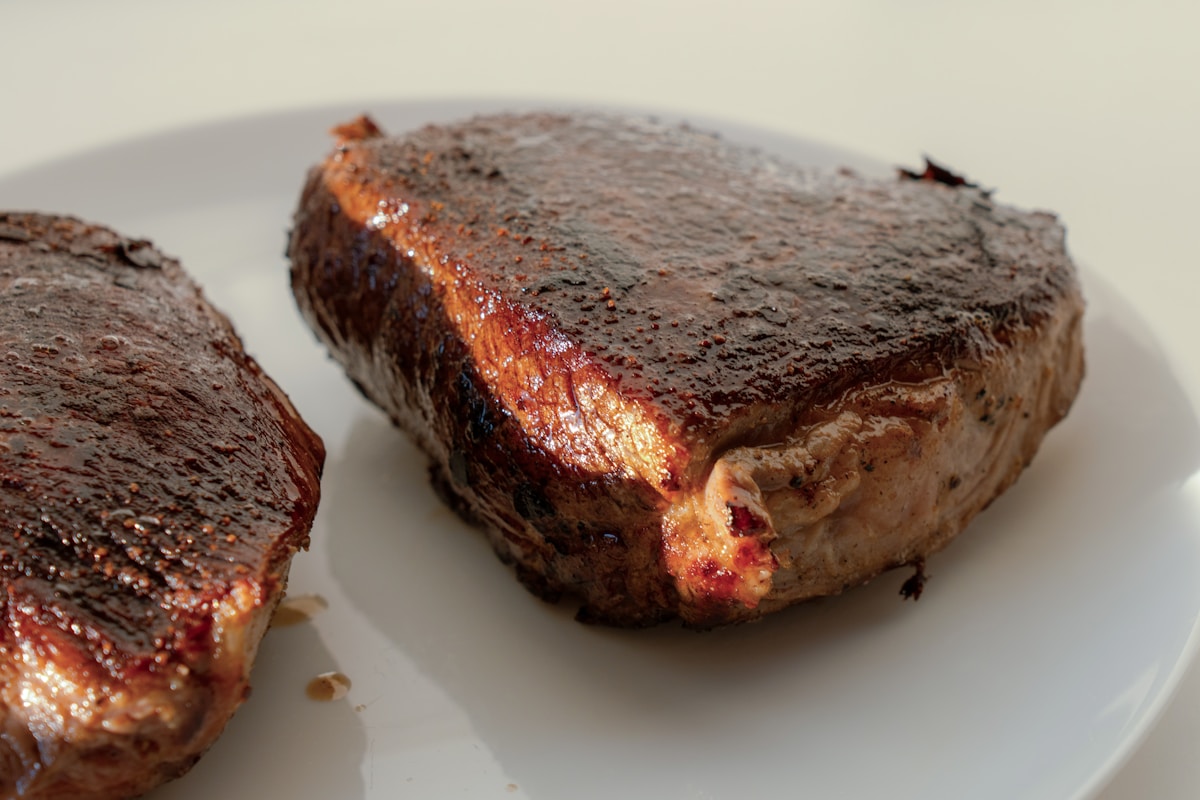
Flip and Sear Side Two: Using tongs (never a fork, which pokes holes and lets juices escape!), flip the steak over. You should see a gorgeous, deep brown crust. Sear the other side for another 3-4 minutes.
-
Level-Up Butter Baste (Optional): During the last minute of cooking, reduce the heat to medium. Add 2 tablespoons of butter, 2 lightly crushed cloves of garlic, and a sprig of thyme or rosemary to the pan. As the butter foams, carefully tilt the pan and use a large spoon to continuously baste the steak with the fragrant, foaming butter. This adds a final layer of incredible flavor.
-
Check for Doneness: The most reliable way to check is with an instant-read thermometer. For medium-rare, you’re looking for an internal temperature of 130-135°F (54-57°C).
-
The Most Important Step: REST! Remove the steak from the pan and place it on a cutting board or plate. Let it rest for 5-10 minutes before you even think about slicing it. This allows the juices that have been pushed to the center by the intense heat to relax and redistribute throughout the meat. If you skip this, all that flavor will end up in a puddle on your cutting board instead of in your mouth.
Common Mistakes (and Why They’re Okay!)
Every great cook has made these mistakes. Seeing them ahead of time is half the battle.
- The Crowded Pan: If you try to cook two or three steaks in a pan that’s too small, they will steam each other. The temperature of the pan will drop, and you’ll get that dreaded gray result. Cook in batches if you have to! Give your steaks some personal space.
- The Nervous Flipper: Resisting the urge to constantly flip the steak is tough, but crucial. A crust can’t form if the meat isn’t in constant, direct contact with the hot pan. Set a timer and trust the process.
- The Impatient Slicer: We just talked about this, but it’s worth repeating. Resting your steak is not optional. It’s the difference between a juicy steak and a dry one.
Try This Tonight: The Crust Challenge
Feeling ready? Here’s your mission. Don’t worry about a fancy three-course meal. Tonight, we’re just focusing on one thing: the perfect crust.
Go to the store and buy just one, good-quality, thick-cut (at least 1.5 inches) steak. A sirloin, ribeye, or New York strip would be perfect. Your entire goal is to nail the three golden rules: get the surface incredibly dry, get your pan screaming hot, and use a high-smoke-point oil. Follow the step-by-step guide, but feel free to skip the butter-basting for your first try. Just focus on the fundamentals.
Serve it with something incredibly simple, like a pre-made bagged salad or some crusty bread. The star of the show is the steak you just cooked beautifully. Take a bite, appreciate that flavorful crust and juicy center, and give yourself a pat on the back.
You didn’t just cook dinner; you mastered a technique. And that’s how confidence in the kitchen is built, one delicious success at a time. You’ve got this.