We’ve all been there. You pull a masterpiece from the oven. The crust is a perfect, flaky, golden-brown. The aroma of cinnamon and baked apples fills your kitchen. You slice into it, revealing a mountain of what should be tender, jammy fruit. But then you take a bite, and… crunch. Instead of luscious, yielding apples, you get a mouthful of firm, undercooked slices. It’s one of the most common and frustrating pitfalls in pie baking.
That perfect pie is an exercise in timing. The crust must become crisp and golden just as the filling becomes perfectly tender and bubbling. When one is ready before the other, you get disappointing results. But fear not. The solution isn’t a mystery; it’s a matter of technique and a little bit of food science. Let’s break down exactly why your apples are staying crunchy and how to guarantee a perfectly cooked filling every single time.
The Anatomy of the Perfect Slice
The single most important factor in achieving a tender pie filling is the thickness of your apple slices. If you take away only one thing from this article, let it be this: aim for a uniform thickness of 1/4-inch (about 6mm).
Why is this the magic number? It’s all about heat transfer. Baking is a race against time. The heat from your oven needs to penetrate the crust and then travel through each layer of apple, breaking down the fruit’s tough cellulose and pectin structures until they become soft.
- Too Thick (1/2-inch or more): Slices this large have too much mass. By the time the heat fully penetrates to the center of each slice, your beautiful crust will have gone from golden to dark brown, or even burnt. You’re left with an impossible choice: pull the pie and have crunchy apples, or bake it longer and scorch the pastry.
- Too Thin (1/8-inch or less): These slices have the opposite problem. They cook too quickly, breaking down completely into a uniform, mushy texture. You lose that desirable contrast of individual, tender apple pieces. Your pie filling becomes, essentially, applesauce.
Uniformity is just as crucial as thickness. If your slices are a random jumble of thick and thin pieces, your filling will have an equally unpleasant mix of mushy bits and hard, crunchy chunks. The best tool for the job? A mandoline. It’s the fastest, most reliable way to get perfectly consistent 1/4-inch slices. (Yes, really.) If you don’t have one, just take your time with a sharp chef’s knife and focus on consistency.
Choosing Your Apple Wisely It’s All in the Pectin
Not all apples are created equal, especially when it comes to pie. The ideal pie apple has a firm texture and a good balance of sweet and tart flavors. More importantly, from a scientific standpoint, it needs to have a stable pectin structure.
Pectin is the cellular glue that gives fruits their structure. When heated, pectin begins to break down. Apples with a lot of sturdy pectin will soften but still hold their shape, giving you distinct slices in your finished pie. Apples with less stable pectin will collapse into mush.
Excellent Pie Apples:
- Granny Smith: The classic choice for a reason. They are extremely firm and tart, holding their shape beautifully while providing a bright flavor to balance the sugar.
- Honeycrisp: A fantastic option. They are incredibly crisp and have a wonderful sweet-tart flavor. They hold their shape almost as well as Granny Smiths.
- Braeburn & Jonagold: Both are firm, crisp apples that offer a complex, honey-like sweetness and resist turning to mush.
- Golden Delicious: A softer choice, but they have a lovely sweet flavor and will hold up reasonably well, especially when mixed with a firmer variety.
A great professional tip is to use a mix of at least two varieties. I love using a 50/50 blend of Granny Smith and Honeycrisp. You get the structural integrity and tartness from the Granny Smith, plus the nuanced sweetness and juiciness from the Honeycrisp.
Apples to Use with Caution:
- McIntosh & Red Delicious: These apples are known for their soft flesh and are wonderful for eating out of hand, but they break down very quickly when heated. If you use them in a pie, expect a texture closer to applesauce.
The Pre-Cooking Solution Your Guarantee for Tenderness
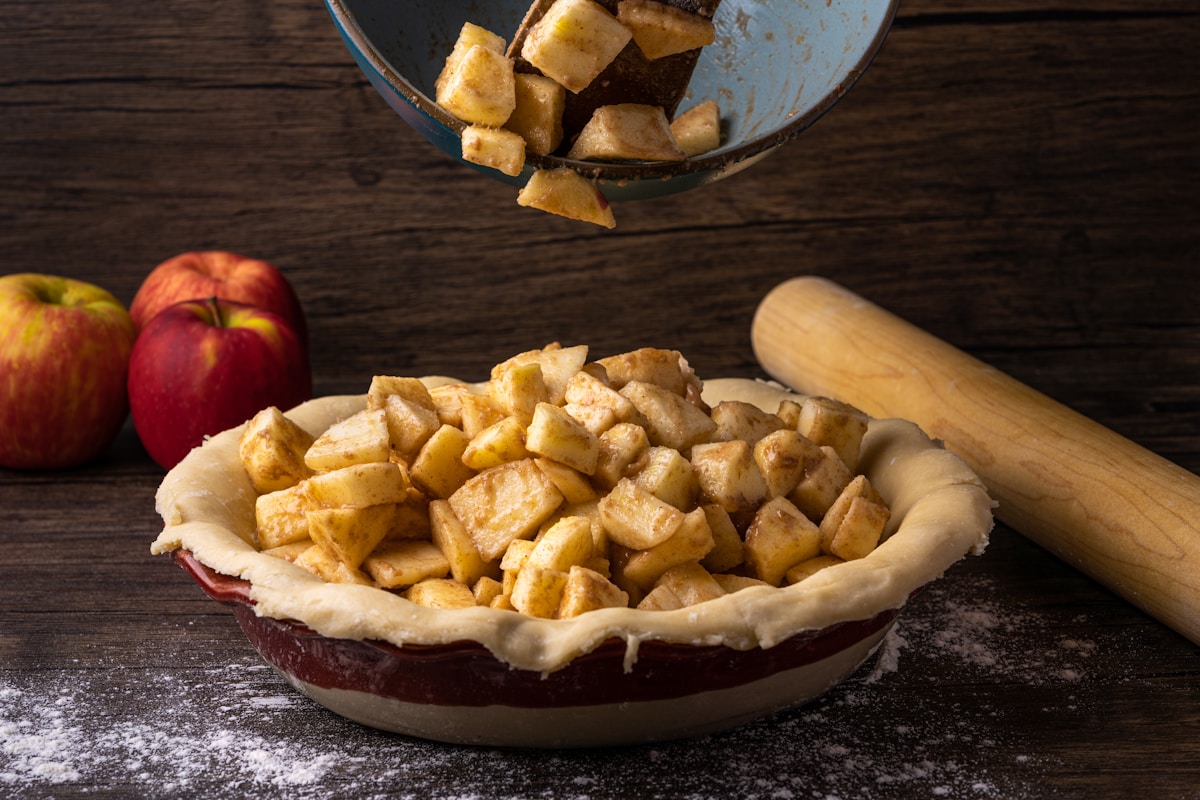
If you want to absolutely, positively guarantee your apples will be tender, the single best technique is to partially cook them on the stovetop before they ever go into the pie shell. This might seem like an extra step, but its benefits are threefold.
- Guaranteed Tenderness: You’re giving the apples a head start on cooking, ensuring they’re perfectly soft by the time the crust is done.
- Water Management: Apples release a tremendous amount of water as they bake. Pre-cooking allows you to release and control that moisture before it hits your pie crust, which is a major defense against a soggy bottom.
- Prevents the Gap: You know that sad, hollow gap that sometimes forms between the baked filling and the top crust? That happens because the apples cook down and shrink inside the pie. By pre-cooking, you shrink the apples first, so you can pack your pie shell tightly with a filling that won’t collapse.
The Pre-Cooking Method: This is chemistry you can eat. The process is simple:
- For a standard 9-inch pie, melt 3 tablespoons of unsalted butter in a large skillet or Dutch oven over medium heat.
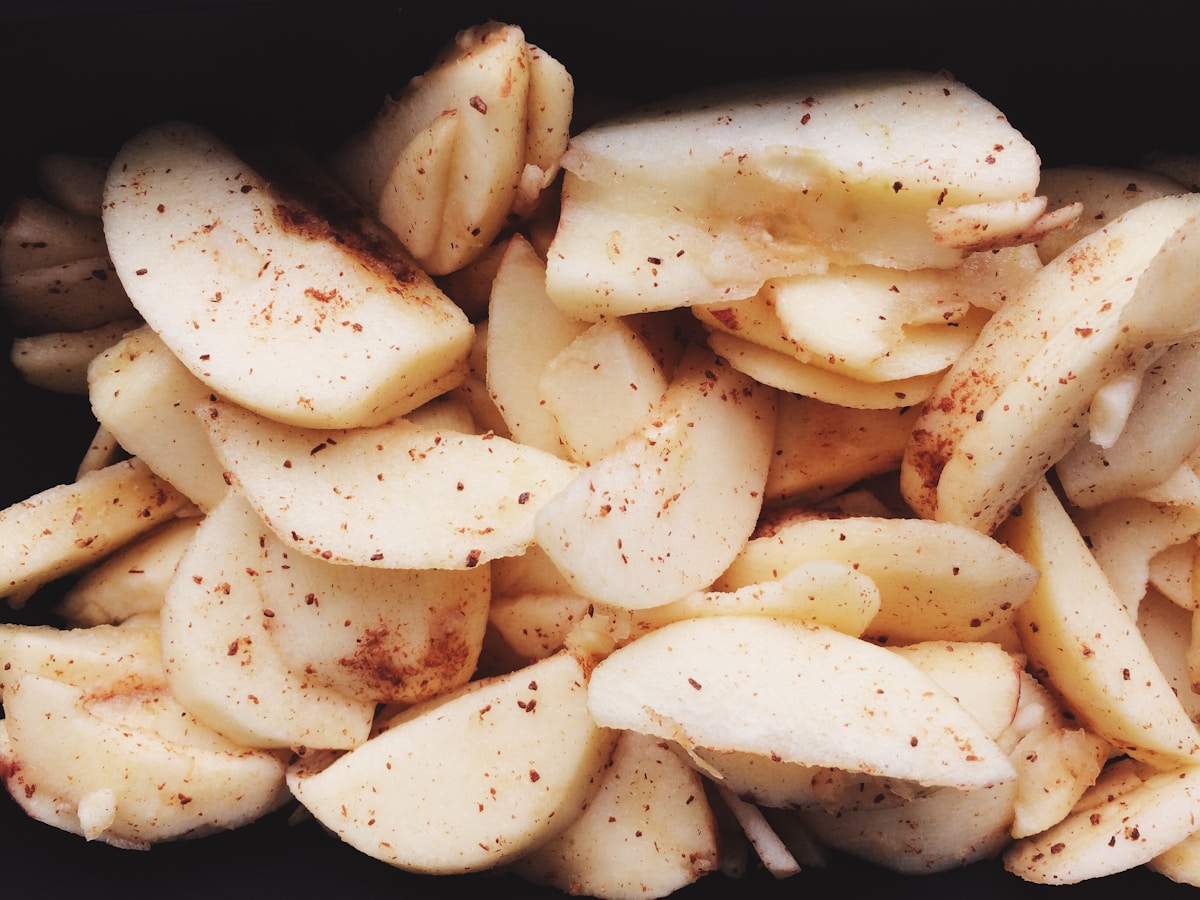
- Add your 1/4-inch sliced apples (about 7-8 medium apples, or 3.5 lbs), along with 3/4 cup of granulated sugar, 1 teaspoon of cinnamon, 1/4 teaspoon of nutmeg, and a pinch of salt.
- Stir gently to combine and cook, stirring occasionally, for about 10-15 minutes. You’re not trying to cook them all the way through. The goal is for the apples to release their juices and become pliable and slightly tender—a fork should meet some resistance.
- Drain the apples in a colander set over a bowl. Let the liquid cool slightly, then mix in 2-3 tablespoons of cornstarch or all-purpose flour to create a slurry. Pour the apples back into the pan, add the slurry, and cook for another 1-2 minutes until the liquid thickens into a glossy sauce.
- Let the filling cool completely before pouring it into your unbaked pie shell. (This is critical—a hot filling will melt the butter in your crust and make it tough.)
Baking for a Golden Finish
Once you have a perfectly prepared filling in a well-made crust, the final step is the bake itself. A two-stage baking temperature is the best way to ensure a crisp bottom crust and a perfectly cooked top.
Start your oven high. Place your pie on a baking sheet (to catch any drips) and bake at 425°F (220°C) for the first 15 minutes. This initial blast of high heat helps to set the bottom crust quickly, preventing it from getting soggy.
After 15 minutes, reduce the oven temperature to 375°F (190°C) and continue to bake for another 40-50 minutes. This gentler temperature allows the filling to cook through evenly without burning the crust. If your crust edges are browning too quickly, you can shield them with a ring of aluminum foil.
How do you know it’s done? Look for two key signs. First, the crust should be a deep, even golden-brown. Second, and most importantly, the filling should be bubbling vigorously through the vents you cut in the top crust. Those thick, slow bubbles mean the starches have gelatinized and your sauce has thickened properly. For the final test, you can gently insert the tip of a paring knife through a vent—it should slide into an apple slice with little to no resistance.
By controlling the slice size, choosing the right apple, and giving the filling a head start on the stove, you take all the guesswork out of the equation. You’re no longer just hoping for the best; you’re engineering a delicious result. The reward is a perfect slice of apple pie, every single time. (Your future self will thank you.)