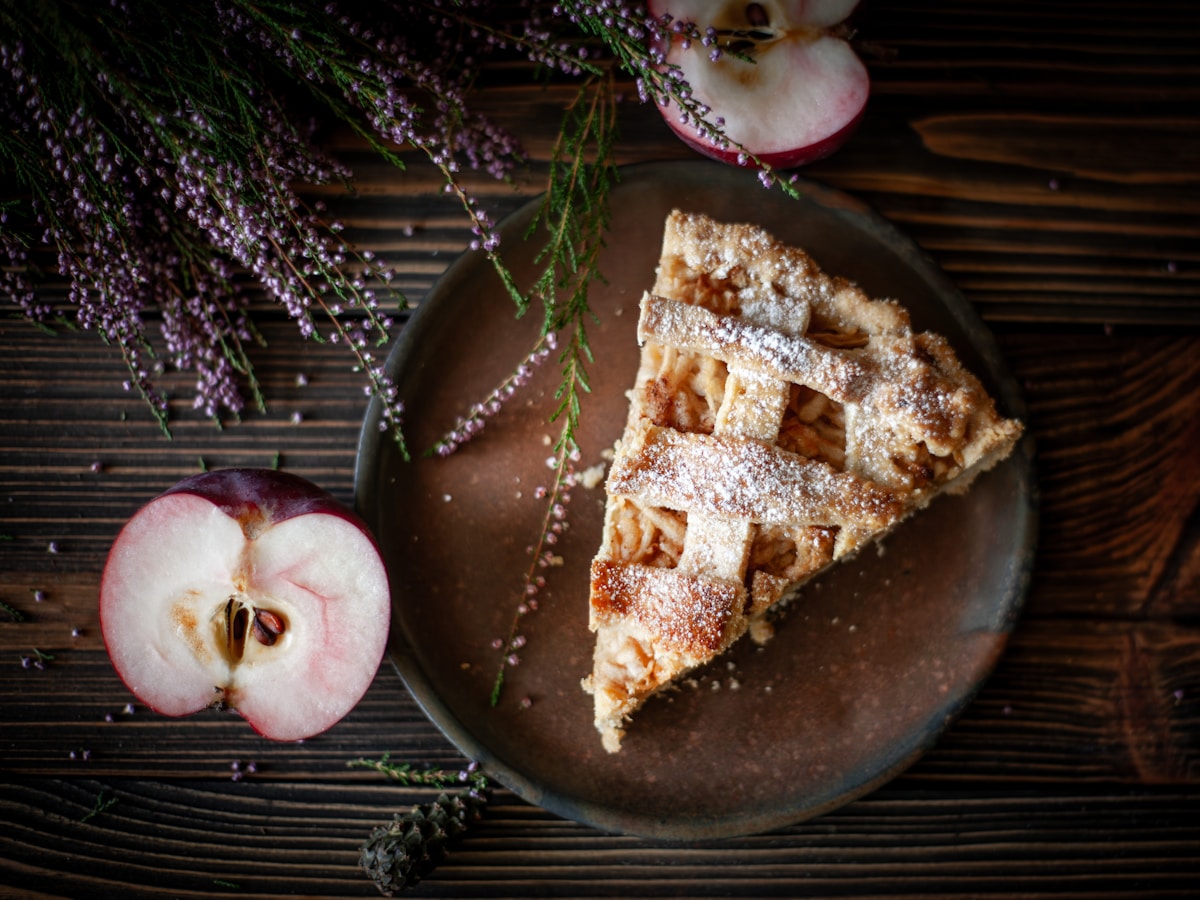
There are few kitchen moments as simultaneously triumphant and devastating as pulling a perfect-looking apple pie from the oven. The crust is a latticed masterpiece, a deep, burnished gold. The aroma of cinnamon and baked apples fills your home. You let it cool (im)patiently, slice into it, and serve a beautiful wedge. Then you take a bite, and your heart sinks. Crunch. The apples are firm, dense, and stubbornly raw.
If this has happened to you, you’re not alone. It’s one of the most common frustrations in baking. The culprit isn’t a bad recipe; it’s a misunderstanding of the physics and chemistry at play. The core challenge is simple: your crust and your filling are in a race to finish, and they run at completely different speeds. Today, we’re going to dive into the science of a perfect apple pie filling and ensure you never serve a crunchy apple pie again.
The Crust vs. Filling Dilemma
Baking an apple pie is a delicate balancing act. On one hand, you have your pastry. Whether it’s an all-butter crust or one made with shortening, its goal is to become flaky, golden, and crisp. This happens as water turns to steam, creating layers, and the sugars and proteins in the flour and butter undergo the Maillard reaction—that magical chemical process that creates browned, savory, complex flavors. This process is relatively fast.
On the other hand, you have several pounds of raw, dense fruit. For an apple to become tender, its cellular structure needs to break down. This requires heat to soften the pectin, which is the natural cellular “glue” that holds the fruit together. This process is slow.
See the problem? Your crust is often perfectly browned and finished baking long before the apples inside have had enough time to fully cook through. Pulling the pie out when the crust looks perfect can leave you with a crunchy filling. Leaving it in longer to cook the apples risks a burnt, bitter crust. So, how do we synchronize the two? We give the filling a head start.
Choosing Your Apples Wisely
The journey to a perfect filling begins at the grocery store or farmer’s market. The type of apple you choose has a dramatic impact on the final texture.
Baking apples are generally categorized by how well they hold their shape when cooked.
- Firm-Tart Apples: Granny Smith is the classic for a reason. It’s incredibly firm and its tartness balances the sugar beautifully. Honeycrisp, Braeburn, and Golden Delicious are also excellent choices that won’t turn to mush. However, their firmness means they require a longer cooking time.
- Softer Apples: Varieties like McIntosh or Cortland cook down much faster and can become soft and saucy. While delicious, using them exclusively can lead to a pie that lacks texture and structure.
My preferred technique is to use a blend. I use about two-thirds firm apples (like Honeycrisp) for structure and discernible slices, and one-third softer apples (like McIntosh) to break down and create a naturally thick, saucy binder around the firmer pieces. This combination gives you the best of both worlds: defined apple slices suspended in a lush, apple-forward sauce. It’s a simple change that makes a world of difference.
The Geometry of the Slice
Once you have your apples, how you cut them is the next critical step. Many recipes say “slice the apples,” but offer no guidance on thickness. This is where many well-intentioned pies go wrong. A slice that’s a half-inch thick has very little surface area relative to its volume, making it incredibly difficult for heat to penetrate to its core.
For a filling that cooks evenly and completely, aim for uniform slices no thicker than 1/4-inch (about 6mm). My personal sweet spot is an even 1/8-inch (about 3mm). Yes, it takes a bit more time, but the payoff is enormous. Thinner slices cook much faster because the heat has less distance to travel.
My secret weapon for this task? A mandoline. (Please, use the hand guard every single time.) A simple, inexpensive mandoline slicer produces perfectly uniform slices in seconds. This uniformity isn’t just for aesthetics; it’s the key to an evenly cooked filling where every single bite is perfectly tender.
The Ultimate Solution: Pre-Cook Your Filling
Here it is. The single most effective technique for guaranteeing a soft, luscious, perfectly cooked apple pie filling every single time: cook it before you bake it.
It might feel like an extra step, but it solves every common apple pie problem in one go. It ensures the apples are tender, it prevents a soggy bottom crust, and it eliminates that dreaded gap that can form between the filling and the top crust.
Here is the method I swear by:
Perfectly Pre-Cooked Apple Filling
- Yields: Enough for one 9-inch deep-dish pie (about 8 cups of apples)
- Ingredients:
- 3.5 lbs (about 1.6 kg) of apples, a mix of firm and soft
- 4 tablespoons (57g) unsalted butter
- 1/2 cup (100g) granulated sugar
- 1/2 cup (110g) packed brown sugar
- 1 teaspoon ground cinnamon
- 1/4 teaspoon ground nutmeg
- 1/4 teaspoon ground allspice
- 1/4 teaspoon salt
- 1 tablespoon lemon juice
- 2 tablespoons cornstarch (or 4 tablespoons all-purpose flour)
Method:
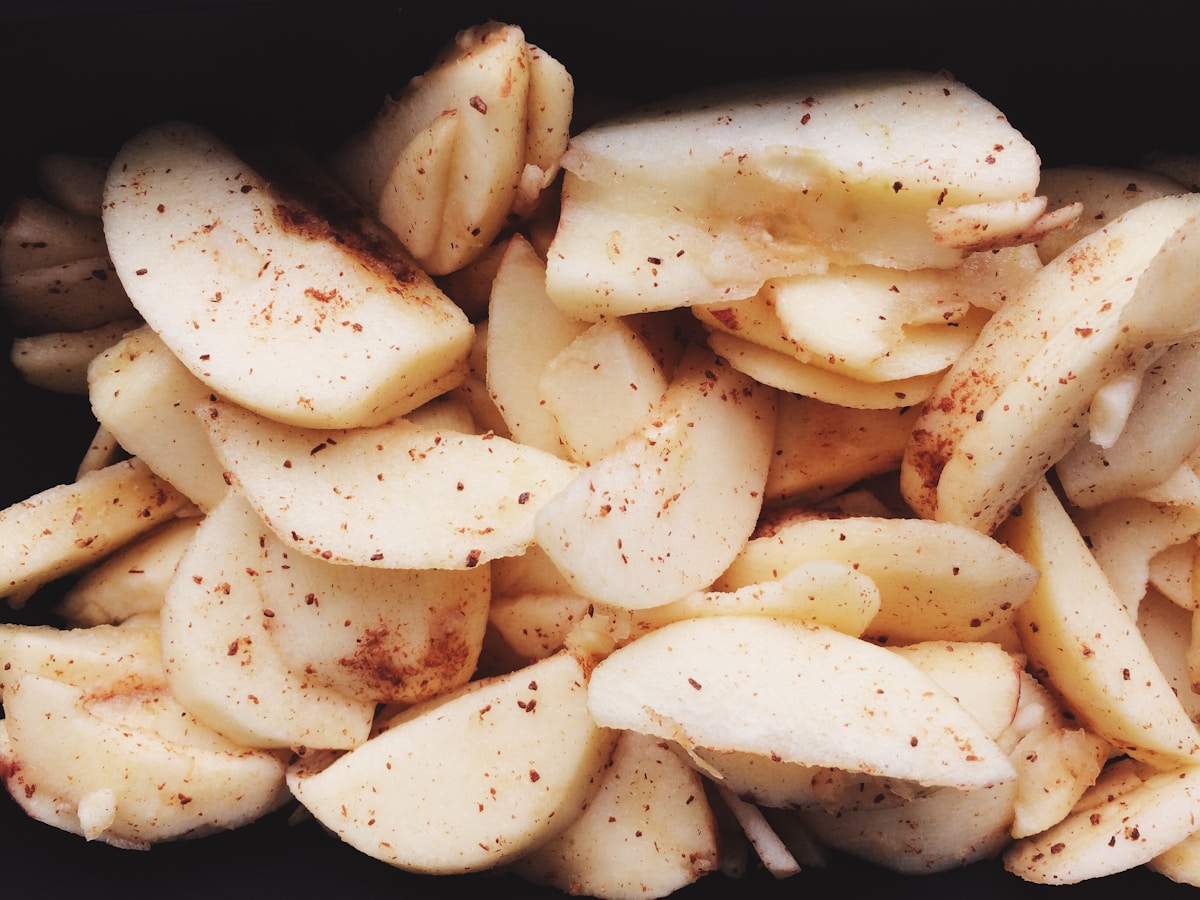
- Peel, core, and slice your apples to a uniform thickness (ideally 1/8 to 1/4-inch).
- In a large, wide-bottomed pot or Dutch oven, melt the butter over medium heat.
- Add the sliced apples, both sugars, all the spices, salt, and lemon juice. Stir gently to coat everything.
- Cook, stirring occasionally, for about 10-15 minutes. The apples will begin to release their juices and soften. You’re not trying to cook them to mush; the goal is “tender-crisp.” They should be pliable but still have a slight bite.
- In a small bowl, whisk your cornstarch with 2 tablespoons of cold water to make a slurry. This prevents lumps.
- Pour the slurry into the apple mixture and stir continuously. Bring the mixture to a gentle bubble and cook for 1 minute more. You’ll see the juices thicken into a beautiful, glossy sauce. This is starch gelatinization in action—the cornstarch granules are absorbing water and swelling to thicken the liquid.
- Remove the pot from the heat and spread the filling onto a baking sheet in a single layer to cool completely. (This is a crucial step.) Never put a hot filling into a raw pie crust, as it will melt the butter and ruin the flaky texture.
By doing this, you’ve pre-shrunk the apples, drawn out excess water, and ensured they are perfectly tender before they even see the oven.
Baking Strategy for Guaranteed Success
Now that your filling is perfect, let’s ensure the bake goes smoothly.
A common and effective technique involves a two-temperature bake. Start the pie in a hot oven, around 425°F (220°C), for the first 15-20 minutes. This high initial heat helps to quickly set the bottom crust, preventing it from getting soggy.
After the initial blast of heat, reduce the oven temperature to 375°F (190°C) and continue baking for another 35-45 minutes. This more moderate temperature allows the pie to cook through evenly without burning the crust.
Here’s another trick, borrowed from many professional bakers: start with the pie covered. For the first 25 minutes of baking at the lower temperature, lay a sheet of aluminum foil loosely over the top of the pie. This traps steam inside, creating a humid environment that gently steams the apples, giving them that final push into perfect tenderness. After 25 minutes, remove the foil to allow the top crust to get that deep, golden-brown color you’re looking for.
Your pie is done when the crust is deeply golden and you can see the thickened filling bubbling slowly through the vents or lattice. Let it cool for at least 4 hours before slicing. (I know, it’s torture, but it allows the filling to set completely.)
By understanding the science behind what’s happening, you transform from someone following a recipe to a baker who is in complete control. You’re no longer just hoping for the best; you’re engineering a delicious result. And the result is a perfect apple pie, with a crisp, flaky crust and a soft, saucy, glorious filling, every single time. That’s a kind of chemistry you can be proud of.