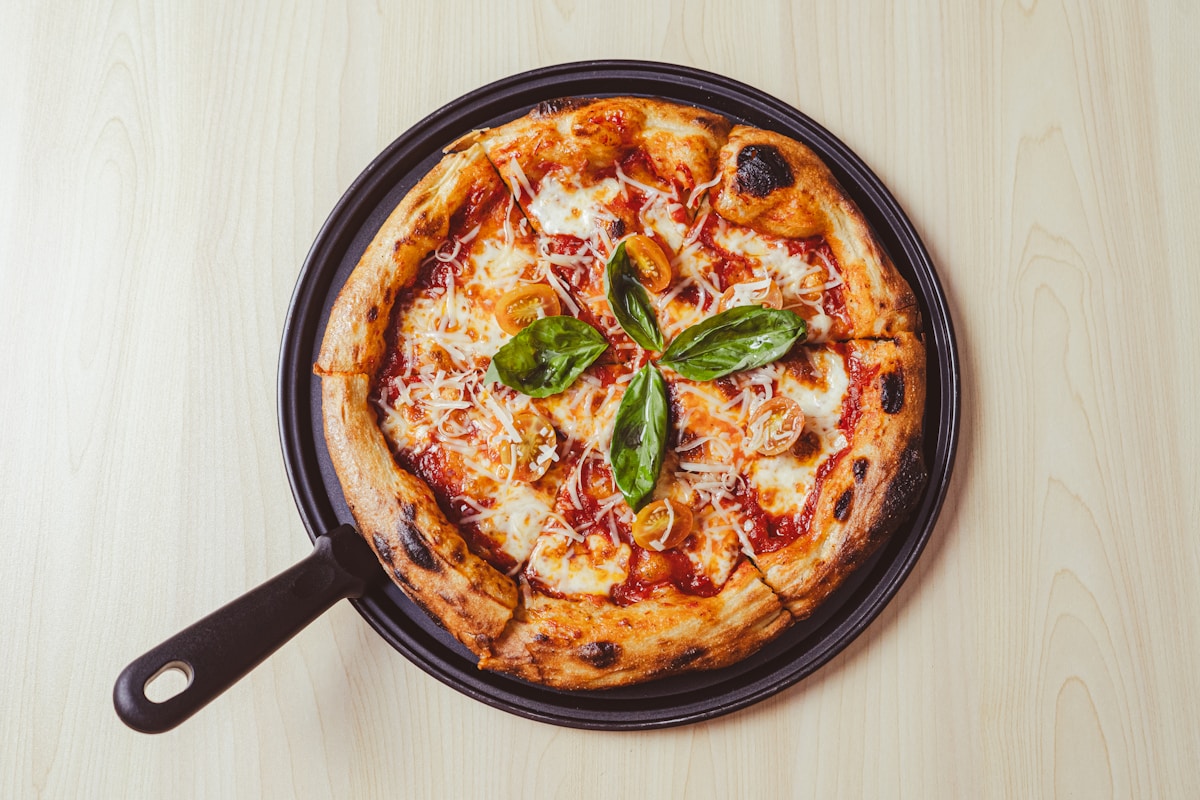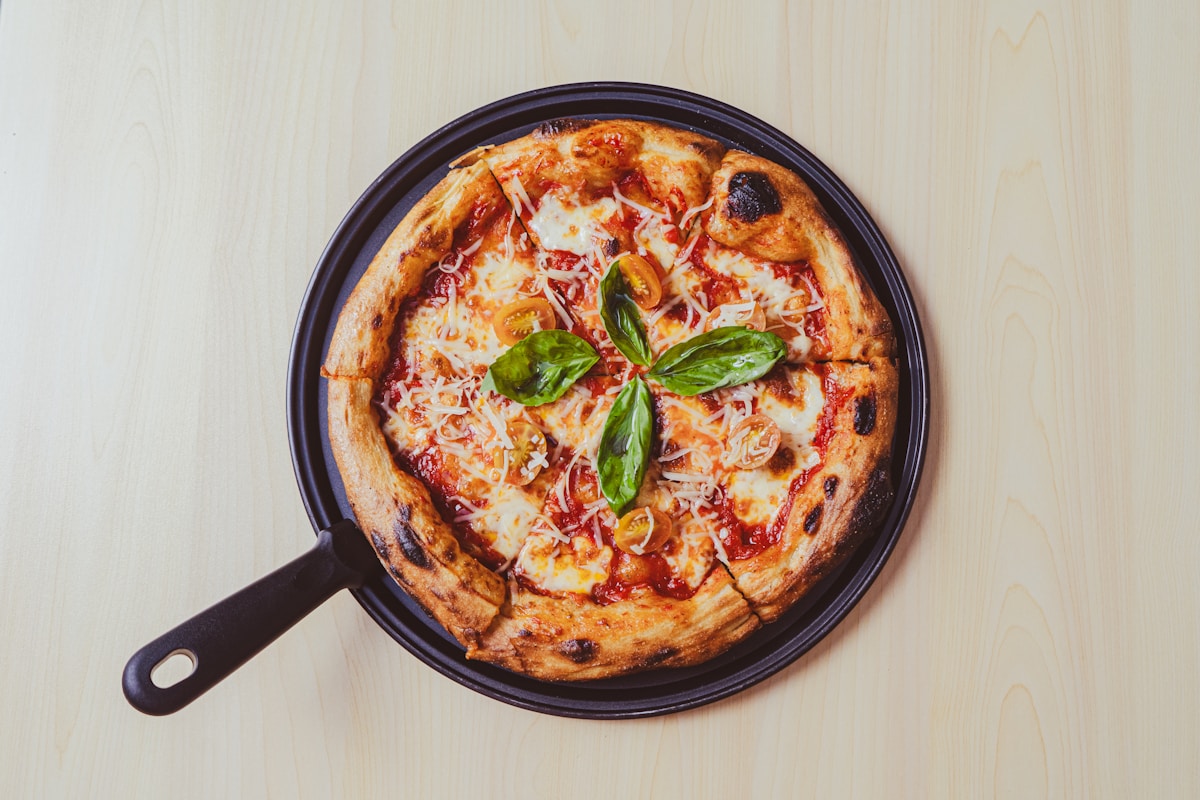
You’ve seen the pictures. That glorious, golden-brown pizza with a thick, cheesy top and a perfectly crispy, fried bottom crust, lifting effortlessly out of a black cast iron skillet. You followed the recipe, preheated your oven until it was roaring hot, and assembled your masterpiece. The smell is incredible. But when you go to slide that first slice out… it’s stuck. Welded. You end up scraping it out in defeat, a delicious but mangled mess.
If this sounds familiar, please know you are not alone. This is one of the most common heartbreaks for aspiring cast iron cooks, but I promise you, it’s also one of the easiest to fix. The problem isn’t you, and it probably isn’t even your pan. It’s all in the technique. Together, we’re going to turn that sticky situation into a crispy triumph.
The Three Culprits of a Stuck Pizza
Think of yourself as a detective at a crime scene where the only crime is a ruined dinner. There are usually three main suspects responsible for a pizza that refuses to leave the pan. Let’s line them up and figure out which one is causing your trouble.
Suspect #1: Not Enough Oil
This is, by far, the most common reason. When we cook in cast iron, we often think of using a little bit of fat. But a cast iron pan pizza isn’t just baking—it’s shallow-frying. That generous layer of oil does two critical jobs. First, it creates a physical barrier between the dough and the metal. Second, and just as importantly, it conducts heat incredibly efficiently, crisping and “frying” the bottom of the crust to that beautiful, deep golden brown. Most recipes call for at least two tablespoons of olive oil. It will look like a lot. It might feel wrong. But it is the secret. You’re creating a little moat of hot oil that both cooks the crust and guarantees it will slide right out.
Suspect #2: Cold, Tense Dough
Have you ever tried to stretch a cold rubber band? It’s stiff and likely to snap. Pizza dough is the same way. If you pull your dough straight from the refrigerator and try to immediately stretch it into your pan, it will fight you the entire time. It will be tense, it will keep springing back, and in your struggle to get it to the edges, you might create thin spots or tiny tears. When the sauce and toppings get on there, moisture can seep through those weak spots and create a gluey patch that sticks directly to the pan. Cold dough is unhappy dough. It needs time to relax and warm up to become pliable and cooperative.
Suspect #3: An Under-Seasoned Pan
Let’s talk about that famous cast iron “seasoning.” It’s not salt and pepper; it’s a layer of baked-on, polymerized oil that bonds to the metal, creating a natural, non-stick surface. If your pan is brand new (even the “pre-seasoned” ones from brands like Lodge) or if it hasn’t been used and cared for properly, that seasoning layer might not be strong enough yet. While a perfect seasoning is the long-term goal, the good news is that for this specific recipe, you can overcome a less-than-perfect seasoning by being extra generous with your oil (see Suspect #1). The oil will fill in any microscopic gaps in the seasoning, giving you that non-stick protection you need.
Your Step-by-Step No-Stick Pizza Plan
Ready for the foolproof method? This process works whether you have a perfectly seasoned heirloom pan or a brand-new one right out of the box. The key is to assemble the pizza in a cold pan.
-
The Oil Bath (Don’t Be Shy!): Start with your cast iron skillet completely cold. Pour in 2-3 tablespoons of good olive oil. Yes, that much. Now, tilt the pan around, swirling the oil to ensure every single millimeter of the bottom and the sides are coated in a visible, shimmering layer. This is your non-stick insurance policy.
-
The Room-Temp Relax: Take your pizza dough out of the fridge at least 30 minutes, and preferably an hour, before you plan to assemble it. Let it sit on the counter in a covered bowl. This allows the gluten to relax, making the dough soft, supple, and easy to work with.
-
The Gentle Stretch: Once the dough is at room temperature, place it in the center of your heavily oiled, cold skillet. Now, using your fingertips, gently press and dimple the dough outwards towards the edges of the pan. Don’t pull or tear it. If it starts to spring back, just walk away for 10 minutes. (Seriously, let it rest.) When you come back, it will have relaxed again and will let you press it the rest of the way.
-
The In-Pan Proof (The Real Secret): Once the dough is stretched to the edges, cover the pan with a clean tea towel or plastic wrap and let it sit on your counter for another 20-30 minutes. This little rest is a game-changer. It allows the dough to have a final little rise in the pan, making the crust lighter and airier. It also lets the bottom of the dough absorb some of that delicious olive oil, getting it ready to fry.
-
Top and Bake HOT: After the in-pan proof, it’s time to decorate. Uncover the dough, add your sauce, cheese, and toppings. Place the skillet in a preheated oven set to its highest temperature, typically 500-550°F (260-288°C). Bake for 12-18 minutes, or until the cheese is bubbly and the crust is deep golden brown. The combination of the hot oven and the hot oil will create an unbeatable crust.
When it’s done, you should be able to slide a spatula right under the pizza and see it move freely in the pan. Lift it out onto a cutting board and admire your work.
A Quick Word on Pan Care
Building that great seasoning on your pan happens over time. The best way to do it is simply to cook in it often, especially with fatty foods like bacon or cornbread. The cleaning is simple: after it cools down a bit, scrape out any bits with a pan scraper or wooden spoon and rinse with hot water. For stubborn spots, a little coarse salt and oil can act as a scrub.
The most important rule: always dry your pan completely to prevent rust. You can wipe it with a towel, but the best method is to place it on a stove burner over low heat for a few minutes until all moisture has evaporated. Then, while it’s still warm, wipe a very thin layer of neutral oil (like canola or vegetable oil) on the inside surface with a paper towel. This protects it and builds the seasoning for next time.
Try This Tonight: Your First Foolproof Skillet Pizza
You don’t need a complicated, from-scratch recipe to nail this technique. Let’s make it super simple so you can focus on the method.
- The Dough: Grab a 1 lb ball of store-bought pizza dough from the grocery store. It works beautifully and takes all the pressure off.
- The Pan: A 10-inch or 12-inch cast iron skillet (like a Lodge) is perfect.
- The Ingredients:
- 3 tablespoons olive oil
- 1/2 cup simple pizza sauce
- 1.5 - 2 cups shredded low-moisture mozzarella cheese
- Your favorite toppings (pepperoni is a classic for a reason!)
Follow the No-Stick Pizza Plan above: Let the dough come to room temp. Oil your cold pan generously. Gently press the dough in. Let it rest in the pan for 20 minutes. Top it. Bake it in a ripping hot 500°F / 260°C oven.
I promise you, the moment you slide that perfectly crispy, golden-bottomed pizza out of your skillet without a single stuck spot, you’ll feel like a kitchen superhero. It’s a fantastic feeling, and it’s just a few simple steps away. You’ve got this.