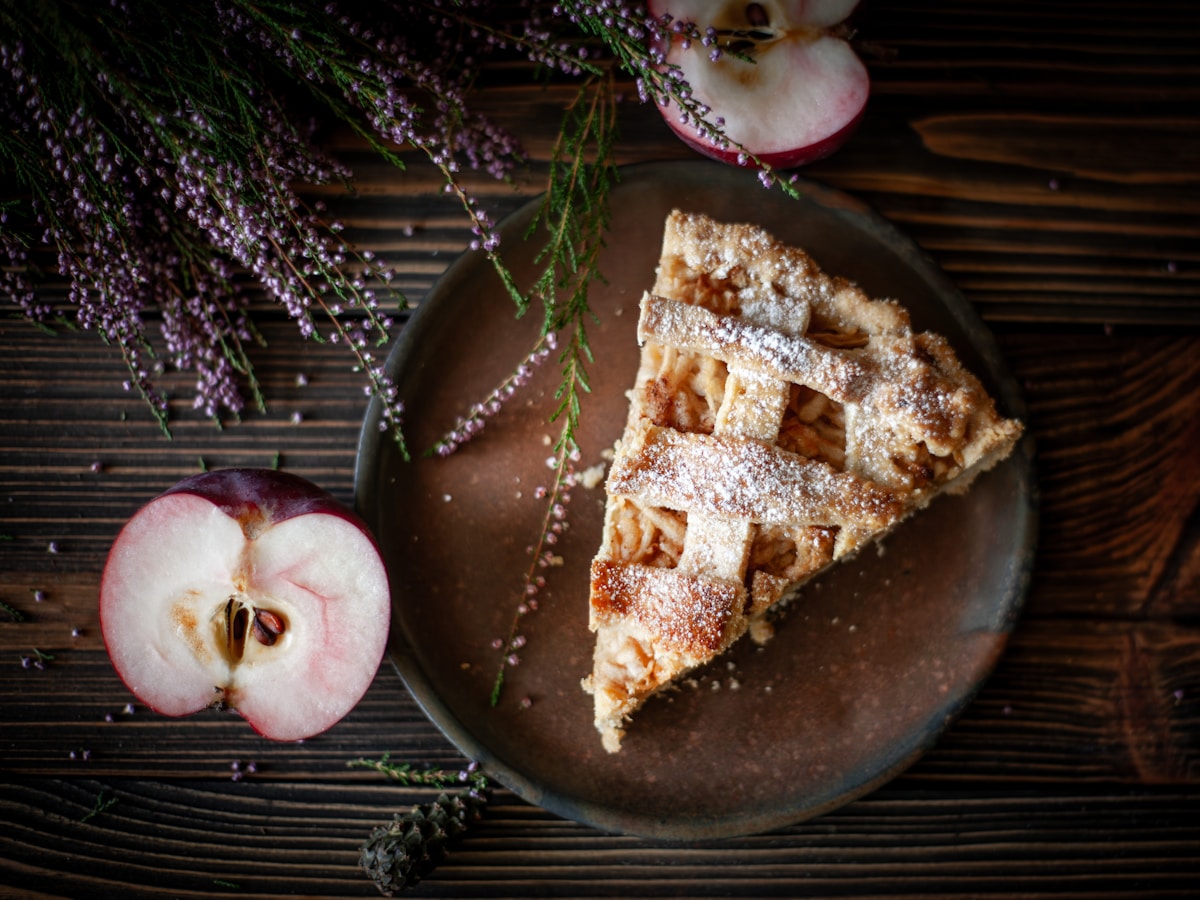
There are few kitchen moments more disheartening. You’ve done everything right. The pie crust is a masterpiece of flaky, golden-brown architecture. The lattice is perfect. The aroma of cinnamon and baked apples has filled your home for the last hour. You slice into it, plate a beautiful wedge, take that first eager bite, and… crunch. The apples are firm, dense, and stubbornly raw.
The beautiful crust gives way to a filling that’s more like a raw apple salad than the tender, jammy heart of a perfect pie. It’s a common problem, and it’s one that can make even an experienced baker question everything. The good news is that the solution isn’t found in just baking it longer; it’s found in understanding the chemistry of what’s happening inside that crust. Baking, after all, is just chemistry you can eat.
The Anatomy of a Perfect Apple Filling
Before we troubleshoot, let’s define success. A perfect apple pie filling has distinct slices of fruit that are fork-tender but not mushy. They should be suspended in a thick, glossy, lightly spiced sauce that clings to the fruit. The flavor should be a balanced dance of sweetness and tartness.
The scientific star of this show is pectin. Pectin is a natural polysaccharide found in the cell walls of plants; you can think of it as the cellular glue that gives an apple its structure and firmness. When you apply heat, and especially in the presence of sugar and acid, this pectin begins to break down. This is the process that transforms a crisp, hard apple slice into a tender, succulent one.
When your apples stay crunchy, it means this pectin breakdown process was incomplete. One of three things—or a combination of them—went wrong: the type of pectin in your apple was too robust, the heat couldn’t penetrate the apple slices effectively, or there simply wasn’t enough time for the reaction to occur. Let’s tackle each of these culprits methodically.
Cause #1 The Apple Variety Matters More Than You Think
Not all apples are created equal for baking. Walking into a grocery store and grabbing the first red, shiny apple you see is the most common path to a crunchy pie filling. Apples are generally bred for two purposes: eating raw or cooking.
Eating apples, like Red Delicious or Gala, are often lower in acid and have a flesh that turns mealy or disintegrates into applesauce when cooked for a long time. They don’t have the structural integrity to become tender while still holding their shape.
For pie, you need a proper baking apple. These varieties have a firmer flesh and a higher pectin content that softens beautifully under heat without turning to mush. They also typically have a more complex, tart flavor that balances the sugar in the filling.
My Go-To Baking Apples:
- Granny Smith: The classic choice for a reason. Its high acidity and extremely firm flesh mean it holds its shape perfectly, and its pronounced tartness cuts through the sweetness of the filling.
- Honeycrisp: A wonderful all-arounder. It’s incredibly crisp and has a fantastic sweet-tart flavor. It holds its shape very well, though it can release a bit more water than a Granny Smith.
- Braeburn: A baker’s secret weapon. It has a complex, spicy-sweet flavor and a firm texture that bakes up beautifully, holding its shape while becoming perfectly tender.
- Jonagold or Golden Delicious: These are on the sweeter side but still have enough structure and acidity to work well, especially when mixed with a tarter apple like Granny Smith.
The Pro Move: Use a blend. A mix of two or three different baking apples creates a much more complex and interesting filling. My personal favorite combination is a mix of Granny Smith for that acidic backbone and Honeycrisp for its unique sweet-tart flavor and crisp texture.
Cause #2 The Science of the Slice
Let’s assume you’ve chosen the perfect apples. The next critical factor is how you cut them. If your apple slices are too thick, you create an insulation problem. The heat from the oven simply can’t penetrate a 1/2-inch-thick apple slice to its core in the time it takes for the crust to bake.
The ideal thickness for an apple pie slice is a uniform 1/4-inch (about 6mm). This is thin enough for heat to work its magic efficiently, breaking down the pectin all the way through, but thick enough that the slice still retains its identity and doesn’t dissolve.
Uniformity is just as important as thickness. If you have some slices that are 1/2-inch thick and others that are 1/8-inch thick, you’ll end up with a chaotic filling of both crunchy chunks and mushy bits. Your best tool for achieving perfect uniformity is a simple mandoline slicer. (Yes, really.) It takes the guesswork out of the equation and guarantees every single slice is identical, ensuring they all cook at the same rate. An OXO Good Grips mandoline is a reliable and safe choice for any home kitchen.
The Ultimate Solution The Pre-Cooking Method
This is the technique that separates good apple pies from truly flawless ones. Many bakers, myself included, swear by pre-cooking the filling on the stovetop before it ever sees the inside of a crust. This method gives you absolute control over the final texture and solves another dreaded pie problem: the gap between the filling and the top crust.
When you pile raw apples into a pie, they have a lot of air between them and are full of water. As they bake, they soften, release that water, and shrink dramatically, causing the entire filling to slump. This leaves a large, sad air pocket under your beautifully baked top crust. Pre-cooking collapses the apples and thickens their juices before they go in the oven.
Here is my methodical, foolproof process for a pre-cooked apple filling:
- Prepare the Apples: Peel, core, and slice about 3 lbs (1.4 kg) of your chosen baking apples to that perfect 1/4-inch thickness. You should have about 8 cups of sliced apples.
- Macerate: In a large bowl, combine the apples with 3/4 cup (150g) of granulated sugar, 1/4 cup (50g) of packed light brown sugar, 1 tsp ground cinnamon, 1/4 tsp ground nutmeg, 1/4 tsp salt, and 4 tablespoons (30g) of cornstarch. Toss everything together until the apples are evenly coated. Let this mixture sit at room temperature for at least 45 minutes.
- Cook: You will see a large pool of liquid has been drawn out of the apples. Pour the entire contents of the bowl into a large Dutch oven or heavy-bottomed pot. Cook over medium heat, stirring occasionally, for 10-15 minutes. The goal is to get the liquid simmering and thickening into a glossy sauce and for the apples to become pliable—they should be flexible enough to bend without snapping.
- Finish and Cool: Remove the pot from the heat. Stir in 1 tablespoon of lemon juice (for brightness) and 2 tablespoons of cold, cubed unsalted butter until it melts. The butter adds a wonderful richness and silky texture. Now for the most critical step: spread the hot filling onto a baking sheet in a single layer to cool completely to room temperature. This can take about an hour. Never, ever put a hot or even warm filling into a raw pie crust; it will melt the butter in your dough and guarantee a soggy bottom.
Once cool, this filling is ready to be piled into your pie shell. It won’t shrink in the oven, and the apples are already guaranteed to be tender.
The Final Hurdle Time and Temperature
Even with a perfect filling, you need to bake the pie correctly. An apple pie requires a long bake to cook the crust through and ensure the filling is bubbling hot.
Start the pie in a hot oven, around 425°F (220°C), for the first 15-20 minutes. This initial blast of heat helps to set the bottom crust quickly, preventing sogginess. Then, reduce the oven temperature to 375°F (190°C) and continue baking for another 40-50 minutes.
You’ll know the pie is done when the crust is a deep, even golden brown and, most importantly, you can see the thickened filling slowly bubbling through the vents in the top crust. If you’re unsure, you can insert a thin knife or skewer through a vent; it should slide through the apple slices with almost no resistance.
By understanding these key principles—choosing the right apple, slicing it with precision, and controlling the cooking process—you can move beyond hope and into the realm of delicious certainty. Give the pre-cooking method a try on your next pie. It’s a few extra steps, but the payoff is a perfect, tender filling every single time. It’s the delicious result of applied science.