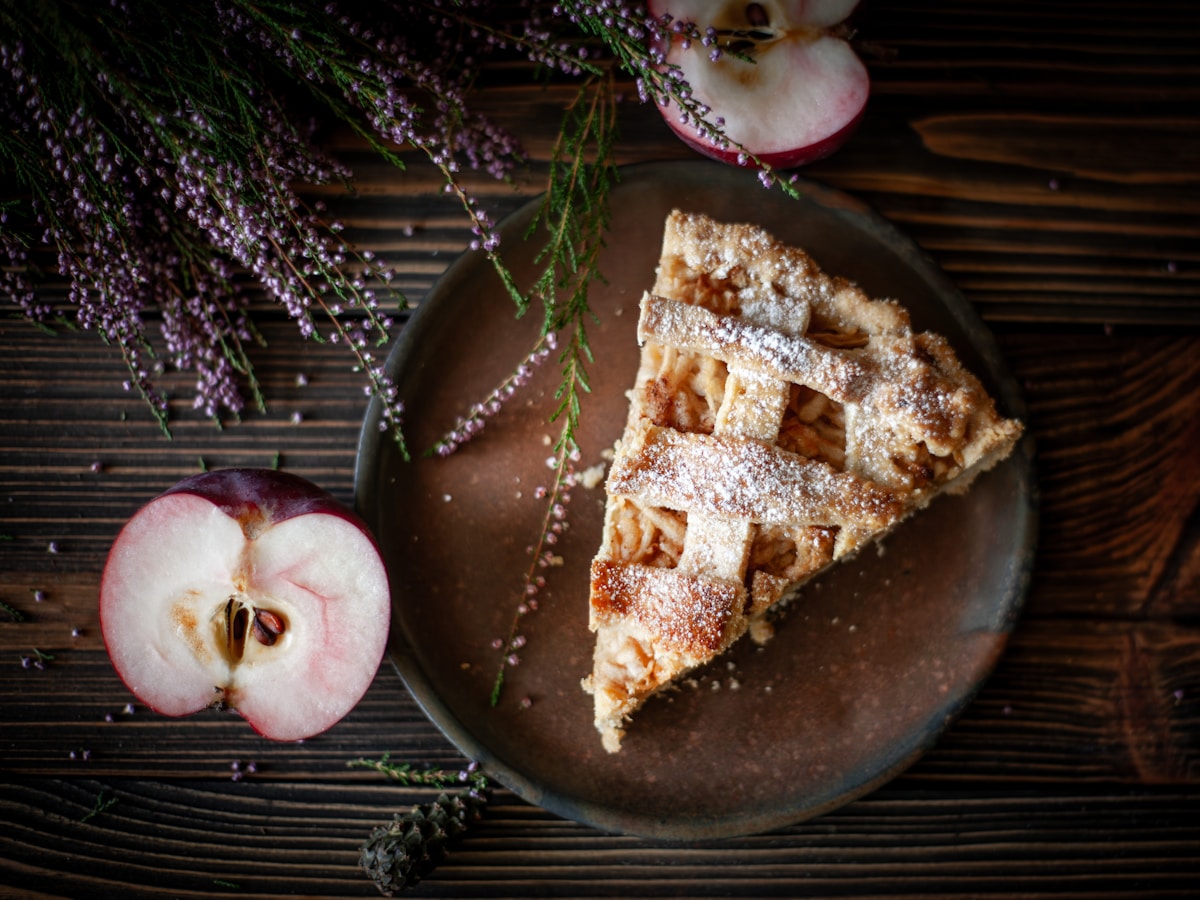
There’s a specific kind of baking heartbreak that I know all too well. You’ve spent hours crafting the perfect, all-butter pie dough. It’s chilled, rolled, and crimped beautifully. The pie bakes to a stunning, golden-mahogany, filling your kitchen with the scent of cinnamon and caramelized sugar. You let it cool (mostly), slice into it with anticipation, and then you hear it… crunch. The crust is flaky perfection, but the apples inside are firm, sharp, and stubbornly raw.
This isn’t a failure of your baking skills; it’s a failure of physics. The delicate, flaky structure of a pie crust simply bakes to completion faster than the tough cellular walls of a firm apple can break down. But don’t worry. The solution isn’t to over-bake your crust into oblivion. The solution is rooted in a little bit of kitchen chemistry, and it’s a technique that will guarantee a perfectly tender, flavorful filling every single time.
The Science of a Stubborn Apple
Before we fix the problem, let’s understand it. An apple’s texture comes from its cellular structure, specifically the pectin and cellulose that act as a sort of mortar holding its cells together. When you bake an apple, heat and moisture work to break down this mortar, softening the fruit and releasing its juices.
The issue is that different apple varieties have vastly different cellular structures. A firm, tart apple like a Granny Smith, prized for holding its shape in a pie, has a much more robust pectin structure than a soft, tender McIntosh. It requires significantly more time and heat to become tender. Your pie crust, meanwhile, is on a much faster schedule. It’s designed to become crisp and golden in about 45-60 minutes at around 375°F (190°C). By the time the crust is perfect, a firm apple has barely begun to soften.
Furthermore, raw apples are packed with water. As they bake, they release this water into the pie. If there’s too much, it turns the filling soupy and can sog out your carefully crafted bottom crust, creating a gooey, under-baked layer. So, we’re fighting a battle on two fronts: texture and moisture.
The Par-Cooking Solution A Step-by-Step Guide
The most reliable method to solve both problems is to par-cook your apple filling on the stovetop before it ever sees the inside of a pie crust. This gives the apples a head start, allowing them to soften and release their excess water, which we can then cook down into a concentrated, flavorful syrup. It feels like an extra step, but the payoff is immense. (Trust me on this one.)
Here is my go-to method for a standard 9-inch deep-dish apple pie:
Ingredients:
- 3.5 lbs (about 7-8 medium) firm baking apples
- 4 tablespoons (57g) unsalted butter
- 3/4 cup (150g) granulated sugar
- 1/4 cup (55g) packed light brown sugar
- 1 teaspoon ground cinnamon
- 1/4 teaspoon ground nutmeg
- 1/4 teaspoon ground allspice
- 1/4 teaspoon salt
- 2 tablespoons cornstarch (or 4 tablespoons all-purpose flour)
- 1 tablespoon lemon juice
The Process:
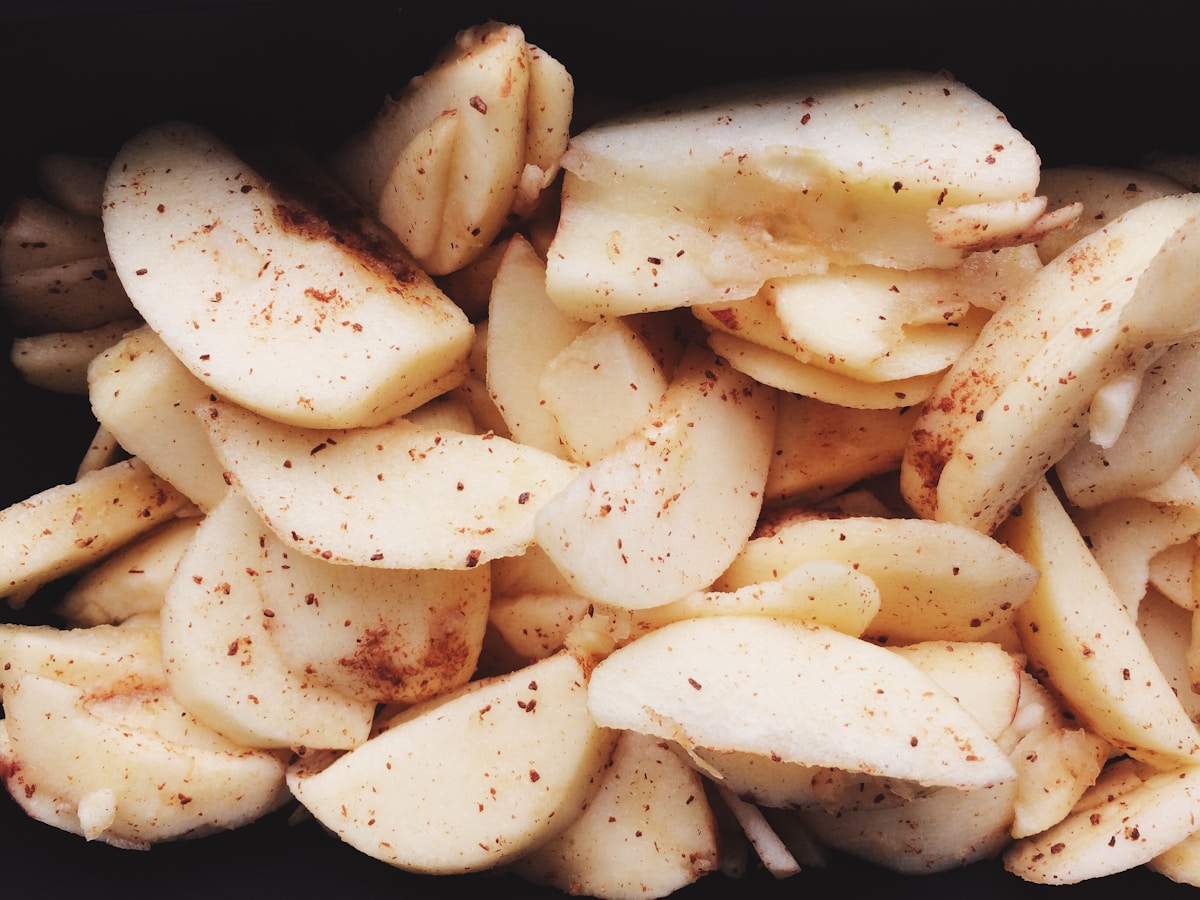
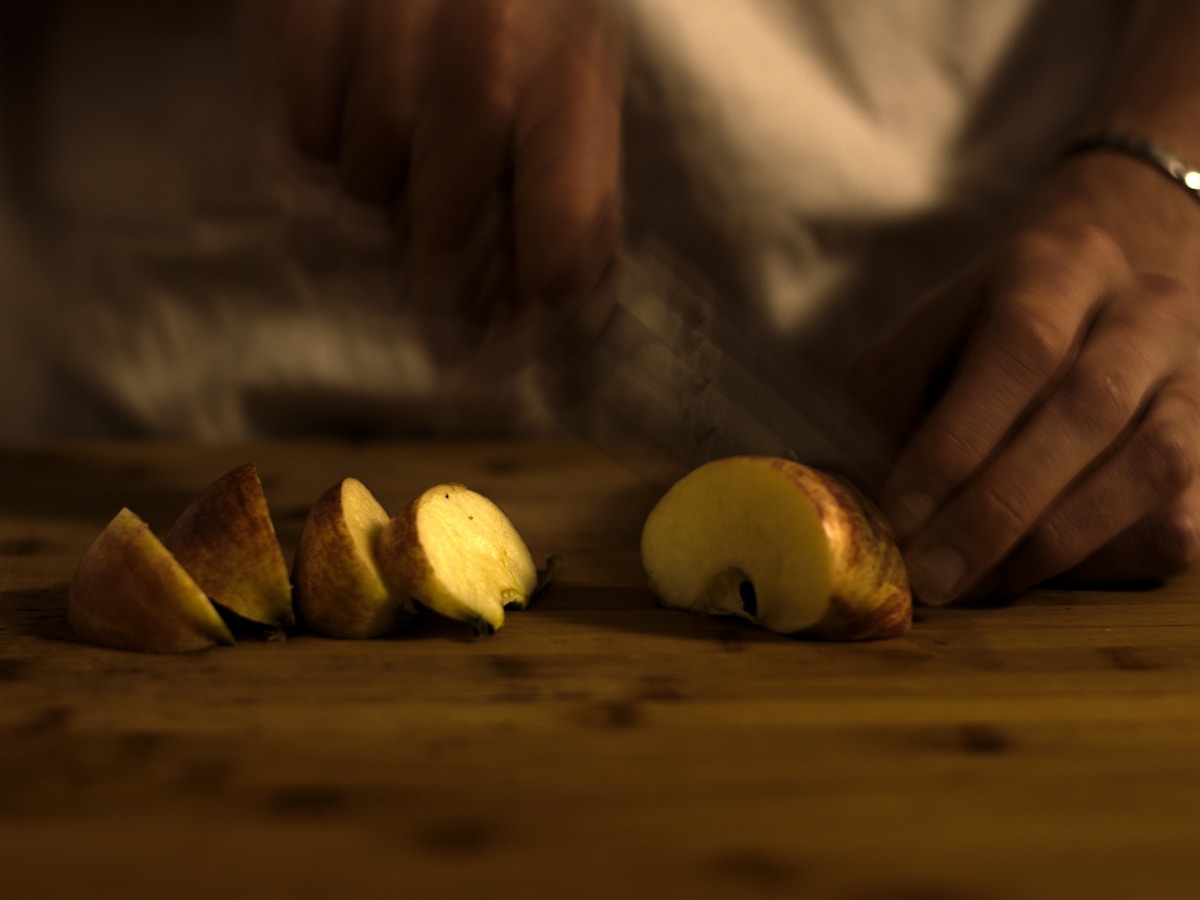
- Prep Your Apples: Peel, core, and slice your apples into uniform 1/4-inch (~6mm) thick slices. Uniformity is non-negotiable here. If you have thick and thin slices, they will cook unevenly, leaving you with a mix of mush and crunch.
- Sauté the Apples: In a large Dutch oven or wide skillet, melt the butter over medium heat. Add the sliced apples and lemon juice and stir to coat. Cook, stirring occasionally, for about 5 minutes until the apples begin to release their juices.
- Add the Thickeners and Spices: In a small bowl, whisk together the sugars, spices, salt, and cornstarch. Sprinkle this mixture evenly over the apples and stir gently to combine.
- Simmer and Thicken: Continue to cook over medium heat, stirring frequently, for another 5 to 8 minutes. The magic is happening now. The apples will soften slightly (they should still have a bit of a bite), and the liquid in the pan will bubble and transform into a thick, glossy syrup. The cornstarch is gelatinizing, ensuring your final pie filling will be luscious, not watery.
- Cool Completely: This is the most critical step. Remove the pan from the heat and spread the filling onto a baking sheet in a single layer to cool down quickly. You MUST let the filling cool to room temperature before adding it to your unbaked pie shell. Adding a hot filling will melt the cold butter in your pie dough, ruining its flaky potential. (Your future self will thank you for your patience.)
Once cool, simply pile the filling into your prepared pie crust, top with your second crust, and bake as your recipe directs. Because the filling is already cooked, you only need to focus on baking the crust to perfection.
Choosing the Right Apple for the Job
While par-cooking works for any apple, your choice of variety still matters immensely for flavor and final texture. Here’s a quick guide:
-
The All-Stars (Firm, Tart, and Flavorful): These are my top picks. They hold their shape beautifully and provide a bright, acidic counterpoint to the sweet crust. They almost always require par-cooking.
- Granny Smith: The classic pie apple. Intensely tart and exceptionally firm.
- Honeycrisp: A wonderful balance of sweet and tart with a crispness that holds up to baking.
- Braeburn: Complex, spicy-sweet flavor and very firm texture.
- Golden Delicious: Mellow and sweet, but holds its shape surprisingly well.
-
The Softies (Tender and Sweet): These apples cook down much more quickly and can become mushy if you’re not careful. If using these, reduce the par-cooking time to just 3-4 minutes, enough to release some juice but not break them down completely.
- McIntosh: A classic fall apple that is very tender and cooks down into a soft, applesauce-like texture.
- Cortland: Similar to McIntosh but slightly firmer. A good choice if you want a softer filling.
-
The Pro Move (A Mix is Best): The secret to the most complex and satisfying apple pie filling is to use a combination of apples. I love using a 50/50 mix of Granny Smith and Honeycrisp or Braeburn. This gives you distinct slices of tender-firm apple suspended in a softer, more broken-down apple matrix. It’s truly the best of both worlds.
Final Assembly and Baking for Pie Perfection
With your perfectly pre-cooked and cooled filling, you’re on the home stretch. Here are my final parameters for a flawless bake:
- Start Hot: Place your assembled pie on a baking sheet (to catch any drips) and bake in a preheated oven at 425°F (220°C) for the first 15-20 minutes. This initial blast of high heat helps to set the bottom crust quickly, providing extra insurance against sogginess.
- Reduce and Finish: After the initial blast, reduce the oven temperature to 375°F (190°C) and continue baking for another 35-45 minutes. The pie is done when the crust is a deep golden brown and you can see the thickened filling slowly bubbling through the vents in the top crust. That bubbling is your sign that the filling is hot and the thickener is fully activated.
- Rest, Rest, Rest: The final test of a baker’s patience. Let the pie cool on a wire rack for at least 4 hours before slicing. Yes, really. This allows the molten, syrupy filling to cool and set completely. Slicing into a hot pie will result in a soupy, delicious mess. A properly cooled pie will yield clean, beautiful slices.
By understanding the simple science of why apples stay crunchy and employing the par-cooking technique, you take all the guesswork out of apple pie. You control the texture and moisture before the pie even enters the oven, freeing you up to focus on what matters most: achieving that perfect, flaky, golden-brown crust.