It’s a moment of pure baking anticipation. The timer buzzes. You pull a masterpiece from the oven—a pie with a perfectly golden, flaky lattice crust, bubbling with spiced apple goodness. You let it cool (impatiently, of course), slice into it, and serve a generous wedge. Then comes the first bite, and your heart sinks. The crust is divine, but the apples… they’re firm. Crunchy, even. All that work for a pie that’s texturally… confusing.
If this has happened to you, know that you’re not alone. This is one of the most common frustrations in the world of pie-making. The good news is that the fix is rooted in a little bit of science and technique. Baking, after all, is just chemistry you can eat. Let’s diagnose the problem of crunchy apples and ensure your next pie is perfectly tender from crust to core.
The Core Conflict Crust vs Filling
The fundamental issue is a timing conflict. Your pie crust and your apple filling are on two completely different baking schedules. A classic butter crust is ready when it’s golden brown and flaky, a process that might take 45 to 60 minutes. Raw apples, however, need time for their internal structure to break down. This structure is primarily composed of pectin and cellulose, tough fibers that hold the apple’s cells together. To soften them, you need sustained heat to break down that pectin.
When your apple slices are too thick or are a particularly sturdy variety, they simply can’t get hot enough for long enough before the crust signals that it’s done. You’re forced to choose: a perfectly baked crust with undercooked apples, or a tender filling with a burnt, overdone crust. It’s a baker’s dilemma. But by controlling a few key variables, we can sync these schedules and achieve pie perfection.
Cause 1 The Geometry of the Slice
The single biggest culprit behind crunchy apples is slice thickness. A chunky, 1/2-inch thick apple slice has a lot of mass. Heat has to penetrate from the outside in, and it’s a slow process. By the time the very center of that slice is tender, the edges are mush and the crust is likely past its prime.
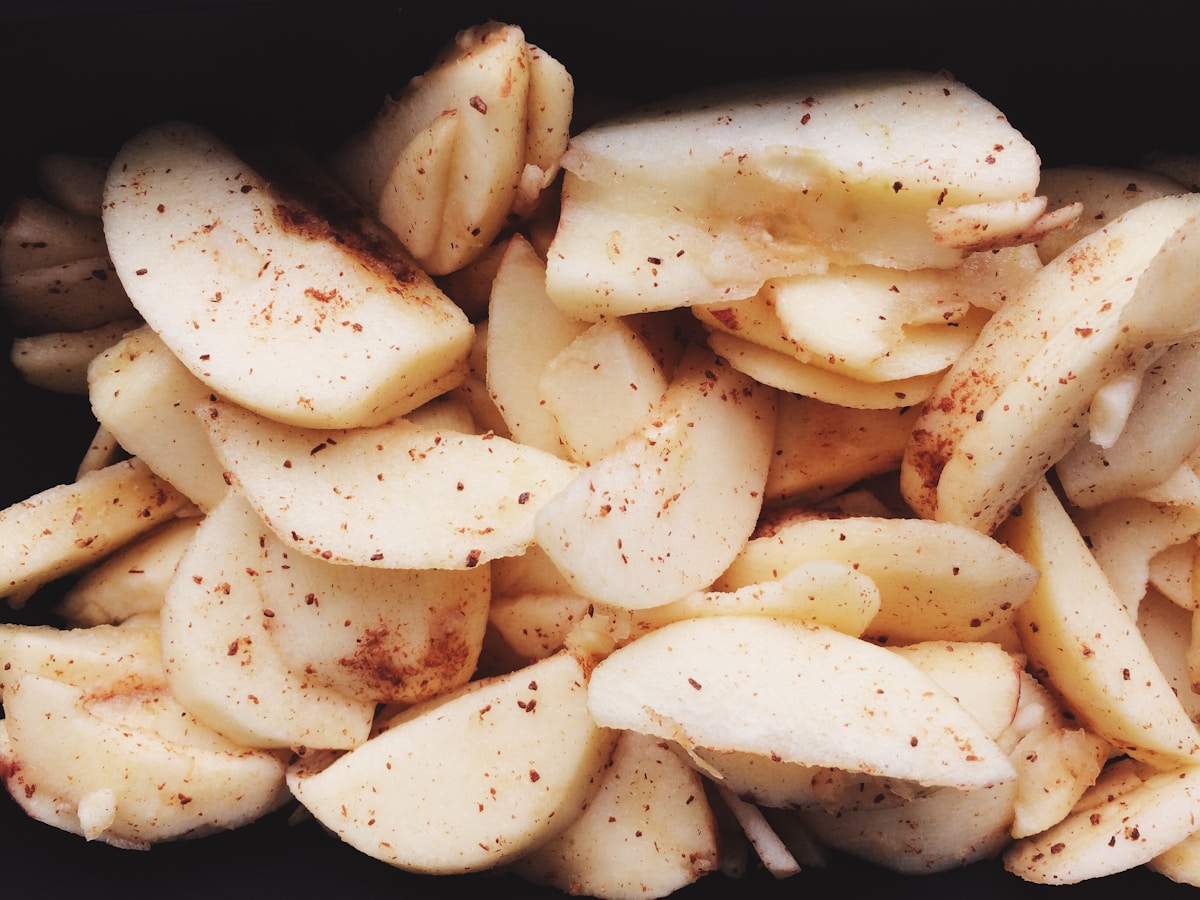
Precision is your best friend here. For a classic apple pie, the ideal thickness is a uniform 1/4-inch (about 6mm). This provides the perfect balance: the slices are substantial enough to hold their shape and not turn into applesauce, but thin enough to cook through completely in the time it takes to bake the crust.
How do you achieve this uniformity? While a steady hand and a sharp chef’s knife can work, the most reliable tool is a mandoline slicer. Set it to the 1/4-inch setting, and you’ll have a bowl of perfectly consistent apple slices in minutes. (Please, always use the safety guard—a trip to the emergency room is a terrible end to a baking project.) If you don’t have a mandoline, focus on consistency with your knife. It’s better to have all slices be slightly too thin than to have a random mix of thick and thin, which leads to an unevenly cooked filling.
Cause 2 An Uncooperative Apple Variety
Not all apples are created equal in the oven. Apples you love for snacking, like Honeycrisp or Fuji, are bred for an explosive, crisp texture that resists breaking down. While delicious raw, they can be stubborn in a pie, often remaining firm.
For baking, you want an apple with a good balance of tartness, sweetness, and an ability to soften without disintegrating. Here’s a quick guide:
- The Gold Standard (Firm-Tart): Granny Smith is the classic baking apple for a reason. It’s intensely tart, which balances the sugar, and it holds its shape exceptionally well. However, because it’s so firm, it’s a prime candidate for the “crunchy pie” problem if sliced too thickly or not pre-cooked.
- The Tender-Tart: Varieties like Braeburn, Northern Spy, and Cortland are fantastic. They have a complex flavor and soften beautifully without turning to mush.
- The Flavorful Workhorse (Firm-Sweet): Golden Delicious, Jonagold, and Pink Lady are excellent choices. They are less tart than a Granny Smith but bring a wonderful honeyed flavor and hold up well to baking.
- The Softies: McIntosh and Gala apples are delicious but break down very quickly when heated. They can be great for an applesauce-like texture but can make a pie watery if used alone.
My personal favorite technique? Use a blend! A 50/50 mix of Granny Smith (for structure and tartness) and Golden Delicious (for sweetness and softer texture) creates a filling with incredible depth of flavor and a perfect, yielding bite.
The Foolproof Fix The Power of Par-Cooking
If you want to guarantee a perfectly cooked, tender apple filling every single time, there is one technique that stands above all others: par-cooking the filling on the stovetop before it ever sees a pie crust. This might seem like an extra step, but the scientific payoff is huge.
Par-cooking does three critical things:
- It kick-starts the cooking process, ensuring the apples are already partially tender before they go into the oven.
- It releases the apples’ initial liquid, which you can then control. By cooking off some of the water and thickening the remaining juices with a starch, you prevent a soggy bottom crust.
- It pre-shrinks the filling, which solves the dreaded “pie gap”—that hollow space that often forms between the top crust and the sunken filling after baking.
Here is my go-to method for a foolproof par-cooked apple filling (for a standard 9-inch pie):
Ingredients:
- 8 medium baking apples (about 4 lbs), peeled, cored, and sliced 1/4-inch thick
- 4 tablespoons (57g) unsalted butter
- 3/4 cup (150g) granulated sugar
- 1/4 cup (55g) packed light brown sugar
- 1 teaspoon ground cinnamon
- 1/4 teaspoon ground nutmeg
- 1/4 teaspoon ground allspice
- Pinch of salt
- 1 tablespoon lemon juice
- 2 tablespoons all-purpose flour or cornstarch
Method:
- Melt the butter in a large skillet or Dutch oven over medium heat.
- Add the sliced apples, both sugars, all the spices, salt, and lemon juice. Stir gently to coat everything.
- Cook, stirring occasionally, for about 10-15 minutes. You are not trying to cook them all the way through. You’re looking for the slices to become pliable and for the edges to turn slightly translucent. They should still have a bit of a bite.
- In a small bowl, make a slurry by whisking your flour or cornstarch with 2 tablespoons of cold water until smooth. Pour this into the skillet with the apples.
- Continue to cook, stirring gently, for another 1-2 minutes until the juices thicken into a beautiful, glossy syrup. (This is the gelatinization of the starch at work!)
- Remove the filling from the heat and spread it onto a baking sheet in a single layer to cool completely. This is a critical step. A hot filling will melt your butter-laden pie dough on contact, ruining its flaky potential. Let it cool to room temperature before assembling your pie.
This filling is now perfectly seasoned, thickened, and halfway cooked. When you bake it, you’re no longer trying to cook raw apples; you’re just heating the filling through and baking the crust to perfection. The timing problem is solved. Your next pie will have a crisp bottom, a flaky top, and a tender, glorious filling that holds its slice beautifully. It’s a little extra work, but the results are scientifically, and deliciously, guaranteed.