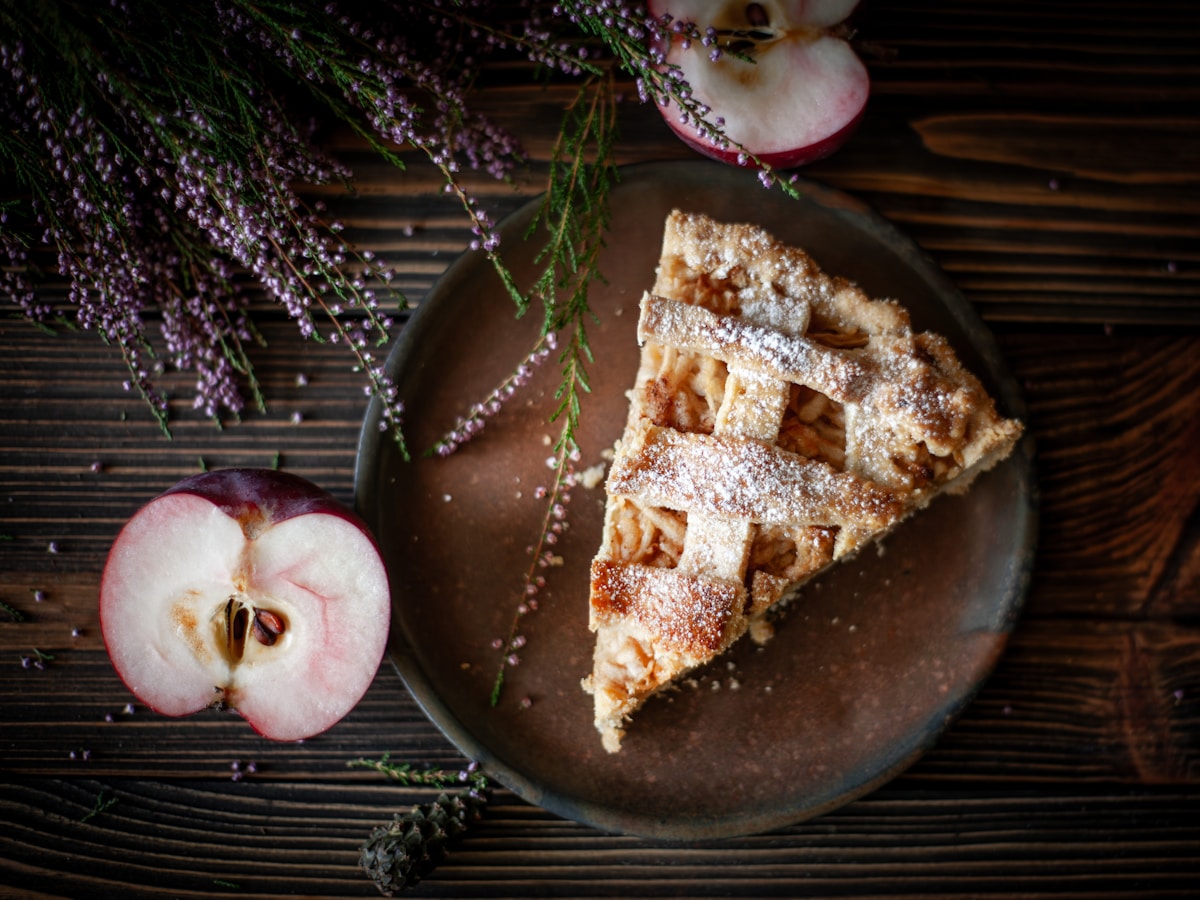
There are few kitchen moments as promising as pulling a magnificent apple pie from the oven. The crust is a perfect tapestry of golden brown, glistening with a hint of sugar, and the scent of cinnamon and baked fruit fills the air. You let it cool (impatiently, of course), slice into it, and serve a beautiful wedge. Then comes the first bite, and the illusion shatters. The crust is flaky, the spices are warm, but the apples… the apples have the distinct, jarring crunch of a raw piece of fruit.
It’s a deflating experience, and one of the most common frustrations for bakers. You followed the recipe, you watched the crust, so what went wrong? The answer lies in the fascinating chemistry of fruit, heat, and time. Baking, after all, is just chemistry you can eat. Let’s break down the science behind achieving that perfectly tender, luscious apple pie filling every single time.
The Apple Paradox Why Firmness is Both Friend and Foe
The first, most critical decision in your pie-making journey is the apple itself. This is where many unwitting bakers make their first mistake. Not all apples are created equal when it comes to the intense heat of an oven.
An apple’s structure is primarily composed of pectin and cellulose, which act like a cellular scaffolding. When heated, these structures begin to break down, softening the fruit. The key is finding an apple with enough structural integrity to soften without disintegrating into applesauce. This is the great paradox: the best apples for holding their shape are also the ones most prone to undercooking.
Here’s a quick guide to common varieties:
- The All-Stars (High Pectin, Low Moisture): These are your go-to pie apples. They have a firm texture and a tartness that balances the sugar in the filling. Think Granny Smith, Honeycrisp, Braeburn, and Golden Delicious. They will soften beautifully while still retaining a distinct slice shape.
- The Supporting Cast (Use in a Mix): Apples like Gala or Jonagold are slightly softer but have a wonderful flavor. I love using a mix—about 70% firm apples and 30% a softer, sweeter variety. This creates a more complex texture, with some intact slices and some that have melted into the syrupy filling.
- The Benchwarmers (Avoid for Pie): Apples like Red Delicious or McIntosh have a mealy texture and very little pectin. They break down almost instantly in the heat, resulting in a grainy, mushy filling. Save these for snacking.
Understanding this choice is the foundation. By choosing a firm, high-pectin apple, you’ve set yourself up for success, but you’ve also given yourself the challenge of ensuring it cooks through completely.
Preparation is Everything The Science of the Slice
Once you’ve selected your apples, how you prepare them is the next crucial variable. The thickness of your apple slices directly controls the rate of heat penetration. It’s a simple matter of surface area.
For a pie filling that cooks in sync with its crust, you must aim for uniform slices no thicker than 1/4 inch (about 6mm). A mandoline slicer is an excellent tool for achieving this consistency, but careful knife work will do just fine. (Your future self will thank you for the precision here.)
Why does this matter so much? Thinner slices have a greater surface-area-to-volume ratio. This means more of the apple flesh is directly exposed to the heat and the sugary, spiced mixture. This allows the heat to penetrate to the center of each slice more quickly and efficiently, breaking down that tough cellulose and pectin in the time it takes for your crust to turn golden brown. If your slices are a haphazard mix of 1/2-inch chunks and 1/8-inch slivers, you will get a filling with an equally inconsistent texture—some mush, some crunch.
The Ultimate Solution The Art of Par-Cooking Your Filling
If you want to absolutely guarantee a perfectly cooked, tender apple filling every single time, there is one technique that stands above all others: par-cooking. It might seem like an extra step, but the control it gives you is a game-changer. Par-cooking involves briefly cooking the apple filling on the stovetop before it goes into the pie shell.
This simple process solves three major pie problems in one go:
- Ensures Tenderness: You cook the apples to your desired texture before they even see the inside of an oven.
- Prevents a Soggy Bottom: Apples release a tremendous amount of water as they cook. By cooking them on the stovetop, you release and thicken that liquid before it has a chance to soak into your bottom crust.
- Eliminates the Gap: You know that dreaded cavern that sometimes forms between the baked filling and the top crust? That happens because the apples shrink as they cook in the oven. Par-cooking pre-shrinks the apples, so your pie stays beautifully domed.
Here’s my go-to method for a perfect par-cooked filling:
-
Ingredients:
- 3.5 lbs (about 1.6kg) of firm baking apples (around 8 medium), peeled, cored, and sliced 1/4-inch thick.
- 3/4 cup (150g) granulated sugar
- 1/4 cup (55g) packed light brown sugar
- 1/4 cup (32g) all-purpose flour (or 3 tablespoons of cornstarch)
- 1 teaspoon ground cinnamon
- 1/4 teaspoon ground nutmeg
- 1/4 teaspoon salt
- 2 tablespoons (28g) unsalted butter, cubed
- 1 tablespoon lemon juice
-
Method:
- In a large Dutch oven or heavy-bottomed pot, combine the sliced apples, sugars, flour, spices, salt, and lemon juice.
- Stir gently to coat everything evenly. Cook over medium heat, stirring occasionally, for about 10-15 minutes.
- The apples will begin to release their juices, and the mixture will start to bubble and thicken. You’re looking for the apples to become pliable and slightly tender, but not mushy. They should still have a bit of resistance.
- Remove from the heat and stir in the cubed butter until it melts.
- Pour the filling onto a baking sheet in a single layer to cool completely. This is critical. Putting hot filling into a raw pie crust will melt the butter and ruin its flaky structure. It should be at room temperature before you assemble the pie.
Mastering the Bake Balancing Crust and Core
Even with a perfectly prepared filling, your oven strategy matters. The goal is to cook the pie long enough for the filling to bubble and the bottom crust to brown without the top crust burning.
Start your oven high, then reduce the temperature. My preferred method is to bake on a lower rack at 425°F (220°C) for 15 minutes. This initial blast of high heat helps to quickly set the bottom crust, creating a barrier against sogginess. After 15 minutes, reduce the oven temperature to 375°F (190°C) and continue baking for another 40-50 minutes.
Here’s a vital kitchen hack: the foil shield. If you notice the edges of your crust are browning too quickly, don’t pull the pie out early. Instead, create a ring out of aluminum foil and gently place it over the edges. This shield will deflect the direct heat, allowing the center of the pie to continue cooking through without the perimeter burning.
The pie is done when the crust is a deep golden brown and, most importantly, you see the filling bubbling thickly through the vents in the top crust. A few lazy bubbles at the edge aren’t enough; you want to see a slow, syrupy boil in the center. This tells you the internal temperature is high enough (around 200°F or 93°C) for the starches in your thickener to have fully gelatinized, ensuring your filling will set up perfectly as it cools.
Finally, the hardest part: patience. You must let the pie cool on a wire rack for at least 4 hours before slicing. This allows the molten, bubbly filling to cool and set. Slice it too soon, and you’ll have a delicious but soupy mess. Baking is chemistry, and this final cooling period is a non-negotiable part of the reaction. Trust the process, and you’ll be rewarded with clean, stable slices of pie perfection.