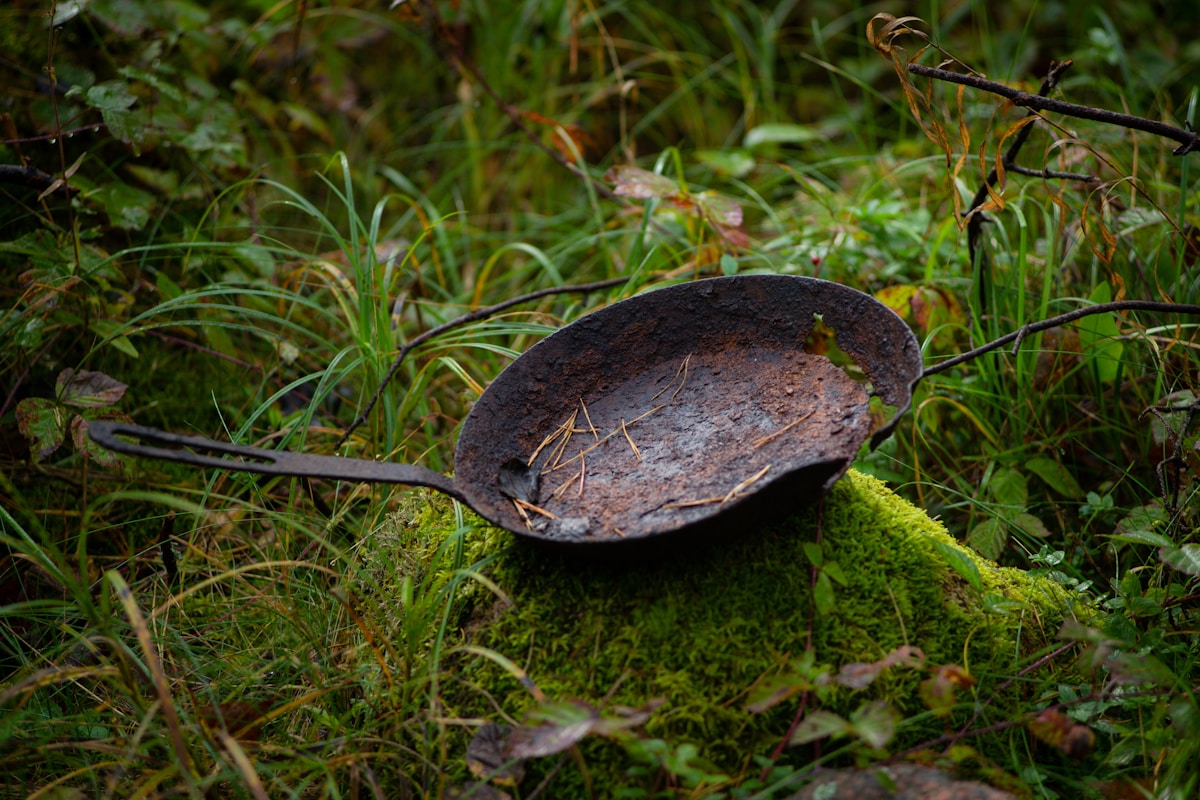
You found a cast iron griddle at a thrift store or inherited one from a relative. It’s covered in rust and looks beyond saving. Don’t discard it. With the right techniques, you can restore a rusty cast iron griddle to a smooth, non-stick cooking surface that will last for decades.
Key Takeaways
- Assess rust severity first: surface rust vs. deep pitting dictates your restoration method.
- For mild to moderate rust, a short vinegar bath (30-minute intervals, up to 2 hours) works effectively.
- For heavy rust or pitting, electrolysis is the safest, gentlest approach.
- Dry the griddle immediately after cleaning to prevent flash rust, then season with 2–3 thin coats of high-smoke-point oil.
- Avoid common mistakes: over-soaking in vinegar, using coarse abrasives, and applying too much oil during seasoning.
1. Assess the Rust Level: Surface Rust vs. Deep Pitting
Before you do anything, check the condition of the metal. Take a dry paper towel and rub a small area. If the rust comes off easily and the metal underneath looks dark and smooth, you have surface rust. That is the easiest to fix.
If the rust is flaky, thick, or has a rough texture, you are dealing with heavy rust. Look closely for pitting — small craters or dimples in the iron. Deep pitting means the rust has eaten into the metal. It won’t go away completely, but you can still make the griddle usable.
If you see only a few shallow pits, a vinegar bath may be enough. For extensive pitting or thick layers of rust, electrolysis is the safer bet because it removes rust without further damaging the metal.
2. Gather Your Supplies
For a vinegar bath (mild to moderate rust):
- White vinegar
- Water
- Large non-metallic container (plastic tub or bucket)
- Non-abrasive scrubbing pad or fine steel wool (grade 0000)
- Rubber gloves
- Baking soda (to neutralize vinegar)
- Dish soap
- Lint-free towels or paper towels
- Cooking oil for seasoning (flaxseed, grapeseed, or vegetable)
For electrolysis (heavy rust):
- Plastic tub large enough to hold the griddle
- Battery charger (manual, low-amp setting)
- Sacrificial electrode — a piece of rebar or carbon steel (not stainless steel)
- Washing soda (sodium carbonate, not baking soda)
- Distilled water (optional but recommended)
- Safety goggles and rubber gloves
- Steel wool or a stiff nylon brush
- A length of copper wire (for connections)
- A GFCI-protected outlet
Common for both methods: Dish soap, paper towels, cooking oil for seasoning. Do not use stainless steel electrodes in electrolysis — they can release toxic fumes.
3. Step-by-Step Restoration Process
Option A: Vinegar Bath for Mild to Moderate Rust
Mix a solution of one part white vinegar to one part water in your container. The acid in the vinegar dissolves the rust without harming the iron if used correctly.
Submerge the griddle completely. Check it every 30 minutes. Most rust will loosen within one to two hours. Do not leave it for more than two hours total — extended exposure can etch the metal, leaving a rough surface.
Wearing rubber gloves, remove the griddle and scrub it with a non-abrasive pad or fine steel wool. Rinse with clean water. To neutralize any remaining vinegar, make a paste of baking soda and water and rub it over the griddle, then rinse again.
Dry the griddle immediately. Use a lint-free towel or place it in a warm oven (200°F) for 10–15 minutes. Any moisture left on bare iron will cause flash rust — a thin orange layer that forms in minutes.
Option B: Electrolysis for Heavy Rust
Electrolysis uses a low-voltage electric current to lift rust off the iron without grinding or chemicals. It is the gentlest method for antique or pitted pieces.
Fill a plastic tub with enough water to fully cover the griddle. Add one tablespoon of washing soda per gallon of water and stir to dissolve. Do not use salt or baking soda.
Connect the battery charger: Attach the positive (red) clamp to the sacrificial electrode (rebar). Place the electrode in the water, propped against the side. Attach the negative (black) clamp directly to the griddle. Make sure the clamps do not touch each other or the water before plugging in.
Plug the charger into a GFCI outlet. You should see bubbles rising from both the electrode and the griddle. That means the process is working. Let it run for several hours to overnight, depending on the rust thickness. Check periodically — the water may turn brown and murky.
When the rust looks loose and flaky, unplug the charger. Remove the griddle, scrub off the loosened rust with a stiff brush or steel wool, and rinse with water. Dry thoroughly with a towel, then place in a warm oven to ensure no moisture remains.
Dispose of the used electrolysis water properly. It contains iron oxides and possibly lead from vintage pans. Do not pour it into a garden or storm drain. Check local wastewater guidelines — many areas allow small amounts down the sink with plenty of water, but for large volumes, contact your municipal waste authority.
4. Season the Griddle After Restoration
Once the griddle is clean and bone dry, you must season it immediately. Seasoning is a layer of polymerized oil that protects against rust and creates a non-stick surface.
Preheat your oven to 375°F (190°C). Apply a very thin layer of oil to the entire griddle — inside, outside, and handle. Use a lint-free cloth or paper towel, then wipe off as much oil as you can. The layer should be almost invisible. Too much oil will create a sticky, uneven coating.
Place the griddle upside down on the middle oven rack. Put a baking sheet on the rack below to catch any drips. Bake for one hour. Then turn off the oven and let the griddle cool inside.
Repeat this process two or three times for a durable finish. Each coat builds on the last. High-smoke-point oils like grapeseed, flaxseed, or vegetable oil work best. Avoid butter, olive oil, or flaxseed oil if you are sensitive to its smell during baking.
5. Test the Surface and Avoid Common Mistakes
After the final seasoning, your restored griddle is ready for a test run. Cook something simple first — pancakes or a fried egg. They will tell you if the seasoning is even and non-stick. A properly restored griddle should release food easily and leave a golden brown crust.
Some discoloration is normal. The surface may not look perfectly black at first; it will darken with use. If you see small spots of rust reappearing after cooking, dry the griddle more thoroughly next time and apply a thin coat of oil before storing.
Common mistakes to avoid:
- Using steel wool too aggressively on bare iron. Stick to fine grade (0000) or a non-abrasive scrubber. Coarse steel wool leaves scratches that trap food and make seasoning harder.
- Leaving the griddle in vinegar too long. Over two hours can etch the surface permanently. Stick to short checks.
- Not drying the griddle fully before seasoning. Any water causes flash rust. Use low oven heat to be sure.
- Applying too much oil during seasoning. The excess will become sticky and gummy. Wipe off all visible oil before baking.
If you followed the steps carefully, your restored cast iron griddle will be smooth, rust-free, and ready for years of cooking. Many home cooks find that a thrift-store rescue ends up making the best pancakes they have ever cooked.
Frequently Asked Questions
How long can I leave a cast iron griddle in vinegar? Do not exceed two hours total, and check every 30 minutes. The vinegar becomes more aggressive over time and can etch the metal, creating a rough surface that is hard to season.
Can I use steel wool on a rusty griddle? Yes, but only fine-grade (0000) steel wool. Start with a non-abrasive pad to avoid scratching the iron. If you must use steel wool for stubborn rust, use light pressure.
What oil is best for seasoning a restored griddle? Oils with high smoke points work well — grapeseed, flaxseed, or vegetable oil. Avoid butter or olive oil because they burn at lower temperatures and leave a sticky residue.