The moment of truth arrives. Your apple pie is a masterpiece, pulled from the oven with a perfectly golden, flaky crust that shimmers with a light dusting of sugar. The entire kitchen smells of cinnamon, butter, and caramelized fruit. You slice into it, the crust gives a satisfying crackle, and you serve a perfect wedge. You take the first bite, anticipating soft, tender apples mingling with spice, but instead… crunch. The apples are firm, resisting, almost raw.
It’s one of the most common and deflating problems in baking. You followed the recipe, you watched the clock, but the filling just didn’t cooperate. The good news is that this isn’t a failure of skill; it’s a failure of chemistry and physics. Once you understand the variables at play, you can guarantee a perfectly tender apple filling every single time.
The Central Challenge: A Race Against Time
Baking an apple pie is essentially managing two completely different cooking processes happening simultaneously. On one hand, you have the pastry. It needs high, dry heat to create steam, which separates the layers of butter and flour to produce that coveted flakiness. The crust needs to dehydrate and undergo the Maillard reaction to turn golden brown and delicious.
On the other hand, you have the filling: pounds of raw, dense, water-filled fruit. The apples need to be heated to a temperature where their cellular structure begins to break down. Specifically, the pectin—the natural cellular glue holding the apple’s cells together—must dissolve, allowing the fruit to become tender. This process requires sustained, moist heat and, critically, time.
The core problem is that the ideal cooking time for the crust is often shorter than the ideal cooking time for thick slices of raw, firm apples. Your crust can be perfectly baked, or even bordering on burnt, while the apples in the center have barely begun to soften. To solve this, we need to control the variables before the pie even enters the oven.
The Apple Variable: Choose Your Fruit Wisely
Your journey to a perfect pie begins at the grocery store. Using the wrong type of apple is the primary cause of textural disappointment. Apples are generally categorized as “eating” apples or “baking” apples, and the distinction lies in their cellular structure and acidity.
Eating apples, like Red Delicious or Gala, have a crisp but delicate texture. When heated, their cell walls collapse completely, turning them into a sweet, watery mush. They lack the structural integrity to hold up to a long bake.
Baking apples, however, are your best friends. They are typically more tart and have a much firmer cellular structure that softens beautifully without disintegrating. They become tender, not mushy. My go-to choices are:
- Granny Smith: The classic baking apple. Its pronounced tartness balances the sugar in the filling, and it holds its shape impeccably.
- Honeycrisp: A fantastic choice that is both firm and sweet-tart. It retains a pleasant texture and won’t turn to sauce.
- Braeburn: Offers a complex, spicy-sweet flavor and remains very firm and juicy after baking.
- Jonagold or Golden Delicious: These are slightly softer options but still work wonderfully, offering a sweeter profile if you prefer a less tart pie.
A great strategy is to use a mix. I often use 70% Granny Smith for structure and tartness, and 30% Honeycrisp or Braeburn for a layer of sweetness and complexity. (This is how you get a truly memorable pie.)
The Geometry of the Slice: Size and Uniformity Matter
Once you have the right apples, how you cut them is the next critical step. If your slices are too thick—say, over 1/2-inch (1.25 cm)—heat simply cannot penetrate to the center of the slice in the time it takes for the crust to bake. This is pure physics. Heat transfer is slow in dense, moist objects.
For a guaranteed tender filling, you must aim for uniformity and a specific thickness. The ideal size is 1/4-inch (about 6mm) thick. This provides enough substance so the apple doesn’t turn to mush, but it’s thin enough to cook through completely.
How do you achieve this? While a steady hand with a sharp knife works, my most recommended kitchen hack is to use a simple mandoline slicer. Set it to the 1/4-inch setting, and every single slice will be identical. This uniformity is your insurance policy against random crunchy bites. It ensures that every piece of apple in your pie cooks at the exact same rate. (Your future self will thank you for this.)
The Ultimate Solution: Pre-Cook Your Filling
If you want to absolutely, positively eliminate any chance of crunchy apples, there is one foolproof method: pre-cooking the filling on the stovetop. This technique, championed by experts at places like America’s Test Kitchen, solves every single problem we’ve discussed.
By cooking the apples before they go into the pie, you are taking control of the process. You are no longer gambling on the oven environment. Here’s the science behind it: gently heating the apples on the stove begins to break down their pectin and releases excess water. This is crucial. That excess water, when mixed with your thickener (like cornstarch or flour), creates a beautiful, glossy sauce before it gets near your delicate pie crust, preventing a soggy bottom.
Here is a basic method for a 9-inch pie filling:
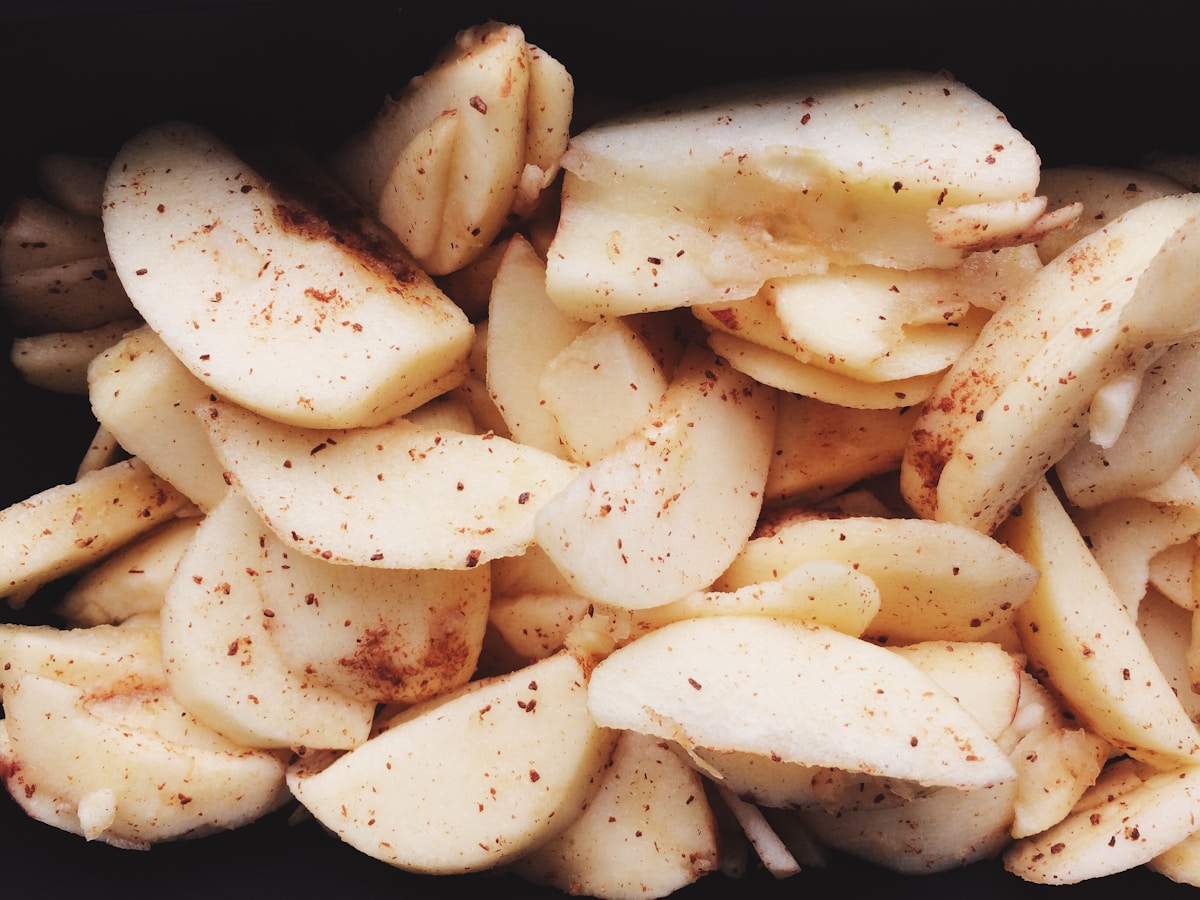
- Prep the Apples: Peel, core, and slice about 8 medium baking apples (around 3.5 to 4 lbs) into uniform 1/4-inch slices.
- Combine Ingredients: In a large pot or Dutch oven, combine the apple slices with 3/4 cup (150g) of granulated sugar, 1/4 cup (50g) of packed brown sugar, 1 teaspoon of ground cinnamon, 1/4 teaspoon of nutmeg, 1/4 teaspoon of salt, and 2 tablespoons of all-purpose flour or cornstarch. Toss everything gently to coat.
- Cook Gently: Add 2 tablespoons (28g) of unsalted butter and 1 tablespoon of lemon juice. Cook over medium heat, stirring occasionally, for about 8 to 12 minutes. You aren’t trying to cook them into mush. The goal is for the apples to become pliable and just tender when pierced with a fork. They will finish cooking in the oven.
- Cool Completely: This is the most important step. You MUST let the filling cool to room temperature before pouring it into your unbaked pie shell. A hot filling will melt the butter in your crust, ruining its flaky potential. (Seriously, do not skip this.)
This method also prevents the dreaded “crust gap”—that hollow space that sometimes forms between the baked top crust and the shrunken filling. By pre-cooking, you’ve already released the apples’ air and water, so the filling volume stays stable during the bake.
Final Bake Parameters and Troubleshooting
With your filling prepared and cooled, you’re ready for the oven. Even with pre-cooked apples, oven management is key to a perfect final product.
- Temperature Strategy: Start hot, then go lower. I bake my apple pies at 425°F (220°C) for the first 15 minutes. This high heat helps to quickly set the bottom crust, preventing sogginess. Then, I reduce the temperature to 375°F (190°C) for the remaining 35-45 minutes to gently cook the interior and fully brown the top.
- The Foil Shield Hack: If you notice your crust edges are browning too quickly before the center is done, don’t panic. Create a pie shield. Cut a large piece of aluminum foil into a square, fold it into quarters, and cut out the center point to create a ring. Gently place this ring over the edges of your crust. This reflects heat from the edges while allowing the center to continue baking.
- Signs of Doneness: How do you know it’s truly done? Look for thick, slow bubbles coming up from the very center of the pie, not just the edges. This tells you the filling has reached a boiling point and the thickeners have activated. You can also insert a thin paring knife or a skewer through a vent in the top crust; it should meet with very little resistance from the apple slices.
By understanding the chemistry of your ingredients and the physics of your oven, you transform pie-making from a game of chance into a predictable science. Choose the right apples, slice them uniformly, and embrace the pre-cooking method. Do these things, and you’ll never have to suffer the disappointment of a crunchy apple pie again.