Have you ever scrolled through pictures of gorgeous, homemade pizzas with those perfect, bubbly crusts and thought, “I could never do that”? Maybe you pictured a giant, expensive stand mixer churning away, or the terrifying moment of trying to slide a floppy, overloaded pizza onto a screaming-hot stone without it folding into a calzone of despair. (We’ve all been there.)
I’m here to tell you a secret the pros know but don’t always shout from the rooftops: one of the best pizzas you’ll ever make requires no stand mixer, no pizza stone, and no special peel. All you need is a bowl, your hands, and that trusty cast iron skillet you probably already have.
This method isn’t a shortcut that sacrifices quality. In fact, for this style of pillowy, thick-crust pizza, gently handling the dough by hand is actually better than using a machine. We’re going to make a high-hydration dough that develops its structure through time and a few simple folds, then bake it in a super-hot cast iron pan to get a crispy, golden-fried bottom that will change your pizza nights forever.
Ready to feel like a pizza rockstar? Let’s get started.
Why Your Mixer Can Take the Night Off
That big, beautiful KitchenAid on your counter is a powerhouse for many things, but it’s not the only way to develop gluten. Gluten, the network of proteins in flour that gives bread its structure and chew, can be developed in two ways: through mechanical action (kneading) or through time and hydration.
We’re focusing on the second method. When flour gets wet, the proteins (glutenin and gliadin) start to link up on their own. By giving them enough time, they’ll form a strong, stretchy network all by themselves. This is the principle behind no-knead bread, and it works beautifully for pizza.
Our dough will be what’s called a “high-hydration” dough, meaning it has a high ratio of water to flour. This makes it sticky and a little tricky to handle, but it’s the key to an airy, open crumb with big, beautiful bubbles. A powerful stand mixer can actually be too aggressive for this delicate dough, tearing the fragile gluten strands we want to develop. Gentle stretching and folding by hand encourages strength without overworking it.
So, you’re not just skipping the mixer out of convenience; you’re using a technique perfectly suited to creating a tender, chewy, and incredibly flavorful crust.
The Real MVP Your Cast Iron Skillet
Now, let’s talk about the secret weapon: the cast iron skillet. A professional pizza oven can reach temperatures of 800-900°F (425-480°C), cooking a pizza in minutes and creating that signature crispy-chewy crust. Your home oven just can’t compete with that raw power. Or can it?
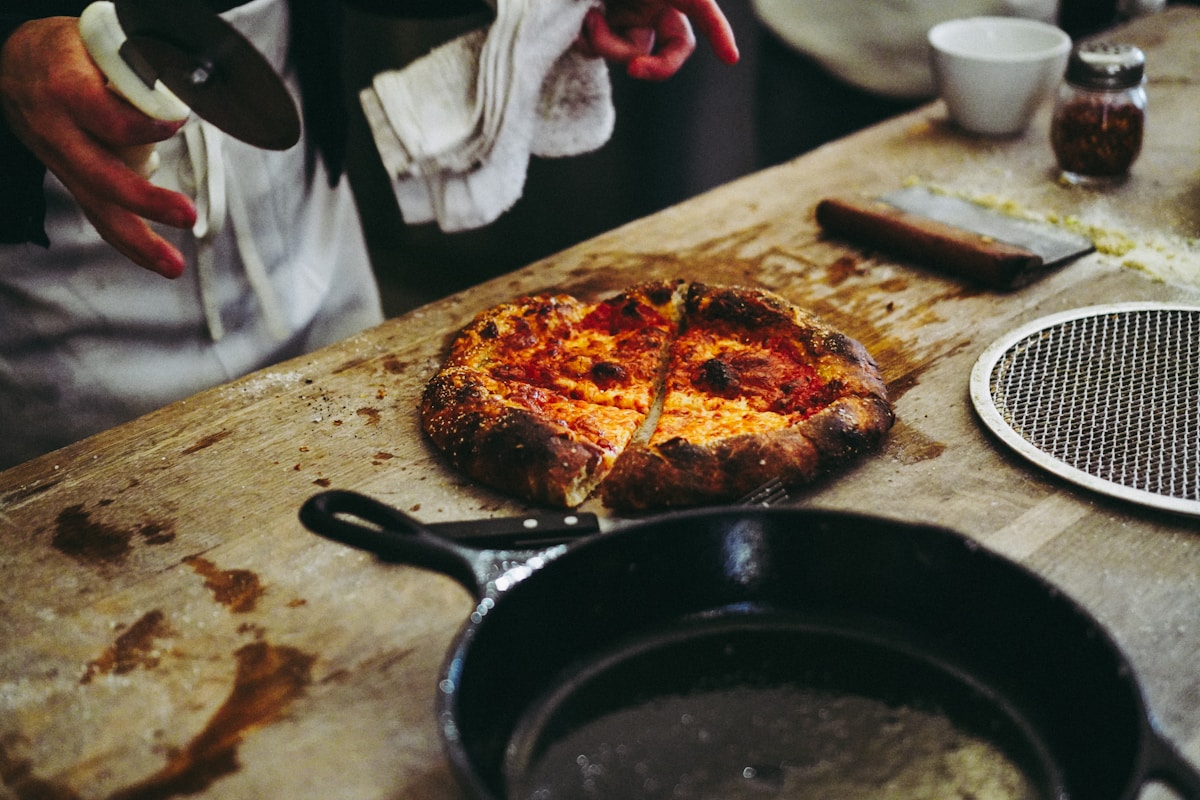
A cast iron skillet, like a classic 12-inch Lodge, is a master of heat retention. When you preheat it properly, that heavy bottom becomes a concentrated, sizzling-hot surface. It essentially mimics the floor of a pizza oven.
Here’s the magic: we’re going to build our pizza right in the pan. You’ll coat the pan with a generous layer of olive oil. When the high-hydration dough hits that preheated, oiled surface, the bottom doesn’t just bake—it fries. This creates an unbelievably crisp, golden-brown crust that’s sturdy enough to hold all your toppings without flopping. The high sides of the skillet trap steam, helping the crust rise beautifully and keeping the edges tender while the bottom gets that perfect crunch.
This method completely eliminates the dreaded pizza launch. No more flouring a peel, no more praying the dough slides off smoothly. You just gently press the dough into the pan, add your toppings, and bake. It’s foolproof. (Your future self will thank you.)
Your Step-by-Step No-Mixer Pizza Dough
This recipe makes enough dough for one 12-inch thick-crust pizza. It’s forgiving, so don’t stress about perfection. The most important ingredient is time.
Ingredients:
- 400g Bread Flour (like King Arthur brand for its high protein content) - about 3 cups
- 300g Warm Water (around 95°F / 35°C) - about 1 1/4 cups
- 8g Fine Sea Salt - about 1 1/2 teaspoons
- 2g Instant Yeast - about 1/2 teaspoon
- Olive oil for the bowl and pan
Instructions:
-
The Mix: In a large bowl, whisk together the flour and yeast. In a separate container, dissolve the salt in the warm water. Pour the salt water into the flour mixture. Mix with a spatula or your hands until just combined and no dry flour remains. It will look like a shaggy, sticky mess. This is normal!
-
The First Rest (Autolyse): Cover the bowl with plastic wrap or a damp towel and let it sit at room temperature for 30 minutes. This gives the flour time to fully absorb the water and kickstarts that gluten development we talked about.
-
Stretch and Fold: This is our “kneading.” Wet your hands to prevent sticking. Reach under one side of the dough, gently stretch it upwards, and fold it over the top of the dough ball. Rotate the bowl a quarter turn and repeat. Do this a total of four times (one fold from each “side”). The whole process takes about 20 seconds. You’ll feel the dough tightening up.
-
Bulk Fermentation: Cover the bowl again. You will repeat the stretch-and-fold process every 30 minutes for the next 1.5 to 2 hours (for a total of 3-4 sets of folds). After the final fold, lightly oil the top of the dough, cover the bowl tightly, and place it in the refrigerator for at least 24 hours, and up to 72 hours. This cold ferment is where the real flavor develops. It’s worth the wait!
From Dough Ball to Delicious Dinner
When you’re ready to bake, it’s time for the final, easy steps.
-
Get Ready: Take your dough out of the fridge about 2-3 hours before you plan to bake. This lets it come to room temperature and finish rising. Place a 12-inch cast iron skillet on the middle rack of your oven and preheat to the highest temperature it will go, typically 500-550°F (260-290°C). Let the pan preheat for at least 45 minutes.
-
The Magic Pan-Stretch: Carefully remove the screaming-hot pan from the oven (use heavy-duty oven mitts!). Add a generous 2 tablespoons of olive oil to the pan and swirl to coat the bottom and sides. Gently scrape your dough out of its bowl and place it in the center of the hot skillet. It will sizzle! Be careful not to burn yourself.
-
Shape and Top: Let the dough sit in the pan for a minute. The heat will start to set the bottom, making it easier to handle. Now, use your oiled fingertips to gently press and dimple the dough outwards to fill the pan. Don’t worry about making it perfect. Top with your sauce, cheese, and favorite toppings. Go easy—less is more with this rich crust.
-
The Bake: Carefully place the skillet back into the hot oven. Bake for 12-18 minutes, or until the cheese is bubbly and browned and the crust is a deep golden color. The exact time will depend on your oven’s true temperature.
-
The Finish: Using your oven mitts, carefully remove the skillet from the oven. Use a spatula to immediately transfer the pizza to a wire rack. This is critical—letting it sit in the pan will steam the bottom and undo all that crispy goodness you worked for. Let it rest for 5 minutes before slicing and devouring.
Try This Tonight
Feeling inspired? You don’t need a special occasion. You can mix this dough tonight after dinner in about 5 minutes of active time. Let it rest in the fridge, and you’ll have incredible pizza waiting for you tomorrow or the next day.
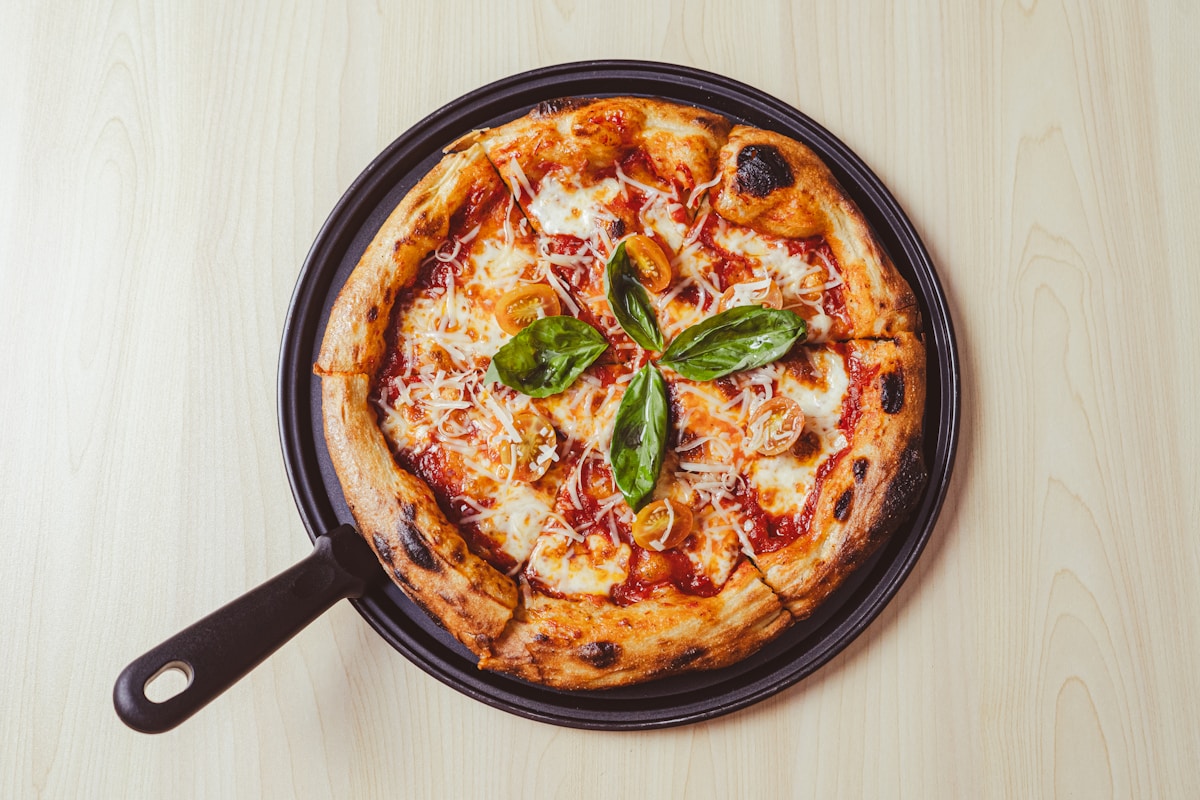
Start simple. A classic Margherita with good canned tomatoes (like Bianco DiNapoli), fresh mozzarella, and basil is the perfect way to let your amazing, homemade crust be the star of the show. You created that texture, that flavor, that perfect crispy bottom with just your hands and a humble skillet. You’ve got this.