Hello there, fellow kitchen adventurer! It’s Beatrice. Let’s talk about a dream I know we all share: pulling a pizza from our own oven with a crust so perfectly crisp on the bottom, so light and airy on the inside, that you can hear the crunch when you slice into it.
Now, let’s talk about the reality that sometimes happens instead. The slightly soggy middle. The crust that’s more like plain bread than a proper pizza base. The feeling that you need a fire-breathing brick oven and a degree in dough-tossing to get it right. It’s a common frustration, and for years, I thought truly great pizza was something you had to go out for.
What if I told you the secret weapon to achieving that dream crust isn’t a thousand-dollar pizza oven, but that heavy black pan sitting in your cabinet? Yes, I’m talking about your humble cast iron skillet. Paired with a wonderfully forgiving, high-hydration, no-knead dough, this pan will completely change your pizza night forever. No stand mixer, no endless kneading, no disappointment. Just pure, crispy, cheesy magic. (Trust me on this one.)
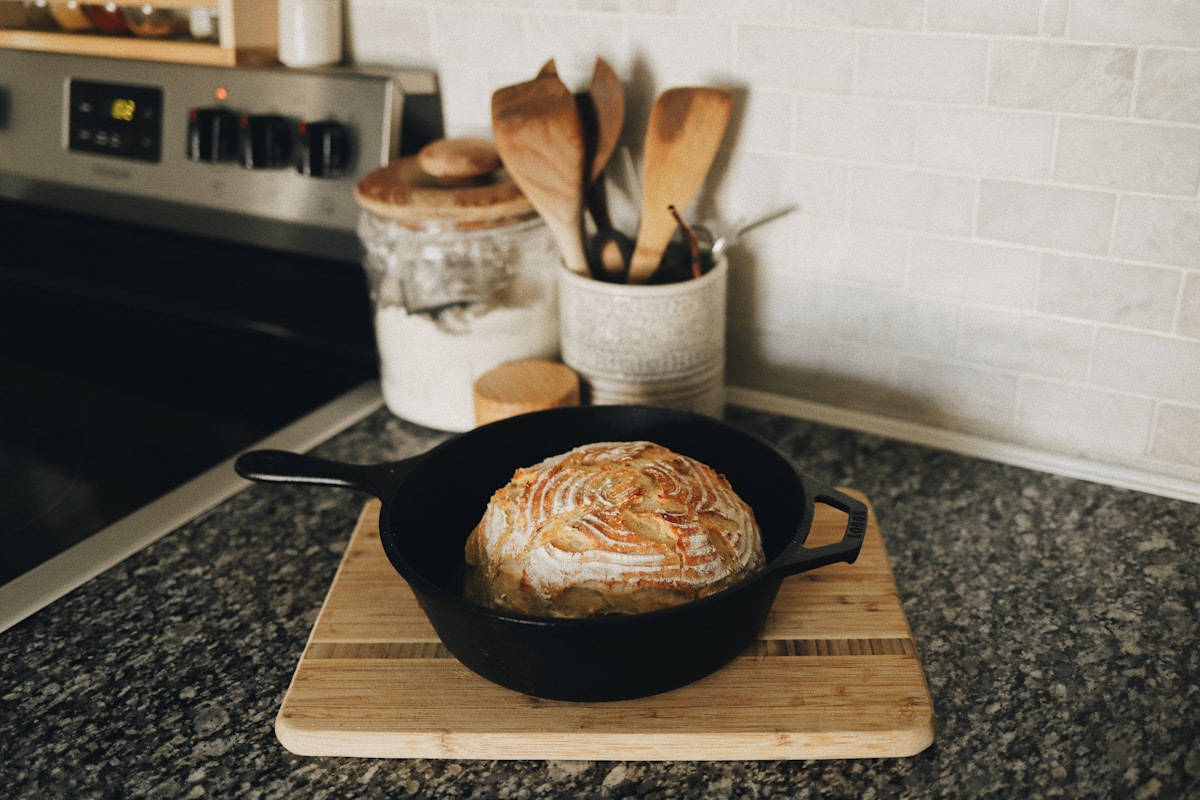
The Hero You Already Own: Your Cast Iron Pan
So, why is a simple cast iron skillet, like the classic ones from Lodge, so good for pizza? It comes down to one beautiful word: heat. Cast iron is thick, heavy, and absolutely incredible at absorbing and holding onto heat. When you preheat it properly, it gets screaming hot and stays screaming hot.
Think of a commercial pizza oven. They cook pizzas in minutes because their stone floors are intensely hot, blasting the bottom of the dough and instantly creating that crispy, leopard-spotted base. Your cast iron skillet acts like a miniature pizza oven floor. It delivers a massive, direct blast of heat to the bottom of your pizza dough, something a flimsy baking sheet just can’t do.
This intense bottom heat does two crucial things:
- It creates an incredible crust. It cooks the dough fast, creating a rigid, crispy platform that can hold up to all your favorite toppings without sagging. The olive oil you’ll add to the pan essentially ‘fries’ the bottom of the dough, resulting in a flavor and texture that is unbelievably delicious.
- It helps with ‘oven spring’. That initial blast of heat causes the water in the dough to turn to steam and expand rapidly, puffing up the crust and creating those beautiful, airy pockets inside. It’s the secret to a crust that’s both crisp and chewy.
Essentially, your skillet is faking a professional pizza oven, and doing a darn good job of it.
The Magic of ‘Wet’ Dough (No Kneading Required!)
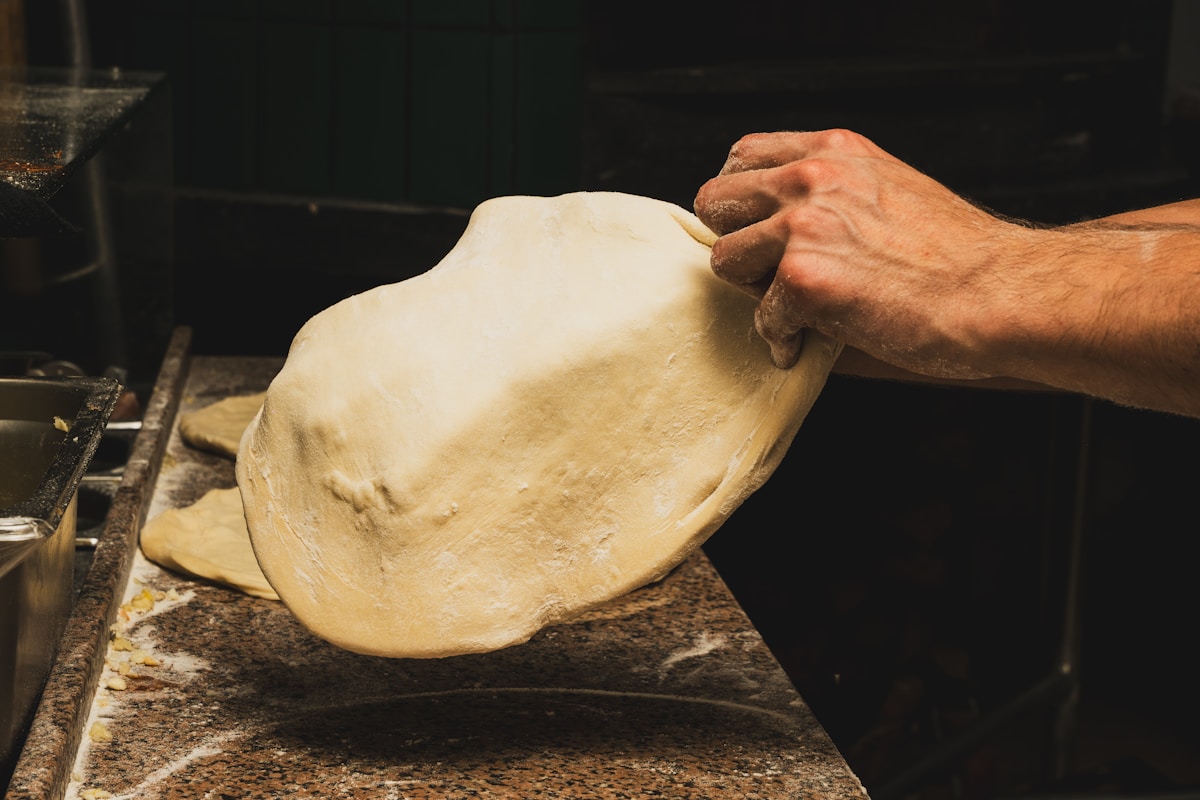
Now for the second part of our magic trick: the dough. If you’ve ever been scared off by recipes that demand ten minutes of vigorous kneading, a stand mixer, and a lot of muscle, you are going to love this. We are going to let time and water do all the work for us.
This is called a high-hydration, no-knead dough. All that ‘high-hydration’ means is that we’re using a higher ratio of water to flour than in a typical bread dough. It will look and feel very wet and sticky, almost like a thick batter. And that’s exactly what we want!
Here’s why it works: when flour gets wet, two proteins in it (glutenin and gliadin) link up to form gluten. Kneading is just a way to speed up that process, forcing those proteins to connect and form a strong, elastic network. But you can achieve the same result by just giving the wet dough enough time. The gluten will develop all on its own, creating a beautiful, bubbly, and flavorful dough with zero effort from you.
Here is a basic recipe to get you started. This makes enough for one 10 or 12-inch cast iron skillet pizza.
Simple No-Knead Skillet Dough:
- 400g Bread Flour (about 3 cups, but a scale is your best friend for baking!)
- 8g Salt (about 1 ½ tsp of fine sea salt)
- 4g Instant Yeast (about 1 tsp)
- 280g Warm Water (about 1 ¼ cups, around 95°F / 35°C)
In a large bowl, just whisk together the flour, salt, and yeast. Pour in the warm water and mix with a spatula until no dry flour remains. The dough will be shaggy and very sticky. That’s it! Cover the bowl with plastic wrap and let it sit at room temperature for at least 3 hours, or up to 5. You’ll see it get bubbly and more than double in size.
Putting It All Together: Your Step-by-Step Pizza Plan
Alright, your dough is bubbly and alive, and you’re ready to make pizza. Here’s how to bring it all home.
Step 1: Prep the Pan and Preheat An hour before you want to bake, pour about 2 tablespoons of olive oil into your 10 or 12-inch cast iron skillet. Scrape the bubbly dough out of the bowl and into the oiled pan. With oiled or wet hands (this is the key to handling sticky dough!), gently press and stretch the dough to fill the bottom of the pan. Don’t worry if it’s not perfect; it will relax and spread. Cover the skillet with plastic wrap and let the dough rest in the pan for that last hour. While it’s resting, place a rack in the upper-middle position of your oven and preheat it to its highest setting, usually 500-550°F (260-290°C). Let the oven get fully, truly hot.
Step 2: Top Your Pizza Once the dough has puffed up in the pan and the oven is blazing hot, it’s time to decorate. Uncover the dough. Be gentle! We want to keep all those beautiful air bubbles. Add your sauce, cheese, and toppings. A classic Margherita with crushed San Marzano tomatoes, fresh mozzarella, and basil is a perfect place to start. Don’t go too crazy with toppings on your first try, as too much moisture can weigh down the crust.
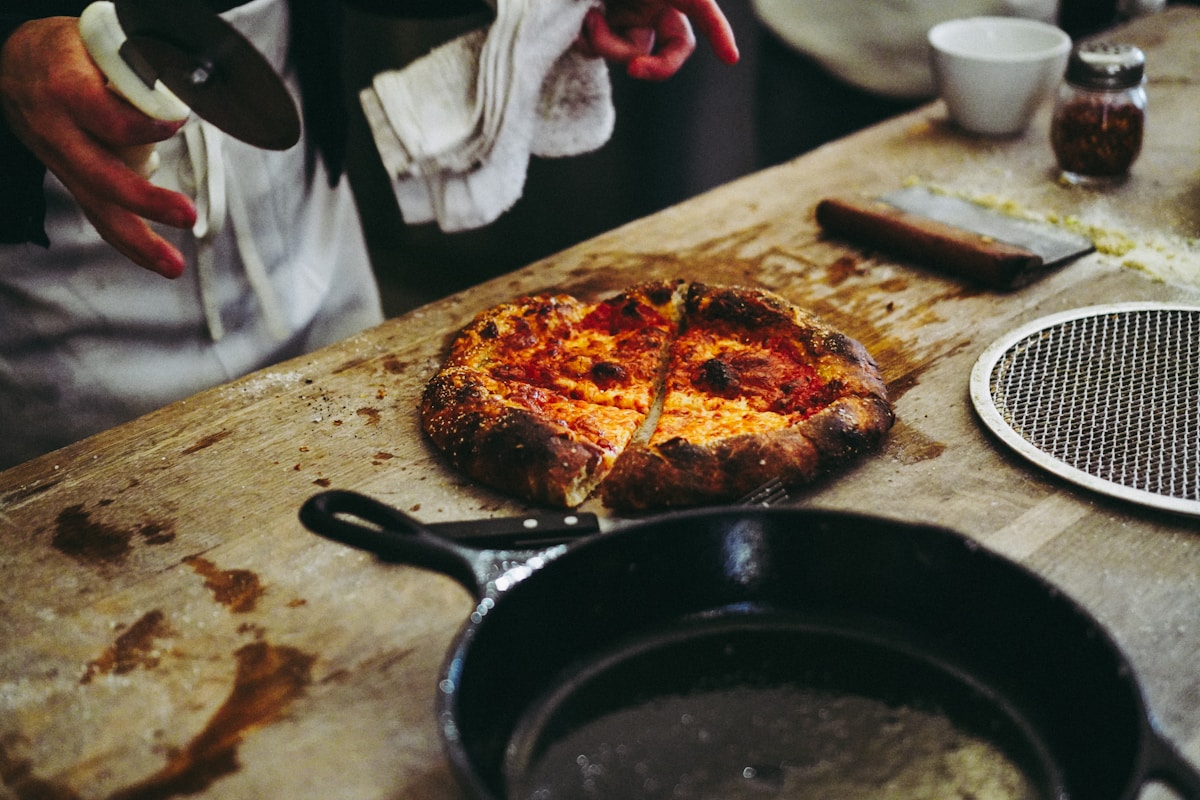
Step 3: The Bake Carefully place the heavy skillet onto the hot rack in your oven. Bake for 12 to 18 minutes. The exact time will depend on your oven’s true temperature. You’re looking for the cheese to be melted and bubbly, with some delicious browned spots, and the crust to be a deep golden brown all around the edges. You’ll hear it sizzling in the pan. (It’s one of the best sounds in the world.)
Step 4: The Finish Using sturdy oven mitts, carefully remove the skillet from the oven. It will be dangerously hot! Let it sit for a minute, then use a spatula to carefully slide the pizza out of the skillet and onto a cutting board. This is important—letting it cool in the pan can make the bottom steam and lose some of that hard-earned crispiness. Let it rest for a few minutes before slicing and devouring.
Beatrice’s Kitchen Hack: The Fridge is Your Friend
Want to unlock even more flavor from your dough? Try a cold ferment. After you mix your dough, cover the bowl and place it directly into the refrigerator for 1 to 3 days. The cold temperature slows the yeast activity way down, but it allows enzymes to continue working, developing incredibly complex and delicious flavors in the dough. When you’re ready to bake, just take the dough out, place it in your oiled skillet, and let it come to room temperature and get puffy for about 2-3 hours before topping and baking. Your future self will thank you.
Try This Tonight
Feeling inspired? You don’t need to wait for the weekend. That simple dough recipe comes together in less than five minutes of active time. Mix it up when you get home from work. While it’s rising for a few hours, you can unwind and get your toppings ready. By the time your favorite evening show is on, you can be pulling a sizzling, gloriously crispy pizza out of your oven.
Forget the fear of baking. Forget the idea that you need fancy gear. Your cast iron skillet has been waiting for this moment. Give it a try. I promise, once you taste that crispy, chewy, almost-fried crust, you’ll never look at homemade pizza the same way again. You’ve got this.