You followed the recipe to the letter. You measured the King Arthur flour perfectly, creamed the butter and sugar until light and fluffy, and folded in the dry ingredients with a gentle hand. You poured the pristine batter into your new, brightly colored silicone cake pan—the one that promised a perfect, non-stick release every time.
But when the timer goes off, what comes out of the oven is… disappointing. The cake is pale, the edges haven’t pulled away from the sides, and the texture feels a little dense, almost gummy. It technically cooked through, but it lacks that beautiful golden-brown crust and the proud, even rise you were dreaming of. What went wrong?
The culprit isn’t your recipe or your oven. It’s the pan. Here at kitchen-fun.com, I’ve tested countless gadgets that promise to make life easier, and flexible silicone bakeware is one of the most common points of confusion. The truth is, the material your pan is made from fundamentally changes how your food cooks. Let’s break down why your metal pans will beat silicone for most baking tasks, every single time.
The Science of the Bake: Conductor vs. Insulator
To understand the difference, we need to talk about one simple concept: heat transfer. How efficiently does your pan take the heat from your oven and deliver it to your batter? This is the single most important factor in achieving a great bake.
Metal Pans are Heat Conductors: Think of a cast-iron skillet. You put it on the stove, and it gets screaming hot, fast. Baking pans made of metal—especially aluminum, the most common material—are excellent heat conductors. They absorb the oven’s heat quickly and transfer it directly and efficiently to your batter.
This rapid heat transfer does two crucial things:
- Promotes the Maillard Reaction: This is the chemical reaction between amino acids and reducing sugars that gives browned food its distinctive flavor and color. It’s why toast is delicious and bread is just… bread. For this to happen effectively, you need surface temperatures above 300°F (150°C). A metal pan gets your batter’s surface to that temperature quickly, creating a beautiful, flavorful crust.
- Creates Structure: The quick blast of heat to the outside of the cake batter helps it “set” early in the baking process. This creates a stable wall that allows the interior of the cake to rise upwards, resulting in a lighter, fluffier crumb and a taller cake.
Silicone Pans are Heat Insulators: Now, think of an oven mitt. Its job is to stop heat from reaching your hand. Silicone is an insulator. It’s a very poor conductor of heat. When you put a silicone pan in the oven, it heats up slowly and transfers that heat to the batter very inefficiently.
Instead of baking your cake, a silicone pan essentially steams it. The slow, gentle heat doesn’t allow the surface to get hot enough for significant Maillard reaction, which is why your cakes come out pale. The lack of a quick-setting crust also means the cake doesn’t have the structure to support a big rise, often leading to a denser, heavier final product. (Your future self will thank you for understanding this.)
Head-to-Head Bake Off: A Real-World Test
Talk is cheap. Let’s see the difference. I whipped up a single batch of a simple yellow cake batter to eliminate any variables.
The Recipe: Simple Yellow Butter Cake
- 1.5 cups All-Purpose Flour
- 1 cup Granulated Sugar
- 1.5 tsp Baking Powder
- 0.5 tsp Salt
- 0.5 cup Unsalted Butter, softened
- 2 Large Eggs
- 0.5 cup Milk
- 1 tsp Vanilla Extract
I divided the batter equally between two 8-inch round pans. One was a standard Nordic Ware aluminum pan, and the other was a popular, floppy silicone pan of the same size. Both went into a preheated 350°F (175°C) oven, side-by-side.
The Results after 30 Minutes:
-
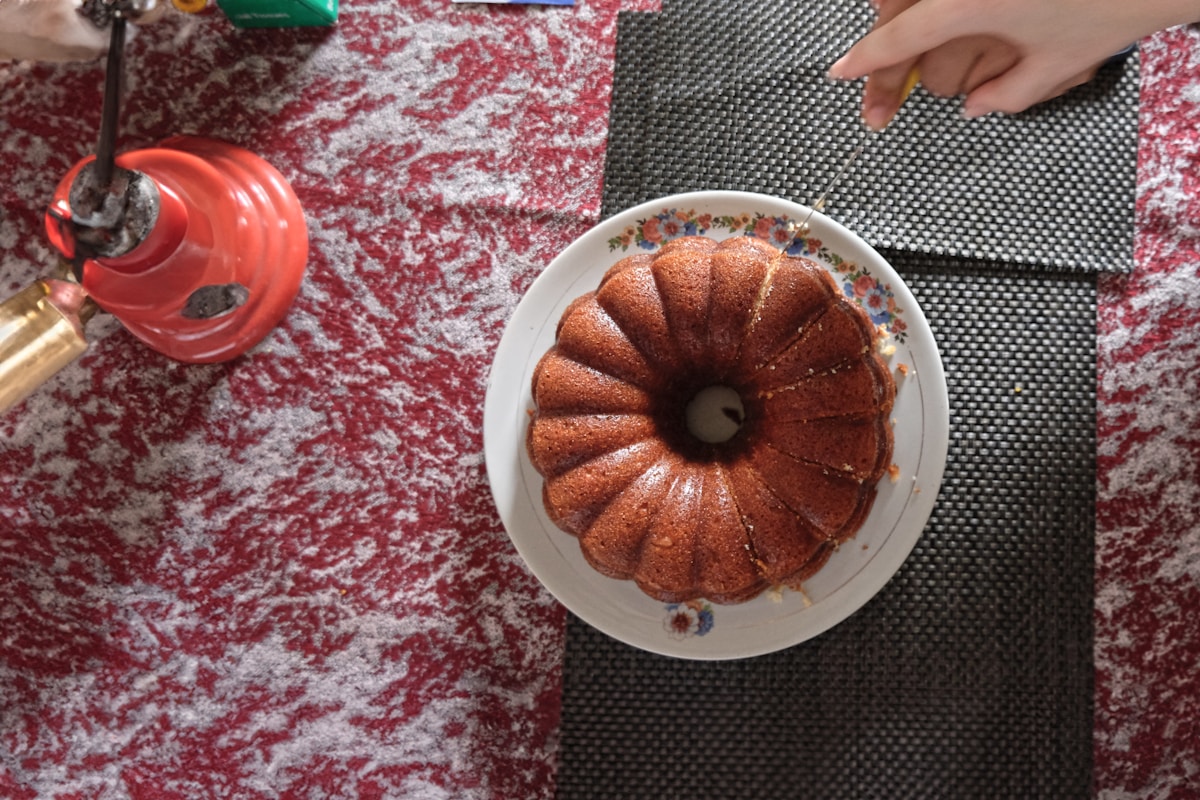
The Metal Pan Cake: It was a picture-perfect cake. The top was a deep golden brown, and the edges were a shade darker, having pulled away cleanly from the sides of the pan. When I sliced into it, the crumb was light, airy, and even. The crust had a slightly crisp, satisfying texture that contrasted beautifully with the soft interior. It smelled like a classic birthday cake.
-
The Silicone Pan Cake: The difference was stark. The top of the cake was blonde and anemic-looking. The sides were pale and slightly damp. It released from the pan easily, sure, but the bottom and sides were smooth and featureless, with zero browning. The crumb was noticeably denser and felt heavier. The flavor was fine, but it lacked the caramelized notes from the crust that make a baked good truly special.
The visual evidence was undeniable. For tasks where browning and structure are key, metal is the only way to go.
When to Use Silicone (And When to Avoid It)
Am I telling you to throw out your silicone molds? Absolutely not. Remember the philosophy: the right tool for the job. Silicone has its own unique strengths, just not for baking cakes.
Use Silicone Molds For:
- No-Bake Desserts: For things like no-bake cheesecakes, panna cotta, or gelatin molds, silicone’s flexibility is a massive advantage. You can easily peel the mold away from the delicate dessert without breaking it.
- Chocolate and Candy Making: Its non-stick surface is perfect for molding chocolates, fudge, or homemade gummies. Nothing sticks.
- Freezing: Silicone is brilliant for the freezer. I use small silicone molds to freeze single portions of homemade baby food, pesto, or compound butter. They pop right out.
- Intricate Shapes: If you want a cake shaped like a dinosaur or a castle, a silicone mold is often the only way to get those details. Just be prepared for the textural trade-offs.
Avoid Silicone Pans For:
- Cakes, cupcakes, and muffins
- Brownies and blondies (You’ll never get those chewy, crisp edges)
- Quick breads like banana bread or zucchini bread
- Roasted vegetables (They will steam instead of caramelize)
- Anything that relies on a crust for texture and flavor
My Go-To Metal Pan Recommendations
Investing in a few quality metal pans is one of the best things you can do for your baking. You don’t need to spend a fortune. Here are my practical, tested favorites that offer the best value.
-
The Workhorse: USA Pan Bakeware ($20 - $30) These are, in my opinion, the best pans for the home baker. They’re made of heavy-gauge aluminized steel that heats incredibly evenly. They have a corrugated surface for better airflow and a clear, non-toxic silicone coating (Americoat). Don’t confuse this coating with a pan made of silicone—this thin layer just provides a fantastic non-stick release while you still get all the benefits of the conductive metal underneath. Their 9x13 inch pan is a kitchen essential.
-
The Budget Pro: Nordic Ware Naturals Aluminum ($15 - $25) If you want pure, uncoated performance, this is it. These are the pans you see in professional kitchens. They are simple, durable, and conduct heat perfectly. They will discolor over time, but that doesn’t affect their performance one bit. You’ll need to grease and flour them properly, but they will give you beautiful, consistent results for years.
-
The Casserole King: Pyrex Basics Glass ($10 - $20) Okay, glass isn’t metal, but it’s worth mentioning. Like silicone, glass is an insulator. However, it holds heat much more intensely once it gets hot. This makes it fantastic for things like brownies (if you like a gooey center) and savory casseroles that need to stay warm on the table. It’s a different tool for a different job.
The Final Verdict and a Kitchen Hack
The bottom line is this: If your goal is a beautifully browned, well-risen baked good with a fantastic texture, you need to use metal pans. Their ability to conduct heat efficiently is something silicone simply cannot replicate.
Reserve your silicone molds for what they do best: creating unique shapes, handling sticky candies, and making no-bake or frozen treats a breeze.
And now for a practical tip. What if you’re stuck and a silicone mold is all you have?
Kitchen Hack: Place your silicone pan on a heavy-duty metal baking sheet before you put it in the oven. Make sure the baking sheet is preheated along with the oven. This creates a hot metal base that helps conduct heat to the bottom of the silicone pan much more effectively. It won’t solve the problem of pale sides, but it can significantly improve the browning on the bottom and give your bake a much-needed structural boost. (It’s a compromise, but a smart one.)
Stop blaming your recipes. Get the right tool for the job, and you’ll find that beautiful golden-brown crust is easier to achieve than you ever thought.