You followed the recipe to the letter. You measured the flour perfectly, creamed the butter and sugar until it was light and fluffy, and watched the oven temperature like a hawk. An hour later, you pull out your creation, and… it’s pale. It’s cooked through, sure, but it looks sad, anemic, and lacks that gorgeous, golden-brown crust you see in cookbooks.
If this sounds familiar, I have a question for you: were you using a silicone baking pan?
As the gear reviewer for Kitchen Fun, I’ve tested dozens of pans, from fancy copper to budget-friendly glass. And let me tell you, no material causes more confusion and disappointment for bakers than silicone. It promises a non-stick, easy-release dream, but often delivers a pale, spongy reality. Let’s get to the bottom of why this happens and which pans will actually give you the results you deserve.
The Science of the Crust: Conductor vs. Insulator
To understand why your cake isn’t browning, we need to talk about a little bit of high school physics. It all comes down to how your pan handles heat.
Think of a metal pan—whether it’s aluminum, aluminized steel, or even cast iron—as a heat conductor. It’s like a superhighway for heat. When you put it in a hot oven set to 350°F (175°C), the metal rapidly absorbs that energy and transfers it directly and efficiently into your cake batter. This quick, aggressive heat transfer is exactly what you need to kickstart two magical chemical reactions: the Maillard reaction and caramelization. These are responsible for creating the complex flavors and deep brown colors that make a baked good truly delicious.
Now, think of silicone. Silicone is a heat insulator. Instead of a highway, it’s more like a winding country road with a low speed limit. It resists heat transfer. It shields your batter from the oven’s direct heat, slowing everything down. The batter still gets cooked, but it’s a gentle, slow bake. It’s almost closer to steaming the outside of the cake than it is to truly baking it. As a result, the surface of the batter never gets hot enough, fast enough, for proper Maillard and caramelization to occur.
So, the pale, soft exterior isn’t a sign that you did something wrong with the recipe. It’s a direct result of the material your pan is made from.
The Tale of Two Loaf Pans: A Real-World Test
To show you exactly what I mean, I ran a simple side-by-side test in my own kitchen. I whipped up a single batch of my go-to vanilla pound cake batter. I divided it evenly between two pans:
- The Metal Pan: A standard USA Pan Loaf Pan, made of heavy-gauge aluminized steel ($20-25 price range).
- The Silicone Pan: A popular, floppy red silicone loaf pan from a generic brand (around $10-15).
Both went into the same 350°F (175°C) oven, on the same rack, for 55 minutes. The results were night and day.
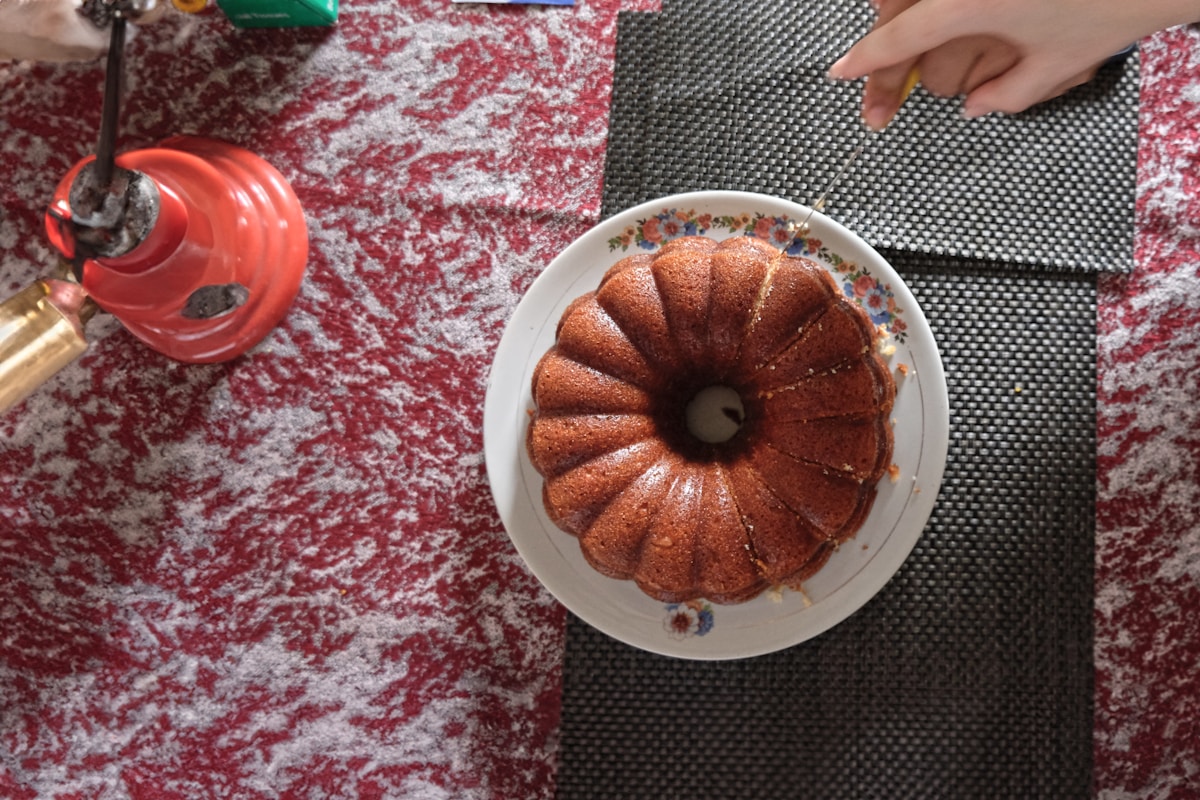
The USA Pan Loaf: The cake rose beautifully with a proud, cracked dome. The crust was a deep, even golden-brown. The corners were slightly darker, crisp, and ridiculously fragrant with the smell of caramelized sugar. When I tipped it out, it released cleanly and stood tall on the cooling rack. The texture was perfect: a tender, moist crumb protected by a firm, delicious crust.
The Silicone Pan Loaf: This cake also rose, but it looked… damp. The surface was pale yellow, with only the faintest hints of browning on the very top where it was most exposed to the oven’s air. The sides were soft and spongy to the touch. When I tried to unmold it, the floppy pan was hard to handle, and the cake felt fragile. The final texture was uniform, but it lacked the satisfying contrast of a crisp exterior and a soft interior. It was, in a word, boring.
This simple test proves the point better than any textbook. For structure, flavor, and color, metal wins. No contest.
When Silicone Actually Shines (Don’t Throw It Out Yet)
After reading all that, you might be tempted to toss your silicone molds in the trash. Hold on! The right tool for the right job is my motto, and silicone absolutely has its place in the kitchen.
Because it’s an insulator and provides an easy release, it’s perfect for tasks where browning is undesirable or impossible. Here’s where I still reach for my silicone molds:
- Frozen Desserts & Treats: For setting ice cream cakes, homemade popsicles, or freezing portions of baby food, silicone is a champion. Its flexibility makes popping frozen items out a breeze.
- No-Bake Desserts: Making a gelatin-based panna cotta or a chocolate mousse? Silicone molds will give you a clean release without any risk of sticking.
- Candy Making: When you’re pouring hot fudge, caramel, or hard candy, you aren’t trying to bake anything. You just need a heat-resistant mold that won’t stick. Silicone is perfect for this.
- Intricate Shapes: If you want to make tiny, detailed chocolates or mini cakes in complex shapes (like flowers or characters), the flexibility of silicone is your best friend. A metal pan could never release those delicate details cleanly.
Think of it this way: if the goal is browning and creating a crust, grab metal. If the goal is setting, freezing, or molding something with an easy release, grab silicone.
My Top Picks for Pans That Actually Bake
Building a reliable bakeware collection doesn’t have to be expensive, but it should be intentional. You want pans that conduct heat evenly and will last for years. Here are my go-to recommendations that deliver consistent, beautiful results.
-
The Best All-Rounder: USA Pan Bakeware: Made of heavy-gauge aluminized steel with a silicone-based (ironic, I know) non-stick coating that actually works. Their light color prevents bottoms from burning, and the heat conduction is superb. A 9x5 inch loaf pan or an 8x8 inch square pan will cost you about $20-$25 and will probably outlive your oven.
-
The Budget Workhorse: Nordic Ware Naturals Line: These are uncoated, pure aluminum pans. They are fantastic heat conductors, lightweight, and incredibly durable. You’ll need to grease and flour them properly, but they deliver professional-level results for a very fair price (around $15 for a 9x13 inch pan). They will never rust and are built to last.
-
The Skillet Special: Lodge Cast Iron: For cornbread, skillet cookies, or rustic fruit cobblers, nothing beats the crust you get from cast iron. A 10-inch Lodge skillet is one of the best investments you can make in your kitchen for under $30. The heat retention is legendary, creating a deeply browned, unforgettable crust. (Just remember to keep it seasoned!)
Notice a theme? They’re all metal. They’re all reasonably priced. And they all work.
The Kitchen Hack: Forcing Silicone to Cooperate
What if you’re in a pinch and all you have is a silicone pan? Don’t despair. I have a trick that can dramatically improve your results.
The Hack: Place your silicone pan on a heavy-duty metal baking sheet before you pour in the batter. Make sure to preheat the oven with the baking sheet inside it.
When you’re ready to bake, carefully pull the hot sheet out, place your filled silicone pan on top of it, and put the whole assembly back in the oven. The screaming hot metal sheet will act as a booster, conducting heat directly into the bottom of the silicone pan. This helps jump-start the browning process from the bottom up. While the sides will still be paler than in a metal pan, the bottom will develop a much better crust, improving the overall structure and flavor of your bake.
It’s a simple fix that makes a world of difference. Your future self will thank you.