You did everything right. You preheated the oven to exactly 350°F (175°C), meticulously measured your King Arthur flour, and creamed the butter and sugar until it was light and fluffy. The vanilla cake batter was perfect. But when the timer went off, the cake that came out of your floppy silicone pan was… a tragedy.
It was pale, almost anemic-looking. It hadn’t risen as high as you’d hoped, and the edges were weirdly soft, not golden and crisp. When you cut into it, the texture was a little dense, a little gummy. You followed the recipe to the letter, so what went wrong? I’m here to tell you it probably wasn’t you. It was your pan.
This is one of the most common frustrations I hear from bakers, and it almost always comes down to a simple misunderstanding of materials. Let’s break down the science of why your metal pans will almost always beat silicone for baking beautiful cakes, and how you can use each tool for what it does best.
The Science of the Bake: Conductor vs. Insulator
To understand why your cakes fail in silicone, you need to think about how an oven actually cooks your food. An oven creates a hot environment, but it’s the pan’s job to efficiently transfer that heat into the batter. This is where the fundamental difference between metal and silicone comes into play.
Metal is a heat conductor. Think about grabbing the metal handle of a hot skillet versus the wooden or plastic one. Metal, especially aluminum, is fantastic at absorbing heat and distributing it quickly and evenly. When you pour your batter into a good aluminum pan, that pan gets hot fast and immediately starts cooking the batter from the bottom and sides.
This rapid heat transfer does two crucial things:
- Oven Spring: It gives the leavening agents (baking powder or soda) a powerful, immediate kick, causing the cake to rise quickly and achieve a light, airy texture.
- The Maillard Reaction: This is the beautiful chemical reaction between amino acids and reducing sugars that creates browning. It’s responsible for the delicious, complex flavors and golden crust on everything from a seared steak to a perfect cake. This reaction needs high heat to get going, and a metal pan delivers it.
Silicone is a heat insulator. It does the exact opposite of metal. It’s slow to heat up and doesn’t transfer that heat very well. Instead of conducting heat into your cake batter, it shields it. The result is a cake that essentially steams in its own moisture. The leavening doesn’t get that initial powerful burst, leading to a shorter, denser cake. The sides and bottom never get hot enough for a proper Maillard reaction, which is why you end up with a pale, soft, and often gummy crust.
(It’s like trying to get a good sear on a steak by putting it on a warm ceramic plate instead of a screaming-hot cast-iron skillet. The tool is working against your goal.)
The Side-by-Side Test: Seeing is Believing
Talk is cheap. Let’s look at a real-world test, one I’ve run in my own kitchen countless times. I take one batch of a classic vanilla butter cake batter and divide it equally between two 9-inch round pans.
- Pan 1: A professional-grade, light-colored aluminum pan from Nordic Ware (a workhorse that costs about $20).
- Pan 2: A standard 9-inch round silicone pan from a popular brand.
Both go into the same 350°F (175°C) oven, on the same rack, for the same amount of time. The results are always dramatically different.
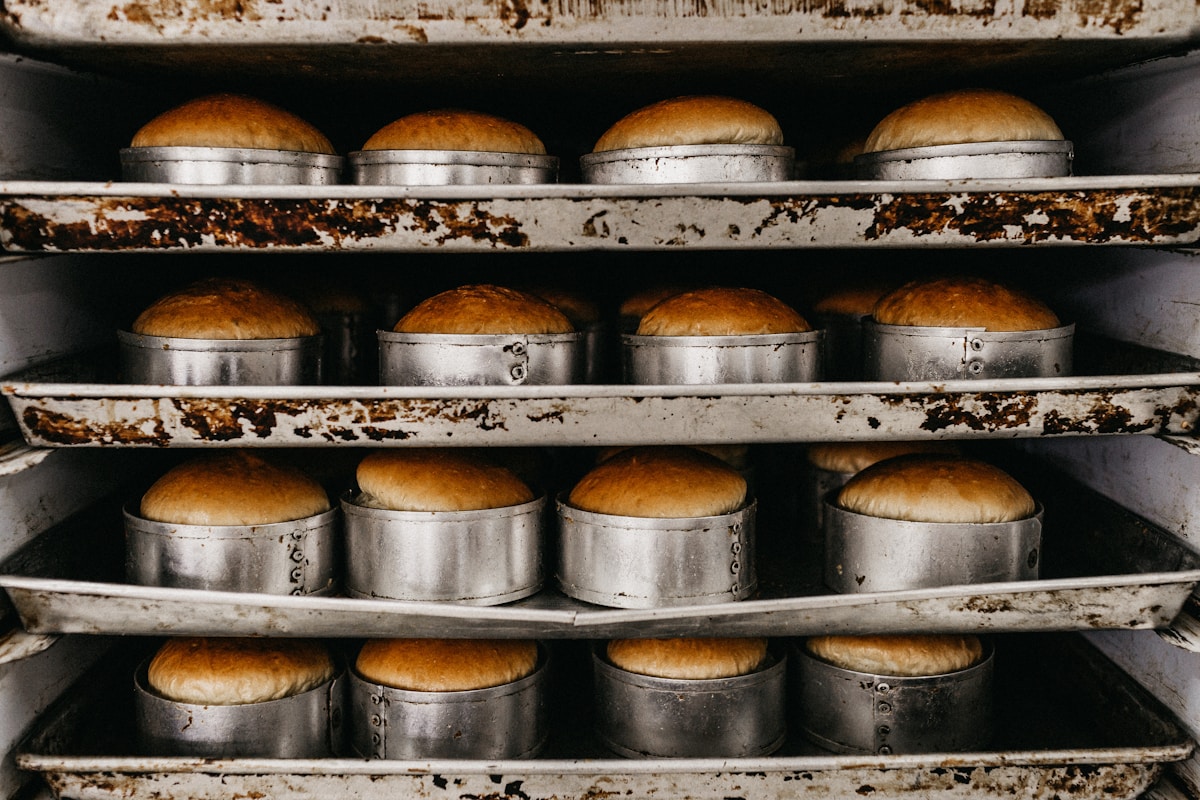
The Metal Pan Cake: After about 30-35 minutes, it’s a picture of perfection. The top is beautifully domed and golden brown. The edges have pulled away from the sides of the pan slightly and are an even, deeper brown. When you turn it out, the bottom is also perfectly golden. The crumb is light, tender, and has a uniform structure. The smell is rich and caramelized.
The Silicone Pan Cake: It takes longer to cook, often an extra 5-10 minutes just to get the center to set. When it finally comes out, it’s visibly paler all over. The top might have a hint of color, but the sides are the same color as the raw batter. It doesn’t rise as high, and the texture is noticeably denser. Sometimes, a greasy film develops on the outside. The flavor is flat because it’s missing all those complex notes from proper browning.
Seeing them side-by-side, you’d never guess they came from the same batter. The choice of pan is truly that important.
So When Should You Actually Use a Silicone Pan?
After all that, you might be tempted to throw your silicone bakeware in the trash. Don’t! It’s not a bad tool; it’s just a specialized one. Its insulating properties and incredible flexibility are superpowers when used for the right tasks. The key is to use it when browning is not the goal.
Here’s where silicone truly shines:
- No-Bake Desserts: For no-bake cheesecakes, mousse cakes, or layered gelatin desserts, silicone is a champion. You can easily peel the mold away for a perfect release without a crumb crust getting stuck.
- Frozen Treats: Making a homemade ice cream cake or frozen yogurt bars? Silicone is freezer-safe and its flexibility makes popping out frozen items a breeze.
- Chocolate and Candy Making: Tempering chocolate and making candies requires precise temperature control and easy release of small, detailed shapes. Silicone molds are the industry standard for this.
- Fat Bombs & Egg Bites: For high-fat, low-carb keto treats or baked egg bites, where a soft, steamed texture is actually desirable, silicone muffin pans work wonderfully.
Basically, if you aren’t looking for a crust, silicone is your friend.
My Top Picks for Metal Bakeware That Won’t Break the Bank
The great news is that the best bakeware is often not the most expensive. You don’t need fancy coatings or designer names. You need good materials.
My go-to recommendation for almost any baker is light-colored, heavy-gauge, anodized aluminum bakeware. Brands like Nordic Ware’s Naturals line or Fat Daddio’s offer professional-level results for very reasonable prices. You can get a fantastic 9-inch round cake pan or a 9x13-inch rectangular pan for $15-$25.
Another outstanding option is aluminized steel, which is what brands like USA Pan use. It’s incredibly durable, warp-resistant, and heats beautifully. They often have a light non-stick silicone coating (not to be confused with a silicone pan!) that works incredibly well. They cost a bit more, maybe $25-$35 for a signature pan, but they will last you a lifetime.
What to avoid: Stay away from very dark, coated non-stick pans for cakes. They absorb too much heat and can cause the edges and bottom of your cake to burn before the center is cooked. Also, avoid flimsy, cheap pans from the dollar store; they will warp under high heat and give you uneven results. (Your future self will thank you for spending an extra ten dollars.)
Kitchen Hack: How to Improve Bakes in a Silicone Pan (If You Must)
Let’s say you’re in a pinch. All you have is a silicone pan, but you’re determined to bake a cake. You can improve your results with one simple trick.
Place your silicone pan on a heavy-duty metal baking sheet before you pour the batter in. Put the whole assembly into the preheated oven. The metal sheet will get hot and act as a conductive base, transferring heat directly to the bottom of the silicone pan. This helps the bottom of the cake cook more efficiently and can achieve at least some browning.
It won’t be quite as good as a proper metal cake pan because the sides will still be insulated, but it will be a significant improvement over using the silicone pan on its own. You’ll get a better rise and a less gummy texture. Just remember you might still need to add a few extra minutes to the bake time.
The Final Verdict: The Right Tool for the Job
Ultimately, the debate isn’t about which pan is “better” in a vacuum. It’s about which pan is the right tool for the specific job you’re doing. A hammer isn’t better than a screwdriver; they just have different purposes.
For baking cakes, quick breads, brownies, and anything else where you want a golden-brown crust and a light, even crumb, a light-colored metal pan is the undisputed champion. The investment is small, and the improvement in your baking will be immediate and dramatic.
Save your silicone pans for the delicate, sticky, or frozen tasks where their flexibility and easy-release properties can make your life in the kitchen so much easier. Understanding your tools is the first step to mastering any craft, and in baking, choosing the right pan can make all the difference between a sad, pale disc and a show-stopping cake.