You’ve done everything right. You followed the recipe from King Arthur Baking to the letter, chilled your butter, didn’t overwork the dough, and piled your apples high. Your pie looks magnificent coming out of the oven, a bubbling, golden-domed masterpiece. Then comes the moment of truth: you slice into it, and the first piece slumps onto the plate, revealing a pale, damp, and tragically limp bottom crust.
It’s one of the most common baking frustrations, and it sends bakers down a rabbit hole of questions. Was my oven temperature wrong? Did I not bake it long enough? Is my filling too wet?
The answer might be much simpler. It might be the pan itself. Here at kitchen-fun.com, I’ve tested dozens of pans, and I can tell you that the material you bake in has a massive impact on the final result. So let’s settle the age-old debate: for that perfect, crisp, structurally sound pie crust, should you reach for metal or glass?
The Science of the Soggy Bottom
To understand why your pan matters, you need to think about heat. Cooking is just the management of heat transfer, and different materials handle it in dramatically different ways.
- Metal is a conductor. Think of a cast-iron skillet. It gets hot, and it gets hot fast. Aluminum, the most common material for metal pie pans, is an excellent heat conductor. It absorbs heat from your oven and transfers it directly and efficiently into your pie dough.
- Glass is an insulator. Think of a double-paned window. It’s designed to slow down the transfer of heat. Glass pie pans heat up slowly and gently. They hold heat well once they’re hot, but they don’t deliver that initial, aggressive blast of energy that pastry needs.
A pie crust, especially the bottom, is in a race against time. It needs a powerful burst of heat from below to quickly turn the water in the butter and dough into steam. This steam creates pockets, lifting the layers of dough and creating that coveted flaky texture. This process needs to happen before the liquid from your filling has a chance to soak in and turn the raw dough into a gummy paste.
A metal pan wins this race. It acts like a mini-skillet for your crust, rapidly crisping and setting the bottom. A glass pan, being an insulator, creates a much gentler baking environment. It’s a slow, leisurely heat that often isn’t enough to win the race against the filling’s moisture. The result? A soggy bottom.
Head-to-Head The Pie Pan Showdown
Let’s break down the practical pros and cons of the main contenders. I’ve baked countless pies in all of these, and the differences are consistent and predictable.
Category: Lightweight Metal Pans (Aluminum)
- Top Performers: USA Pan Aluminized Steel Pie Pan, Nordic Ware Natural Aluminum Pie Plate.
- Price Range: $10 - $20
- Heat Transfer: Excellent. This is the key advantage. They heat up almost instantly and drive heat directly into the bottom crust, producing a crisp, evenly browned finish. Look for dull, light-colored aluminum, as shiny surfaces can reflect heat while dull ones absorb it better.
- Pros:
- Superior browning and crisping.
- Lightweight and easy to handle.
- Durable and won’t shatter if dropped or subjected to temperature shock.
- Inexpensive and widely available.
- Cons:
- You can’t see the bottom crust browning, so you have to trust your timing and instincts. (A little peek by lifting an edge with a spatula is fine.)
- Plain aluminum can sometimes react with very acidic fillings like lemon curd, though most quality pans are anodized or coated to prevent this.
Category: Glass Pans (Soda-Lime or Borosilicate)
- Top Performers: Pyrex Glass Pie Plate.
- Price Range: $8 - $15
- Heat Transfer: Poor. As an insulator, glass heats slowly and can struggle to get hot enough to properly bake the crust underneath a wet filling. While you can see browning, this visual cue can be misleading; a crust can look brown but still be soft and under-baked.
- Pros:
- The transparent material allows you to monitor the browning on the bottom and sides.
- It’s non-reactive, so you never have to worry about acidic fillings.
- They look nice and can go from oven to table.
- Cons:
- The primary cause of soggy, under-baked bottom crusts.
- Heavy and can shatter with thermal shock (e.g., moving from a hot oven to a cold, wet countertop).
- The slow heating can lead to a less flaky crust structure.
(A quick note on ceramic and stoneware: while beautiful, they are even worse insulators than glass. Save them for crumbles, pot pies, or serving, but not for a classic double-crust fruit pie where a crisp bottom is the goal.)
The Apple Pie Test Case
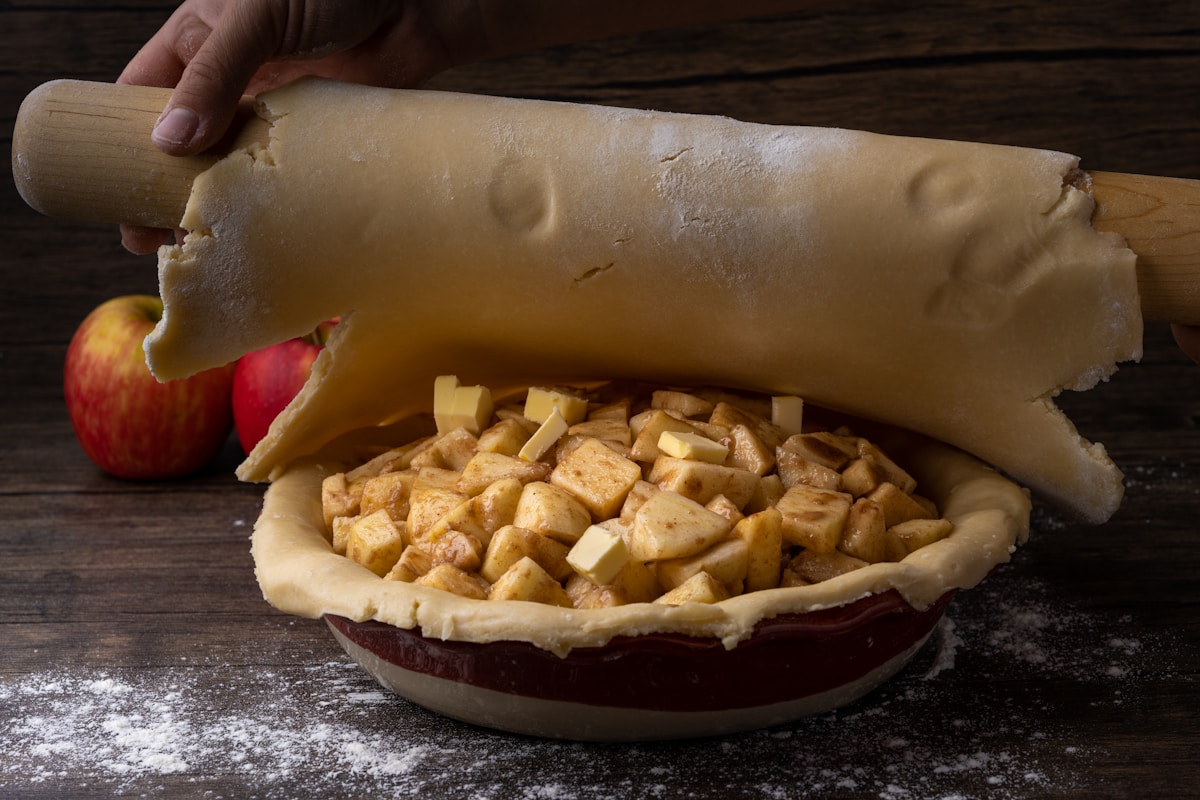
Imagine you make two identical apple pies. You use a classic all-butter crust, chilled perfectly. The filling is a mix of tart Granny Smith and sweet Honeycrisp apples, tossed with sugar, cinnamon, and a little flour to thicken the juices.
You bake both at 425°F (220°C) for the first 15 minutes to set the crust, then lower the temperature to 375°F (190°C) for another 40 minutes until the filling is bubbly.
The pie from the aluminum pan emerges with a deep, uniform golden-brown bottom. When you cut into it, the slice holds its shape perfectly. The bottom crust is firm, flaky, and makes a satisfying crisp sound when you tap it with a fork.
The pie from the glass pan looks just as good on top. But when you lift the first slice, you see a much paler, mottled bottom. It’s softer and bends under the weight of the apples. The texture is less flaky and more doughy, especially in the center. The visual promise of the top isn’t delivered by the bottom.
This is the reality I’ve seen time and time again in my test kitchen. The tool makes the difference.
My Top Pick & Pro-Tips for a Perfect Crust
For my money, the best all-around pie pan is a simple, no-frills, dull-finished aluminum pan. The USA Pan 9-inch Aluminized Steel Pie Pan is my go-to. It costs about $15, will last forever, and delivers consistently fantastic results. It’s a workhorse, not a showpiece, and that’s exactly what you want.
But what if you already own and love your glass pie dish? Don’t throw it out! You can improve its performance with a simple kitchen hack.
Kitchen Hack: The Baking Steel Assist
Your glass pan’s biggest problem is its inability to get super-hot, fast. So, give it a little help. Place a baking stone or, even better, a baking steel on the lower rack of your oven while it preheats. Let that steel get screaming hot for a full 45-60 minutes.
When you’re ready to bake, place your glass pie pan directly onto the preheated steel. That intense, conductive heat from the steel will surge through the bottom of the glass pan, giving your crust the energy boost it needs to set up properly. (Yes, really.) You get the benefit of a crisper crust while still being able to see the bottom brown.
And always, always bake your pie on a foil-lined baking sheet. It catches any drips and makes cleanup a breeze. Your future self will thank you.
The Final Verdict
So, is a glass pie pan ever the right choice? Of course. If you’re making something where a crisp bottom crust isn’t the primary goal—like a shepherd’s pie, a seven-layer dip, or a fruit crumble—a glass dish is perfect. Its oven-to-table presentation is a clear winner.
But for a traditional American pie—apple, cherry, pumpkin, pecan—where the flaky, golden, structurally sound crust is half the joy, the choice is clear. A simple, inexpensive aluminum pan is the superior tool for the job.
Don’t let your equipment undermine your hard work. For less than the cost of the apples and butter for two pies, you can buy a tool that will guarantee a better result every single time. That’s not vanity; that’s just smart baking.


