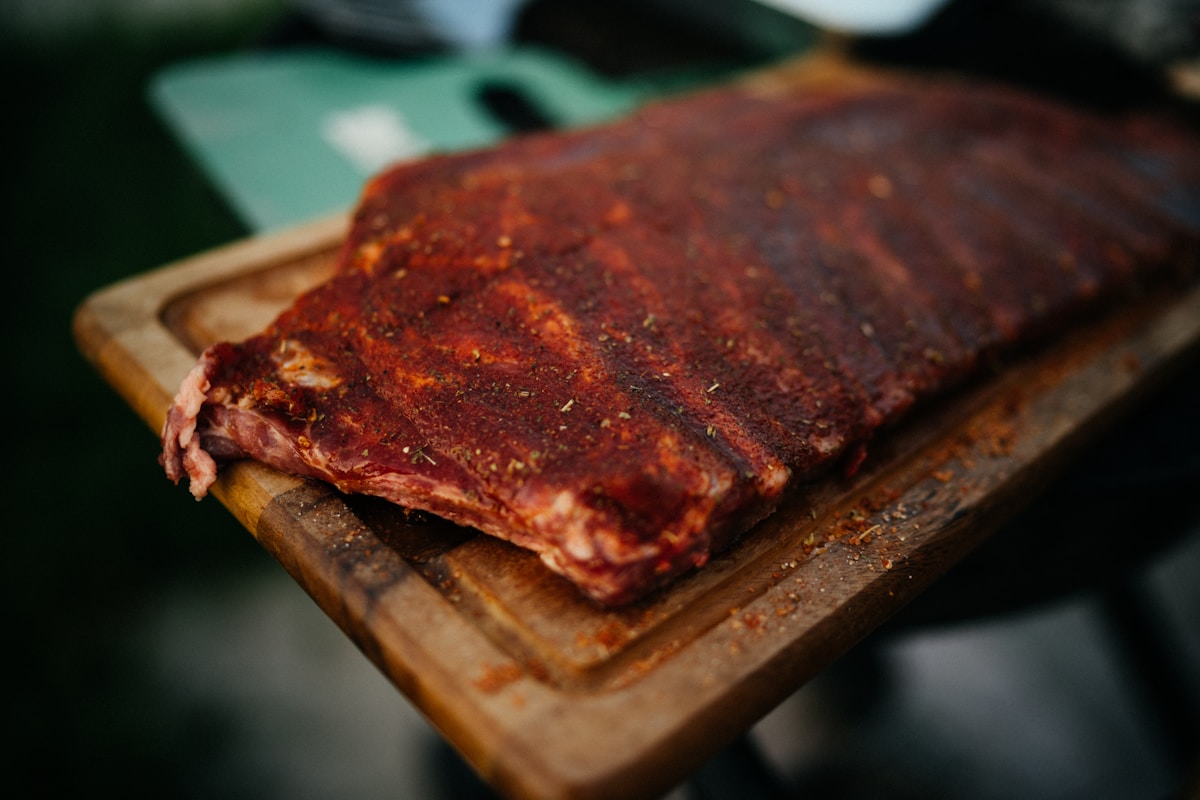
We’ve all been there. You’re standing over a skillet with a beautiful chicken breast, golden brown on the outside. You slice into it, heart pounding just a little. It looks… mostly white? But wait, is that a hint of pink right in the very center? The panic sets in. Visions of food poisoning dance in your head. So you do what seems sensible: you throw it back in the pan for another five minutes, “just to be safe.”
When you finally sit down to eat, you’re met with a familiar, sad texture. It’s tough. It’s stringy. It’s dry. You successfully avoided undercooking your chicken, but you journeyed way too far in the other direction. It’s one of the most common frustrations in the kitchen, and it keeps so many people from feeling confident cooking what should be a simple, delicious meal.
But what if I told you there’s a way to get it perfect—and I mean perfectly juicy, tender, and 100% safe—every single time? It doesn’t involve guesswork, strange poking techniques, or whispering a prayer to the kitchen gods. It just involves one simple tool and understanding one magic number. Let’s banish dry chicken from your life forever.
The Big Chicken Lie Why Visual Cues Fail Us
For generations, home cooks have passed down advice that sounds wise but is, unfortunately, more folklore than fact. You’ve probably heard them all.
- “Cook it until the juices run clear.”
- “It’s done when the meat is white all the way through.”
- “If it’s pink, it’s not safe!”
Here’s the tough love, my friend: these are not reliable ways to check if your chicken is done. Relying on them is the number one reason people overcook their food. Let’s break down why these old adages can lead you astray.
The “clear juices” myth is perhaps the most famous. The color of the juices is affected by a protein called myoglobin, which has a reddish-pink hue. The age of the chicken and how it was processed can impact how much myoglobin is present and at what temperature it loses its color. You can have a fully cooked, safe-to-eat chicken that still has slightly pinkish juices. Conversely, you could have a bird with clear juices that hasn’t quite reached a safe internal temperature in its thickest part.
And what about the color of the meat? Some modern breeds of chicken, especially young ones, can have meat that retains a pinkish hue even when fully cooked, particularly near the bone in cuts like thighs and drumsticks. This is completely normal and safe. If you keep cooking until every last trace of pink is gone, you’ve likely cooked all the moisture out, too.
Guessing is stressful. It turns cooking from a joy into a chore filled with anxiety. The goal is confidence, and confidence comes from knowing, not guessing.
Your New Best Friend The Instant-Read Thermometer
If you want to transform your cooking overnight, this is the tool. Not a fancy stand mixer, not an expensive set of knives. A simple, humble digital instant-read thermometer.
Think of it this way: you wouldn’t bake a cake by just looking at the batter and guessing when it’s done, would you? You follow a timer. A thermometer is a timer for temperature. It removes every bit of guesswork from the equation and gives you a definitive, scientific answer to the question, “Is it done?”
Using one is not “cheating” or something only for professional chefs. It’s the single smartest, easiest way to guarantee both food safety and deliciousness. There are tons of great options out there. The ThermoWorks Thermapen is the gold standard for pros because it’s lightning fast and incredibly accurate, but it comes with a premium price tag. For a beginner, a more affordable model like their ThermoPop or countless other brands available for $15-$30 works beautifully. Just make sure it’s digital for a quick, easy-to-read result.
Here’s how to use it perfectly every time:
- Insert it Correctly: You want to measure the temperature at the very center of the thickest part of the meat. Imagine a chicken breast. You wouldn’t poke the thin, tapered end; you’d slide the thermometer in horizontally from the side, right into the plumpest part.
- Don’t Touch the Bone: This is a big one. Bone conducts heat differently than the meat around it. If your thermometer probe touches bone, you’ll get an inaccurate, artificially high reading. Always aim for the deepest, fleshiest part.
- Know Your Cut:
- For a boneless, skinless breast or thigh: Insert the thermometer horizontally into the thickest section.
- For a bone-in thigh or drumstick: Insert the probe into the thickest part of the meat, being careful to stay close to the bone without touching it.
- For a whole roasted chicken: The best spot to check is the thickest part of the thigh, where the leg connects to the body. This is the last part of the chicken to cook through.
Using a thermometer is a habit. The first few times, you might feel a little clumsy. But soon, it will become second nature, and the confidence it gives you is priceless. (Your future self will thank you.)
The Magic Number 165°F and Not a Degree More
Okay, so you have your thermometer. What are you looking for? The magic number for all poultry—chicken, turkey, duck—is 165°F (or 74°C).
This is the temperature, as mandated by the USDA, at which harmful bacteria like Salmonella and Campylobacter are instantly and completely eliminated. When the very center of the thickest part of your chicken hits 165°F, it is 100% safe to eat. Period.
But here’s the secret the pros know: what happens after 165°F is the difference between juicy and dry. As the temperature rises, the muscle fibers in the meat continue to contract and squeeze out moisture. Think of it like a sponge. At 165°F, it’s perfectly moist. At 175°F, it’s like you’ve given it a firm squeeze. By the time it reaches 185°F (85°C), you’ve wrung that sponge out completely. That’s when you get tough, stringy chicken.
This is why your thermometer is so crucial. It lets you pull the chicken from the heat at the exact moment of perfection.
Here’s a pro-tip to take it to the next level: carryover cooking. Food doesn’t magically stop cooking the second you take it off the heat. The residual heat on the surface continues to travel toward the center. For a small piece of meat like a chicken breast, the internal temperature might rise another 2-3 degrees after you pull it from the pan. For a large whole roasted chicken, it can rise as much as 5-10 degrees!
This means you can—and should—pull your chicken off the heat when your thermometer reads about 162-163°F. Then, place it on a cutting board, tent it loosely with foil, and let it rest for 5-10 minutes. During this rest, the temperature will climb to a perfectly safe 165°F, and the juices, which were pushed to the center during cooking, will redistribute throughout the meat. Slicing it too soon is a recipe for a puddle of juice on your cutting board and dry meat on your plate. Resting is non-negotiable for juicy results!
Beyond the Heat A Note on Staying Safe
Perfectly cooked chicken is only half the battle; safe handling is the other. Cross-contamination is a serious risk with raw poultry, but preventing it is simple with a few good habits.
- Create a Landing Zone: When you get home from the store, have a plan. Take the chicken straight from the shopping bag to the fridge. I like to place the package on a small plate or in a container to catch any potential leaks.
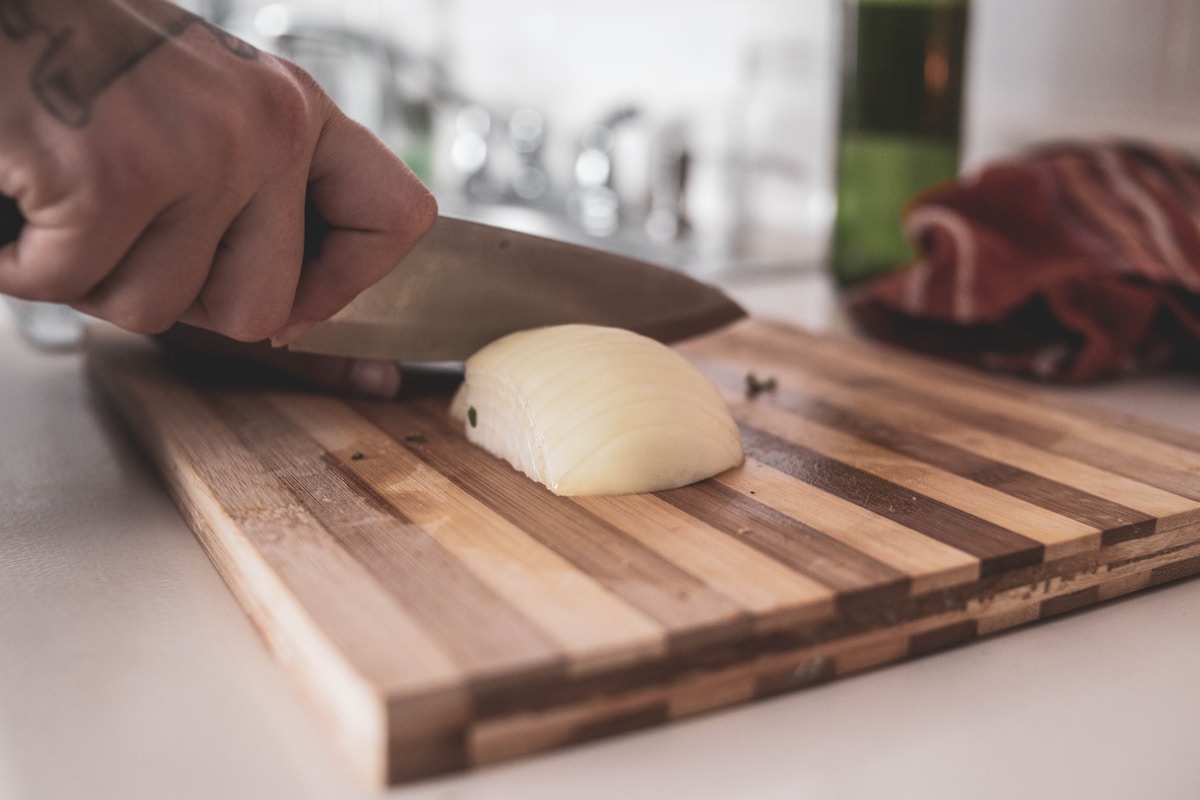
- Use a Dedicated Cutting Board: If you can, have one cutting board that is only for raw meat. Plastic or composite boards are great for this because they can be sanitized easily in the dishwasher. If you only have one board, always wash it with hot, soapy water after raw chicken touches it and before you chop anything else (especially fresh veggies for a salad).
- Wash Your Hands: This seems obvious, but it’s so important. Wash your hands thoroughly with soap and warm water for at least 20 seconds after you handle raw chicken. Also, wash any knives, utensils, or countertops that it came into contact with.
These small steps become automatic over time and keep your kitchen a safe, happy place to cook.
Your Mission Try This Tonight
Ready to put this all into practice? Let’s do it. This isn’t about making a fancy, complicated meal. This is about one thing: nailing the temperature and tasting the difference.
Here’s your simple mission:
- Get one boneless, skinless chicken breast. Pat it completely dry with a paper towel. (A dry surface gives you a better sear.)
- Season it simply. A generous sprinkle of salt and freshly ground black pepper on both sides is all you need.
- Heat a skillet over medium-high heat with a teaspoon of oil.
- Cook the chicken for about 5-7 minutes on the first side, until it’s beautifully golden brown. Flip it.
- Start checking. After it’s been cooking for about 4-5 minutes on the second side, grab your thermometer. Insert it into the thickest part. Maybe it reads 145°F. Give it another minute and check again. Now it’s 155°F. Watch how the temperature climbs.
- Pull it at 165°F. The second it hits that magic number, take the chicken out of the pan and place it on a clean plate or cutting board.
- Let it rest. Walk away for 5 minutes. Don’t touch it!
Now, slice it. Look at that. See how the juices are locked inside the meat? Take a bite. It’s tender, it’s flavorful, and it’s perfectly safe. You did it. You took the guesswork out and replaced it with knowledge.
That feeling of confidence is what makes cooking fun. Welcome to the club.