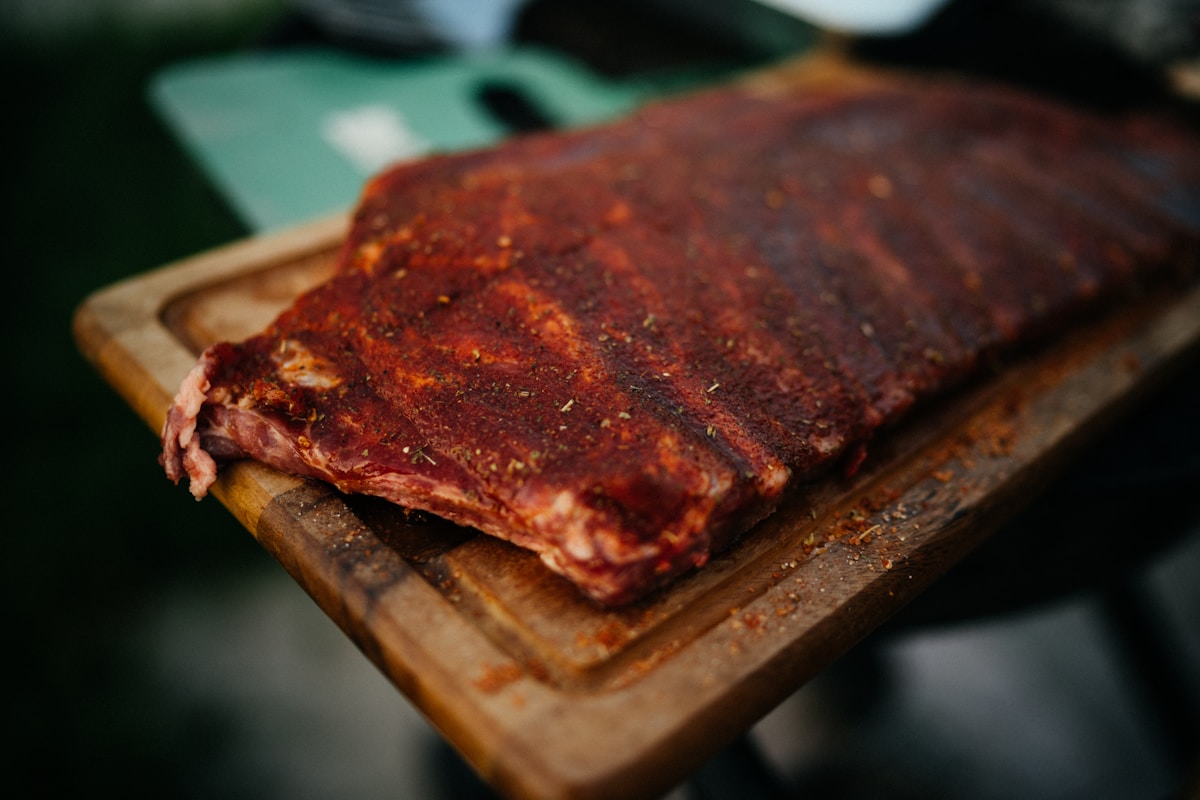
You’re standing in your kitchen, sunlight streaming in, with a gorgeous rack of pork ribs on your cutting board. You’ve got your secret family spice rub mixed, the smoker is preheating, and you can practically taste that smoky, fall-off-the-bone perfection. But as you flip the rack over to season the back, you see it: a thin, shiny, almost plasticky-looking film covering the bones. What in the world is that?
Welcome to one of the most important, yet often skipped, steps in making truly legendary ribs: removing the membrane. It might seem like a small, fussy detail, but trust me on this one. Dealing with that little layer is the difference between good ribs and great ribs. And the best part? It’s way easier than you think. Let’s walk through it together.
Why That Pesky Membrane Has to Go
Before we get our hands dirty, let’s talk about the ‘why.’ That thin layer on the bone-side of the ribs is called the silver skin or peritoneum. Think of it as a tough, waterproof jacket for the rib cage. And just like you wouldn’t wear a raincoat in the shower, you don’t want this membrane on your ribs when they hit the heat.
Here’s what happens if you leave it on:
- It Blocks Flavor: This membrane is non-porous. That means all the delicious spices in your rub and all that beautiful wood smoke you’re creating can’t penetrate the meat from the bottom. They just sit on top of that chewy layer, which you’ll end up peeling off later anyway.
- It Creates a Tough Texture: The membrane does not render or break down during cooking, not even during a low-and-slow smoke for hours. It cooks into a tough, leathery, and deeply unsatisfying barrier. You’ll find yourself trying to chew through it, which is the exact opposite of the tender bite you’re working so hard to achieve.
- It Causes Uneven Cooking: As the membrane cooks and shrinks, it can cause the rack of ribs to curl up into an awkward shape. This can lead to uneven cooking and presentation that’s less than ideal.
Removing it is a non-negotiable step for tenderness and taste. It’s a foundational skill that elevates your barbecue game instantly. (Your future self will thank you.)
The Only Tools You Need Your Fingers and a Paper Towel
If you search online, you might see people suggesting you use a sharp knife to get this process started. And while that can work, I want to show you a safer, more effective, and frankly, more satisfying method that the pros swear by: the two-finger and paper towel technique.
The problem with using a knife is the risk of slippage. You’re working with a slippery piece of meat and a sharp object, which is a recipe for a kitchen mishap. Puncturing the meat (or your hand) is a real possibility, and it’s completely unnecessary.
All you truly need for this job are:
- Your own two fingers.
- A single, dry paper towel.
That’s it. No special gadgets, no sharp blades. This method relies on leverage and grip, not force, making it perfect for beginners and seasoned pitmasters alike.
Your Step-by-Step Guide to a Clean Peel
Alright, let’s do this. Grab your rack of ribs and let’s get that membrane off. Remember, the kitchen is more forgiving than you think. If it tears the first time, don’t worry! Every single person who has mastered this started right where you are.
Step 1: Prep Your Station Place the rack of ribs bone-side-up on a stable cutting board. Here’s a pro tip: this job is infinitely easier when the ribs are cold. A cool, firm rack straight from the refrigerator will have a less slippery membrane that’s more willing to cooperate. If your ribs have been sitting out, pop them back in the fridge for about 20-30 minutes.
Step 2: Find Your Starting Point Examine the rack. You’re looking for a place to get things started. I usually start near the middle of the rack, on one of the larger center bones. Using your fingernail or the dull, rounded handle of a teaspoon, gently slide it under the edge of the membrane that’s stretched over the bone. Your goal isn’t to tear anything yet; you’re just creating a tiny pocket of air between the membrane and the meat.
Step 3: The Two-Finger Wiggle Now, this is the key move. Slide your index and middle fingers into that little pocket you just created. Gently wiggle them from side to side. You’ll feel the membrane begin to separate from the meat and bone. Wiggle a little further until you’ve loosened a flap that’s about two or three inches wide. You’ve just created the perfect handle for the next step.
Step 4: Grab and Pull with the Paper Towel This is where the magic happens. That membrane is incredibly slippery, and trying to pull it with your bare hands is an exercise in frustration. Instead, grab that dry paper towel and use it to get a firm, confident grip on the flap of membrane you just loosened. The paper towel absorbs any moisture and gives you the friction you need.
Once you have a solid grip, pull the membrane up and back toward the other end of the rack in one slow, steady motion. Don’t yank it! A steady pull is your best friend. You should feel and see it peeling away cleanly from the meat.
Step 5: The Big Reveal and Troubleshooting With any luck, the entire membrane will come off in one single, satisfying sheet. It’s one of the best feelings in BBQ! But what if it tears halfway through? First, take a breath. It happens to everyone.
Simply go back to the edge where it tore, use your paper towel to grab a new piece, and continue pulling. You might have to remove it in two or three sections, and that is perfectly okay. The goal is to get it all off, not to achieve a perfect one-pull peel on your first try.
What To Do If You Get Stuck
-
“I can’t get it started!” If your fingernail isn’t cutting it, the handle of a metal spoon or a butter knife (use the dull side!) is your best tool. Slide it gently under the membrane right over a bone and pry upward just enough to get your fingers underneath.
-
“It keeps tearing into tiny pieces!” This usually means the ribs are too warm and the membrane is too delicate. Try chilling the rack in the freezer for about 10-15 minutes to firm everything up before trying again.
-
“I accidentally tore a little piece of meat off with it!” Don’t sweat it. A tiny bit of meat might come with the membrane, especially around the edges. It won’t affect the final product at all.
Try This Tonight
The next time you’re at the butcher counter, don’t shy away from that beautiful, full rack of ribs. You now possess the key skill to prep them for absolute perfection. That membrane is no longer a mystery, but a simple step on your path to deliciousness.
Your mission is to tackle a rack of ribs this week. Walk through these steps, from creating that first pocket to the final, satisfying peel. Once you do it yourself, you’ll realize it’s one of those simple kitchen techniques that pays off in a huge way. Happy grilling!