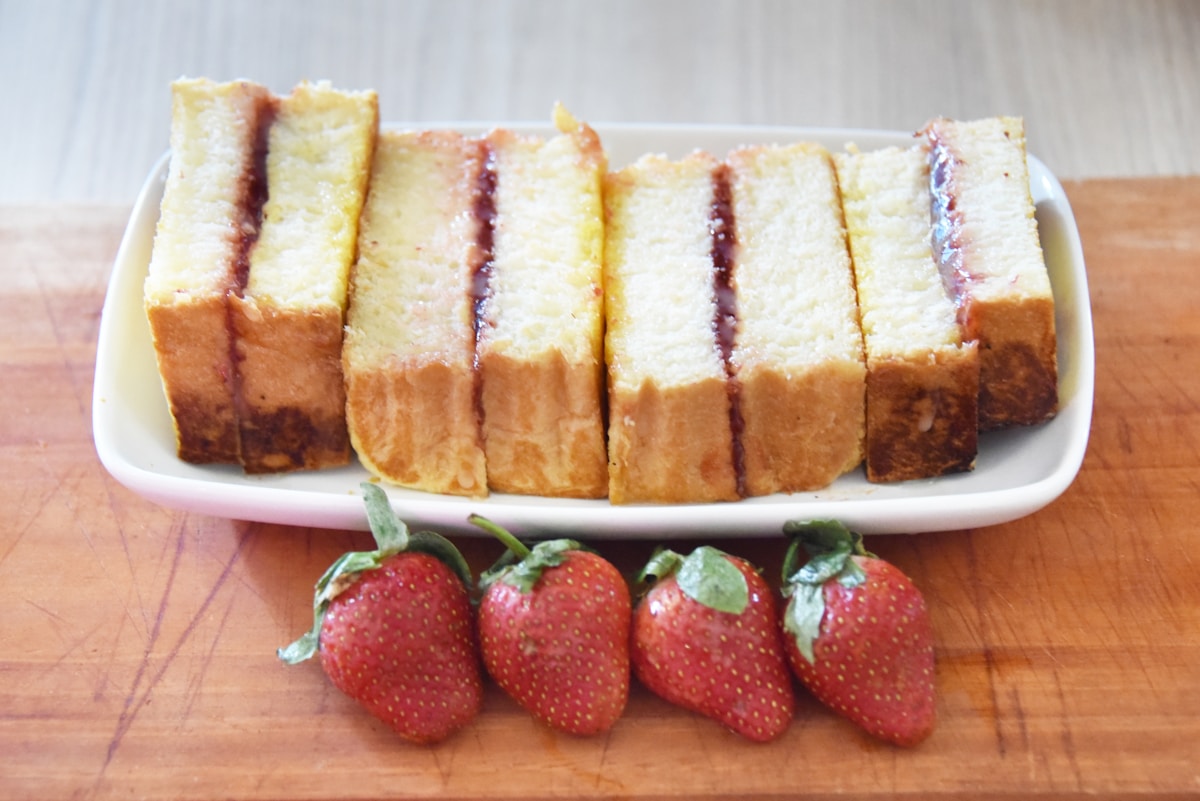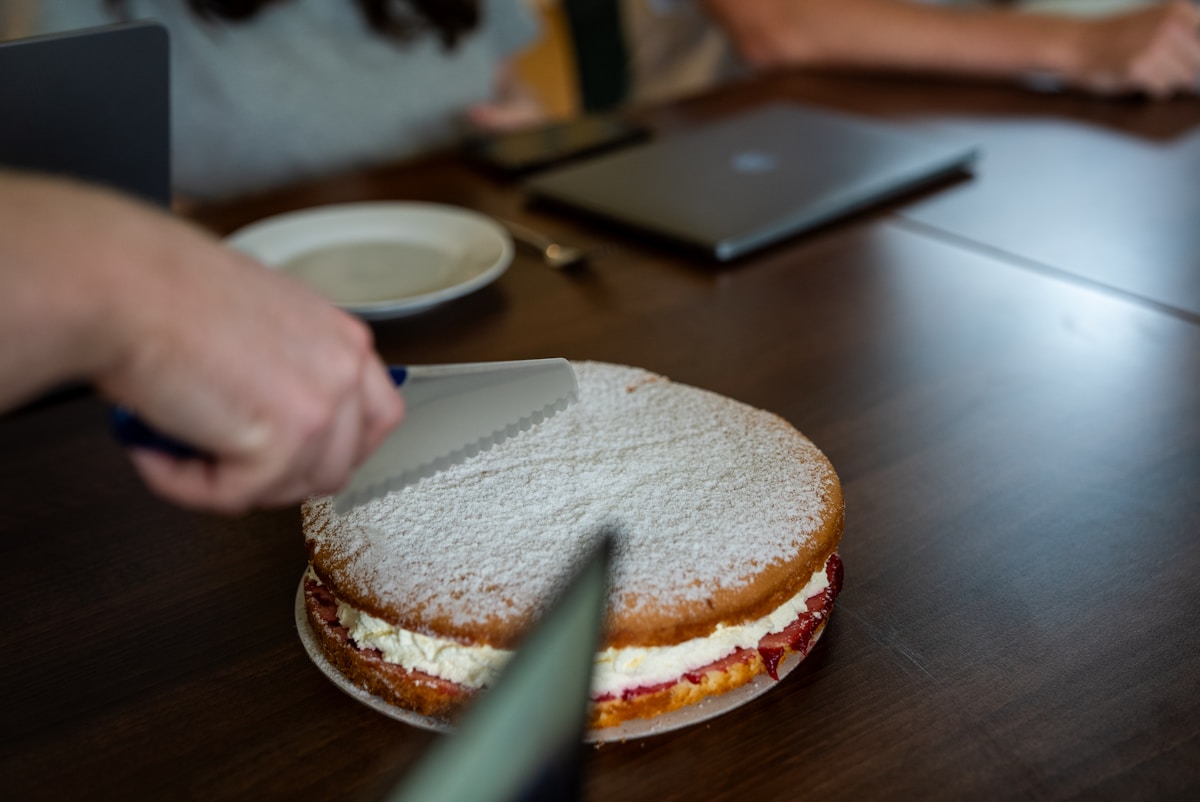
You’ve done everything right. The cake layers are perfectly baked—level, tender, and fragrant. The vanilla buttercream is whipped to a silky, cloud-like consistency. The blueberry jam, glistening and jewel-toned, is ready to be the star of the show. You assemble your masterpiece with care, step back to admire your work, and then you see it: the dreaded bulge. A slow, heartbreaking ooze of jam begins to escape, turning your pristine creation into a sticky, unstable mess. It’s a moment of pure baking deflation.
This isn’t just a beginner’s mistake; it’s a challenge rooted in physics and chemistry. A beautiful layer cake is a feat of edible engineering, and when you introduce a soft, high-moisture filling like jam or curd, you’re introducing a point of structural weakness. But fear not. There is a professional technique that is simple, reliable, and will forever change the way you build layer cakes. It’s called the buttercream dam, and it’s the secret to cakes that are as stable as they are delicious.
Why Your Beautiful Cake is Bulging
Before we build the solution, we need to understand the problem. Think of your cake as a system of pressures and moisture levels. Baking, after all, is chemistry you can eat. When you stack cake layers, gravity comes into play. The weight of the upper layers exerts downward pressure on the soft filling below, wanting to push it outwards.
This is where two scientific principles conspire against you:
-
Moisture Migration: Cake is a sponge. Jam is essentially fruit suspended in a sugary, water-based gel. When the wet jam sits directly against the porous cake and the fat-based buttercream, water molecules begin to migrate. This moisture seeps into the buttercream, weakening its emulsion (the stable mixture of fat and water) and turning it soft and slick. A compromised buttercream has no strength to hold back the filling.
-
Hydrostatic Pressure: The soft filling acts like a fluid. The weight from above creates pressure that is distributed equally in all directions. It presses down, but it also presses outwards against the frosting. If your frosting is the only thing containing that jam, it will inevitably find the weakest point and begin to bulge and leak.
A buttercream dam acts as a structural retaining wall. It contains the pressure, creates a barrier against moisture migration, and provides the sturdy framework your cake needs to stand tall and proud.
How to Build the Perfect Buttercream Dam
Building a dam is not about using more of your regular frosting. The key to success is using a buttercream that is specifically formulated for stiffness. Your standard, silky-smooth frosting is perfect for coating the outside, but for the dam, you need something with more structural integrity.
I use a simple American-style buttercream for my dams because it crusts beautifully and is incredibly stable. The ratio of fat to sugar is what provides the strength. (Yes, this means more sugar.)
Recipe for a Stiff Dam Buttercream (Enough for a 3-layer, 8-inch cake):
-
Ingredients:
- 1/2 cup (113g) unsalted butter, at a cool room temperature, around 65°F (18°C)
- 2 cups (240g) powdered sugar, sifted to remove lumps
- 1/2 teaspoon pure vanilla extract
- A pinch of fine sea salt
-
Instructions:
- In the bowl of a stand mixer fitted with the paddle attachment (a KitchenAid is great for this), beat the butter on medium speed until it’s smooth and creamy, about 1-2 minutes.
- Turn the mixer to low and gradually add the sifted powdered sugar. Mix until it’s just combined and looks crumbly.
- Add the vanilla and salt. Increase the speed to medium-high and beat for 3-4 minutes. The mixture will become much smoother and stiffer. Do not add any milk or cream. The lack of extra liquid is what makes it so sturdy.
The final consistency should be thick and very spreadable, similar to spackle. It should hold its shape perfectly on a spatula.
The Technique:
Fit a piping bag with a large round tip; a Wilton 1A or 2A is ideal. Fill the bag with your stiff buttercream. On your first leveled cake layer, pipe a ring of buttercream about a half-inch (1.25 cm) in from the edge. This ring should be a consistent height, about a half-inch tall. Think of it as building a little circular wall. Ensure there are no gaps in the ring—that’s where leaks happen!
Taming Your Filling The Other Side of the Equation
A strong dam is only half the battle; the filling itself must be the right consistency. A thin, runny jam will exert more pressure and has more free-flowing water to cause trouble. You want your filling to be thick, spreadable, and not at all watery.
If you’re using store-bought jam or preserves, chances are you’ll need to thicken it. It’s an easy but non-negotiable step.
My Favorite Kitchen Hack: The Cornstarch Slurry
This method is foolproof for thickening any fruit-based filling.
- For every 1 cup of jam or preserves, create a slurry by whisking 1 tablespoon of cornstarch with 1 tablespoon of cold water in a small bowl until smooth.
- Pour the jam into a small saucepan over medium heat.
- Once the jam is warm and loosened, whisk in the cornstarch slurry.
- Continue to cook, stirring constantly, until the mixture bubbles and thickens noticeably, usually about 2 minutes. The heat activates the cornstarch’s thickening power.
- Remove the pan from the heat and transfer the thickened jam to a heatproof bowl. Let it cool completely to room temperature, and then chill it in the refrigerator. Never, ever put warm filling in your cake—it will melt your beautiful buttercream dam on contact.
Step-by-Step Assembly for a Leak-Proof Cake
Now, let’s put it all together for a structurally sound assembly process.
-
Level Your Layers: Use a long, serrated knife or a cake leveler to ensure every cake layer has a perfectly flat top. A flat surface is critical for stability.
-
Secure the Base: Place a dab of buttercream on your cake board or platter and set your first cake layer on top. This anchors the cake and prevents it from sliding.
-
Build the Dam: Pipe your stiff buttercream dam around the inside perimeter of the first layer.
-
Add the Filling: Spoon your completely cooled, thickened jam into the center of the dam. Use an offset spatula to spread it evenly. Do not overfill. The jam should be level with or slightly below the top of the buttercream wall.
-
The Critical Chill: This is the most important tip I can give you. Place the entire cake layer (on its board) into the refrigerator for 15-20 minutes. This will rapidly chill and firm up both the dam and the filling, locking them into a single, solid unit. The target temperature inside your fridge should be around 40°F (4°C).
-
Stack and Repeat: Gently place your next leveled cake layer on top. Press down lightly to adhere it. Repeat the process: pipe a dam, add the filling, and chill.
-
Crumb Coat: Once all layers are stacked, use your softer, primary buttercream to apply a very thin layer of frosting all over the cake. This is the crumb coat, which traps any loose crumbs and locks in the structure. Chill the entire cake for another 30 minutes before applying your final, beautiful coat of frosting.
Troubleshooting Common Dam Disasters
Even with the best technique, issues can arise. Here’s how to diagnose and fix them.
-
Problem: My dam collapsed and bulged anyway!
- Likely Cause: Your dam buttercream was too soft, or your filling was too warm. If your kitchen is hot, your butter may have been too soft to begin with, resulting in a weak buttercream. Or, if your filling wasn’t fully chilled, its residual heat melted the fat in the dam.
- The Fix: Always use cool room temperature butter (65°F / 18°C). If your buttercream feels soft, beat in another 1/4 cup of powdered sugar to stiffen it. And be patient—ensure your filling is cold to the touch.
-
Problem: The cake layers are sliding around!
- Likely Cause: The surfaces weren’t perfectly level, or you overfilled the dam, causing the top layer to slide on a slick surface of jam instead of connecting with the dam.
- The Fix: Meticulously level your cakes. When filling, always leave a small margin at the top of the dam so the next cake layer makes solid contact with the buttercream wall, not just the jam.
-
Problem: The filling color is bleeding into my white frosting.
- Likely Cause: You skipped the crumb coat, or your crumb coat wasn’t chilled enough before the final layer was applied.
- The Fix: The crumb coat is your best friend. After applying it, make sure the cake is firm and cold before you even think about putting on the final coat. This creates a solid barrier that prevents color bleed.
Building a magnificent layer cake isn’t about luck; it’s about understanding the materials you’re working with. The buttercream dam isn’t a fussy, optional step. It is the foundation. It’s the simple application of structural engineering that allows your art to hold its shape. So next time you reach for that jar of jam, do so with confidence. You have the chemistry on your side. (Your future self will thank you.)