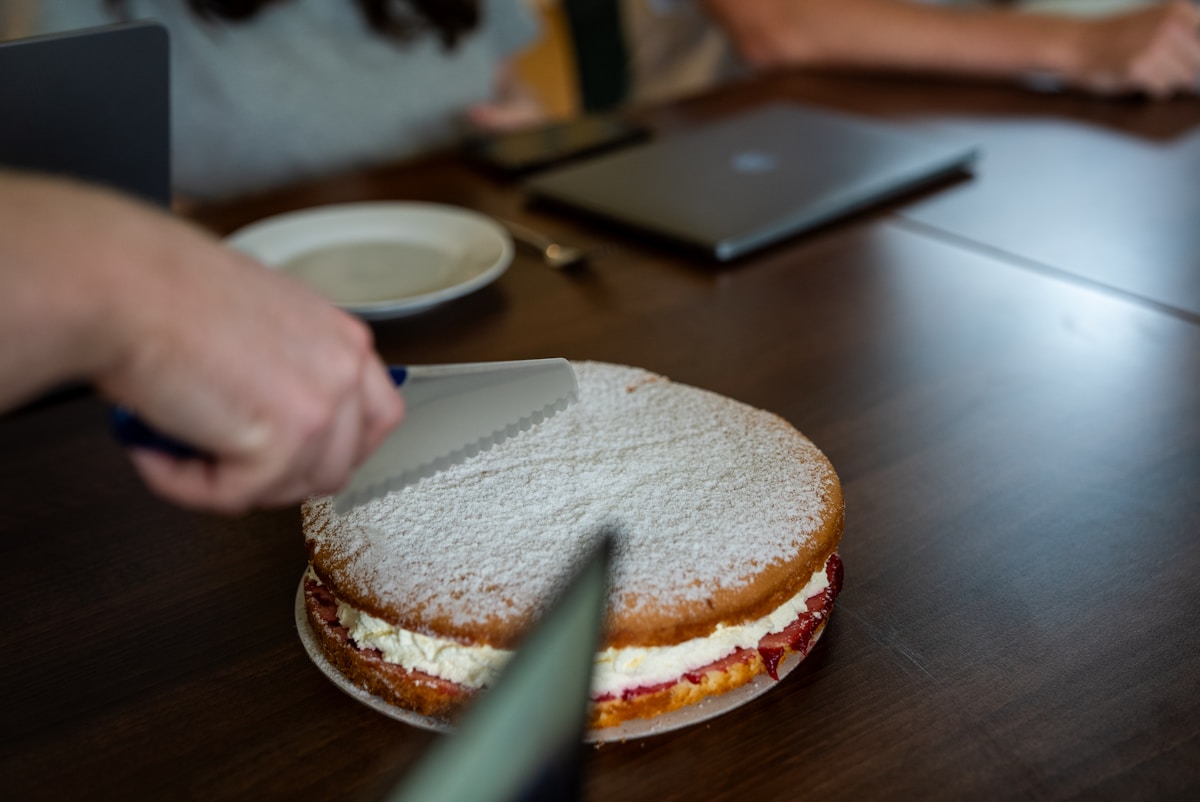
Have you ever spent hours baking the most beautiful, tender cake layers, only to watch in slow-motion horror as the jam filling starts to bulge from the sides? It’s a moment every baker dreads. You assemble your masterpiece, apply the crumb coat, and then you see it: a slight swelling between the layers that threatens to become a full-blown leak, ruining the clean, sharp finish you were aiming for.
This isn’t a failure of your recipe or your skill. It’s a failure of engineering. Baking, at its core, is chemistry and physics. When you introduce a soft, liquid-based filling between solid cake layers, you create instability. But there is a simple, non-negotiable technique that professionals use to create perfectly stacked, stable cakes every single time. It’s called a buttercream dam, and understanding how to build one is the key to elevating your layer cakes from wobbly to wonderful.
The Science of a Stable Cake Structure
A layer cake is a work of edible architecture. Each component has a structural role. The cake layers provide the foundation, but it’s the frosting that acts as the mortar, holding everything together. A standard buttercream has a high percentage of fat (butter) and sugar, which, when chilled, becomes firm and stable. This is why a cake filled and frosted with only buttercream is generally quite sturdy.
The problem arises when we introduce a filling with a different composition, like a fruit compote, a lemon curd, or a pastry cream. These fillings contain more water and less fat, making them inherently less stable. They are fluid. When you place the weight of another cake layer on top of this soft filling, physics takes over. The pressure pushes the filling outwards, seeking the path of least resistance—which is right out the sides of your cake.
A buttercream dam is the solution to this engineering problem. It’s a simple ring of stiff buttercream piped around the perimeter of each cake layer before you add the soft filling. This ring acts as a retaining wall. Because the dam is made of firm, fat-based buttercream, it has the structural integrity to contain the softer, water-based filling in the center. When you chill the cake, the butter in the dam solidifies, creating a rigid barrier that can easily withstand the pressure from the layers above it. It’s the secret to getting that perfect slice with a clean, distinct layer of filling that doesn’t squish out.
Step-by-Step Guide to Building the Perfect Dam
Building a dam is a methodical process where precision matters. Rushing this step is what leads to those frustrating bulges. Let’s walk through it with the exactness it deserves.
1. Prepare Your Tools and Ingredients
Before you begin, have everything ready. You’ll need:
- Piping Bag: A 12-inch or 16-inch disposable or reusable bag will work.
- Piping Tip: A large round tip is essential for a thick, sturdy dam. I recommend a Wilton 1A or a similar tip with an opening of about 1/2-inch (1.25 cm).
- Offset Spatula: A small one for spreading the filling inside the dam.
- Level Cake Layers: Ensure your cake layers are flat. If they have a dome, use a serrated knife to level them first.
- Stiff Buttercream: This is the most critical component. Your standard frosting might not be firm enough.
2. Formulate the Right Buttercream
Not all buttercreams are created equal when it comes to structural integrity. A soft, whipped cream-based frosting will not work. A meringue-based buttercream (like Swiss or Italian) can work if it has a high butter ratio and is well-chilled. However, for a foolproof dam, nothing beats a classic American buttercream made with a higher-than-usual ratio of powdered sugar to butter. It creates a dense, stable frosting that crusts slightly.
Here is my go-to recipe for a small batch of dam-specific buttercream:
- 1/2 cup (113g) unsalted butter, softened but still cool to the touch.
- 2 cups (240g) powdered sugar, sifted.
- 1/4 teaspoon pure vanilla extract.
- A tiny pinch of salt.
- 1-2 teaspoons of whole milk or heavy cream.
The consistency you’re looking for is stiff. It should be noticeably thicker than the frosting you’d use for the final coat. When you pull a spatula away, the peak should stand straight up without drooping. (Yes, really.) Be very sparing with the milk; add just enough to bring it together into a smooth, pipeable paste.
3. The Assembly Process
Let’s build the cake, layer by layer.
- Anchor Your Cake: Place a small dab of buttercream on your cake board or stand. This glues the first layer down and prevents it from sliding.
- Place the First Layer: Center your first leveled cake layer on the board.
- Pipe the Dam: Fill your piping bag (fitted with the round tip) with the stiff buttercream. Hold the bag perpendicular to the cake, about 1/4-inch (6mm) in from the outer edge. Apply steady pressure and pipe a continuous, even ring of buttercream around the entire perimeter. The ring should be about 1/2-inch (1.25 cm) high. Make sure the start and end of your ring connect seamlessly, leaving no gaps for filling to escape.
- Add the Filling: Spoon your filling into the center of the dam. Use your small offset spatula to spread it in an even layer. Do not overfill. The filling should be level with or just slightly below the top of the buttercream dam. If you overfill, the next layer will press the excess right over the wall.
- Add the Next Layer: Carefully place your next cake layer on top. I like to place it top-side down, so the flat bottom of the cake becomes the top of the new layer, ensuring a level surface. Press down very gently to settle it into place. Repeat the process—pipe a dam, add filling—for each subsequent layer.
4. The Non-Negotiable Chill
Once all your layers are stacked and filled, you must chill the cake. Do not skip this step. This is where the magic of chemistry happens. Place the entire cake in the refrigerator for at least 30 minutes, or in the freezer for 15 minutes. This rapid cooling solidifies the butter in the dam, turning it from a soft paste into a rigid, structural wall. This hardened dam will prevent any bulging or oozing when you apply the pressure of the crumb coat and final frosting. (Your future self will thank you.)
Common Mistakes and How to Troubleshoot Them
Even with a clear plan, things can go awry. Here’s how to fix the most common issues.
-
The Problem: The Dreaded Bulge. You chilled the cake, but you still see a slight bulge between the layers.
- The Cause: This usually means one of three things: your buttercream wasn’t stiff enough, your filling was too warm when you added it, or you overfilled the dam.
- The Fix: Always use cool or room-temperature fillings—never warm. If your dam buttercream seems too soft, beat in another 1/4 cup of powdered sugar. And remember, be conservative with the amount of filling. If you spot a bulge forming, immediately return the cake to the refrigerator to firm everything up before proceeding.
-
The Problem: The Filling is Leaking. You can see jam or curd actually seeping out from the side.
- The Cause: You likely had a gap in your piped dam, or the dam wasn’t tall enough to contain the filling.
- The Fix: When piping, make extra sure the circle is complete and unbroken. For very loose fillings like a fruit syrup, you can even pipe a second ring right inside the first for extra security. Think of it as building a taller, stronger wall.
-
The Problem: The Layers are Sliding. The whole cake feels unstable and the top layers are shifting.
- The Cause: This is a symptom of an overly soft filling combined with an insufficient dam. The layers are essentially hydroplaning on the filling.
- The Fix: For very tall (four or more layers) or heavy cakes, structural insurance is a good idea. After chilling, you can insert a sharpened wooden dowel or a sturdy bubble tea straw through the center of all the layers, trimming it flush with the top. This acts as a central support column, preventing any lateral movement.
A Baker’s Tip: Reinforcing Your Fillings
For extra insurance, especially with very wet fillings like a fresh berry compote, you can give the filling itself a bit more structure. Before it cools completely, you can stir in a teaspoon of cornstarch mixed with a tablespoon of cold water (a slurry) and cook for another minute until it thickens slightly. This gives the filling a more jam-like consistency, making it less prone to movement. It’s a small step that provides a huge amount of stability.
The buttercream dam isn’t just a fussy, optional step for perfectionists. It is a fundamental technique rooted in the physics of baking. It is the structural engineering that allows you to confidently use any delicious, soft filling you can dream of without compromising the beauty and stability of your final creation. Master this, and you’ll have unlocked a new level of control and creativity in your baking.