There’s a moment every pie baker knows. The pie looks magnificent coming out of the oven—a golden, flaky top crust, sugar glistening, fragrant steam puffing from the vents. You let it cool, you slice into it, you lift out that first perfect wedge, and… there it is. The heartbreakingly pale, damp, and flimsy bottom crust.
It’s a common frustration, but I’m here to tell you it’s not some random baking curse. It’s a solvable problem of chemistry. A perfectly crisp, structurally sound bottom crust is not only possible, it’s repeatable once you understand the science at play.
The Science of a Soggy Bottom
Before we can fix the problem, we have to understand why it happens. At its core, a soggy bottom is the result of a battle between heat and moisture, and the bottom crust is losing the fight.
As your apple filling heats up, the fruit cells begin to break down, releasing a significant amount of water. This liquid, full of sugar and flavor, has nowhere to go but down, pooling right on top of your bottom crust. Meanwhile, that crust is insulated by the pie plate below and the dense, wet filling above. It simply doesn’t get the direct, intense heat it needs to cook, set, and crisp up before the moisture invasion begins.
The result? The dough steams instead of bakes. The carefully laminated layers of butter and flour that should create flaky pockets of air instead become saturated and gummy. To win this battle, we need to attack on two fronts: drastically increasing the heat delivered to the bottom crust, and actively managing the moisture coming from the filling.
Your Pre-Bake Checklist for a Crisp Crust
A perfect crust starts long before the pie enters the oven. Your equipment and setup are critical for creating the right baking environment.
Choose Your Weapon (The Pie Pan): Not all pie pans are created equal when it comes to heat transfer. For a guaranteed crisp bottom, your choice matters.
- Best: A dark metal pan (like those from USA Pan or LloydPans) is your top choice. Dark surfaces absorb and conduct heat most efficiently, zapping that bottom crust with the energy it needs.
- Great: A simple glass Pyrex pie dish is a close second. While glass heats a bit more slowly, it’s a steady and even conductor. Its biggest advantage is transparency—you can literally watch the bottom crust browning in real-time. (No more guesswork!)
- Avoid (for now): Heavy ceramic or stoneware dishes. While beautiful, they are excellent insulators. This is great for keeping a finished pie warm, but terrible for baking, as they significantly slow down heat transfer to the bottom crust.
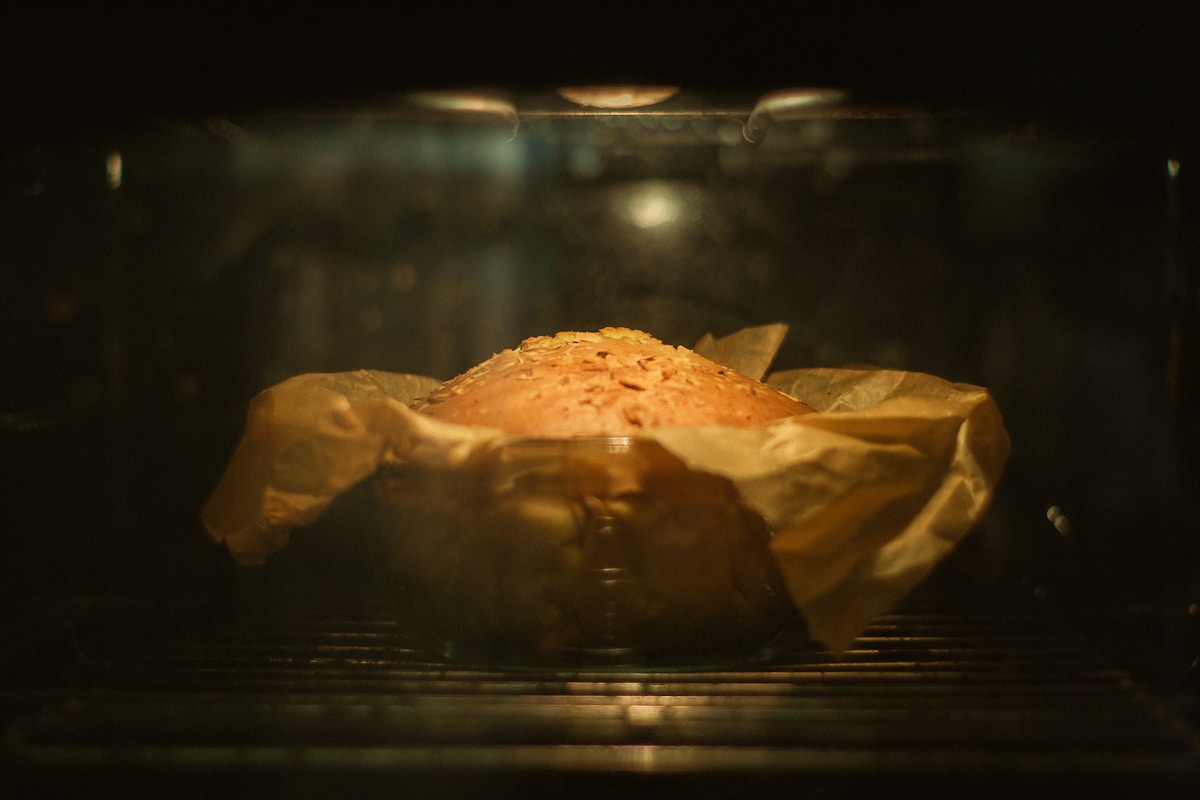
The Hot Seat (Oven Setup): This is my single most important tip for pie success. Place a baking stone or, even better, a baking steel on the lowest rack of your oven while it preheats. (This is non-negotiable for guaranteed success.) A simple pizza stone works well, but a baking steel, like those from Lodge or another brand, holds and transfers heat even more intensely. Preheat your oven to 425°F (220°C) for a full 45-60 minutes to ensure that stone or steel is blazing hot.
When you place your pie directly on this superheated surface, it immediately sends a powerful blast of conductive heat into the bottom of the pan. This gives the crust the head start it desperately needs to set and begin browning before the apple juices are fully released.
Mastering Your Apple Filling
The second front in our battle is moisture management. The source, of course, is the apples themselves, and we can control how they behave.
The Right Apple for the Job: Start with firm baking apples that won’t turn to mush and release excess water. My go-to choices are Granny Smith for their brilliant tartness and structure, Honeycrisp for a crisp-sweet balance, and Braeburn or Golden Delicious for reliable performance. Avoid apples like Red Delicious or McIntosh, which are better for applesauce than for a pie with defined slices.
Slice for Success: How you cut your apples matters. Slicing them uniformly to about 1/4-inch (around 6mm) thick ensures they cook evenly and release their moisture at a predictable rate. Chunks that are too large will create air pockets and take far too long to soften, steaming the crust underneath them for the entire bake.
The Pre-Cooking Hack (Ultimate Insurance): This is the ultimate insurance policy against a soggy bottom. By par-cooking your filling on the stovetop, you can drive off a significant amount of the apples’ water before it ever meets the raw dough. Here’s a quick method:
- In a large Dutch oven or pot, melt 3 tablespoons of unsalted butter over medium heat.
- Add your sliced apples (about 8 medium apples, peeled and cored), 3/4 cup of sugar, 1 teaspoon of cinnamon, 1/4 teaspoon of nutmeg, and a pinch of salt.
- Cook, stirring occasionally, for 10-15 minutes. The apples will release their juices and soften slightly, but should still hold their shape.
- Strain the apples over a bowl, reserving all that delicious liquid. Set the apples aside.
- Pour the reserved liquid back into the pot and bring it to a simmer. In a small bowl, whisk 2 tablespoons of cornstarch with 2 tablespoons of cold water to make a slurry. Whisk this slurry into the simmering apple juice.
- Cook for 1 minute, stirring constantly, until the liquid has transformed into a thick, glossy sauce. Pour this sauce back over the par-cooked apples and let the entire mixture cool before filling your pie. (Your future self will thank you for this extra step.)
Two Advanced Techniques: Blind Baking and Sealing
If you want to be absolutely, positively certain of a crisp bottom, you can employ one or both of these professional techniques.
Blind Baking (The Head Start): Blind baking means partially baking the bottom crust before adding the filling. Line your chilled pie dough in the pan with a sheet of parchment paper and fill it to the brim with pie weights or dried beans. Bake at 400°F (200°C) for about 20 minutes. Carefully lift out the parchment and weights. The crust will look pale and slightly damp. Prick the bottom with a fork a few times and return it to the oven for another 5-7 minutes, until it’s a very light golden color. This creates a firm, semi-baked shell that’s much more resistant to moisture.
The Protein Shield (Egg Wash Seal): This is a brilliant little trick that creates a waterproof barrier. After blind baking (or even on a completely raw crust if you’re skipping that step), brush a very thin layer of beaten egg white all over the inside of the bottom crust. Just the white, not the yolk. Bake for 3-5 minutes until the egg white is set and looks like a thin, shiny film. The protein in the egg white coagulates and forms a barrier, effectively sealing the dough from the fruit juices.
The Final Bake: Putting It All Together
Now, let’s combine these principles into a game plan for a perfect bake.
The Checklist for Crispness:
- Place your baking steel or stone on the lowest oven rack and preheat to 425°F (220°C).
- Prepare your favorite all-butter pie dough. I prefer a high-quality flour like King Arthur’s All-Purpose for its consistent protein content, which yields a flaky, sturdy crust.
- Line your metal or glass pie pan with the bottom crust. Chill it in the freezer for 15 minutes to firm up the butter.
- (Optional but recommended): Perform the blind bake and egg wash seal as described above.
- Add your completely cooled, pre-cooked filling. It should be mounded slightly in the center.
- Place your top crust, trim and crimp the edges, and cut several generous vents to allow steam to escape.
- Carefully place the pie directly onto the preheated steel in the oven. Bake for 20 minutes. This initial blast of high heat is crucial for setting the bottom crust.
- After 20 minutes, reduce the oven temperature to 375°F (190°C) and continue baking for another 35-45 minutes.
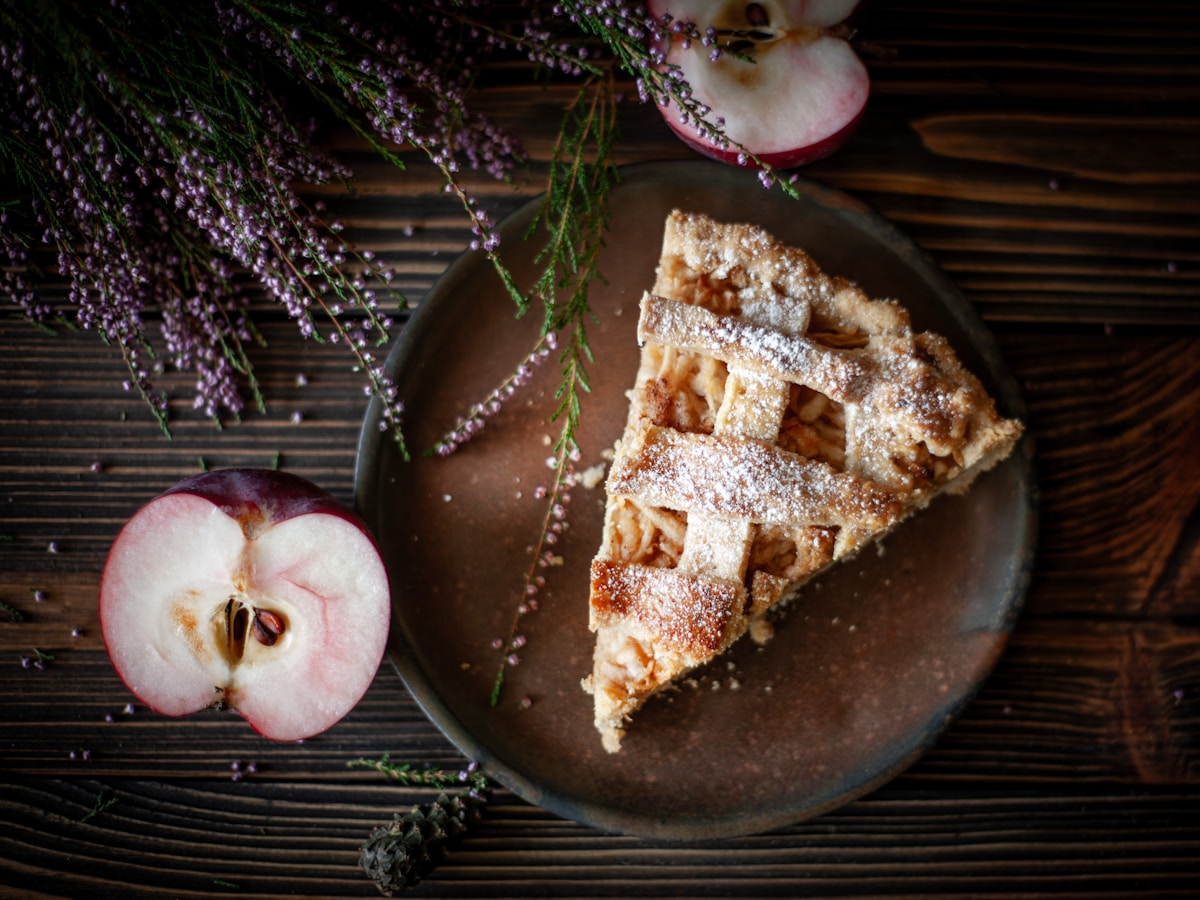
The Golden Rule: Don’t Be Afraid of Color! A common mistake is pulling a pie too early. You need to wait until the filling is vigorously bubbling up through the vents. This tells you the juices have reached a boiling point and the thickeners (like cornstarch) have been fully activated. A deeply golden-brown crust is a sign of a fully cooked pie, not a burnt one. A pale pie is almost always a soggy pie.
From Chemistry to Art
A soggy bottom isn’t a sign of a bad baker; it’s a sign of a heat transfer and moisture problem. By choosing the right pan, supercharging your oven with a baking steel, managing the water in your filling, and giving the crust a head start, you control the chemistry. And when you control the chemistry, you’re free to perfect the art.
The reward is that incredible sound—the crisp crackle of the knife cutting cleanly through a perfectly baked bottom crust, a sound you can absolutely achieve in your own kitchen.