I know the feeling. You see those gorgeous, thick-crusted pizzas on social media, with cheese pulls for days, and you think, “I could never make that.” The dream of incredible homemade pizza often comes to a screeching halt at the thought of the equipment. The giant, heavy stand mixer. The endless, arm-aching kneading. The fear of getting it all wrong.
What if I told you that the best pizza you’ve ever had could come out of your oven tonight, using a bowl, a spoon, and that cast iron skillet you might have sitting in a cabinet? It’s not a trick. It’s a beautifully simple technique that lets science do all the hard work for you. Forget everything you thought you knew about pizza dough. We’re about to make some magic.
Why Your Stand Mixer Can Gather Dust
For decades, we were taught that great bread and pizza dough required one thing: intense mechanical kneading. The idea was that you had to work the dough tirelessly to create a strong “gluten network” — the stretchy, elastic structure that traps gas from the yeast and gives the crust its signature chew. A powerful stand mixer with a dough hook was seen as the only way to achieve this without an Olympian-level arm workout.
But what if there’s a gentler, smarter way? There is, and it all comes down to two things: water and time.
This method uses a high-hydration dough, which simply means it has a lot more water in it than traditional recipes. The dough will be wet, shaggy, and sticky. (Yes, it’s supposed to look like that!) All that extra water gives the gluten proteins the freedom to move around, untangle, and align themselves into that strong, beautiful network all on their own. Instead of forcing them into place with a mixer, we’re just creating the perfect environment for them to line up naturally.
Think of it this way: traditional kneading is like trying to untangle a hundred knotted necklaces by shaking the box violently. The no-knead method is like putting them in a tub of water and gently swishing them around until they unravel on their own. It’s a “work smarter, not harder” approach that yields spectacular results.
The Magic Ingredients for No-Knead Dough
This part is so simple you’ll think you’ve missed a step. You haven’t. The ingredient list is short and sweet, and the measurements are forgiving. This makes enough dough for one 10- or 12-inch cast iron pizza.
Here’s what you’ll need:
- All-Purpose or Bread Flour: 400 grams (about 3 cups). Bread flour will give you a slightly chewier crust, but regular all-purpose flour works wonderfully. King Arthur is a fantastic, reliable choice.
- Warm Water: 300 grams (about 1 1/4 cups). You want it to be around 100°F (38°C) — comfortably warm to the touch, like a baby’s bath.
- Fine Sea Salt: 8 grams (about 1 1/2 teaspoons).
- Instant Yeast: 2 grams (about 1/2 teaspoon).
That’s it! In a large bowl, just whisk together the flour, salt, and yeast. Pour in the warm water and mix with a spoon or your hand until it forms a shaggy, sticky ball and there are no dry patches of flour left. Don’t knead it! Just mix until combined. Cover the bowl with plastic wrap or a damp towel and let it sit on your counter for about 20 minutes. This initial rest, called an “autolyse,” gives the flour a head start on absorbing all that water.
The Stretch and Fold The Only Workout You Need
Okay, here’s the “work” part, and I use that term very loosely. Instead of kneading, we’re going to perform a few sets of “stretch and folds.” This technique gently encourages the gluten to develop, building strength and structure in the dough without a mixer. It takes about 30 seconds each time.
After the dough’s initial 20-minute rest, you’ll do a series of four folds. Here’s how:
- Wet your hands slightly to prevent the dough from sticking to you.
- Reach into the bowl and grab one edge of the dough.
- Gently stretch it upward, lifting it a few inches, and then fold it over the center of the dough ball.
- Rotate the bowl a quarter turn (90 degrees) and repeat. Grab the new edge, stretch it up, and fold it over the middle.
- Repeat two more times until you’ve folded all four “sides.”
You’ve just completed your first set! Cover the bowl again and wait 20 minutes. Then, do another set of four folds. Repeat this process two more times, for a total of four sets of folds over about 60-80 minutes. You will physically feel the dough changing. It will go from a sticky, slack mess to a smooth, elastic, and cohesive ball. That’s the gluten developing right before your eyes! After the final fold, cover the bowl and let the dough rest and rise for another 45-60 minutes, or until it looks puffy and has grown in size.
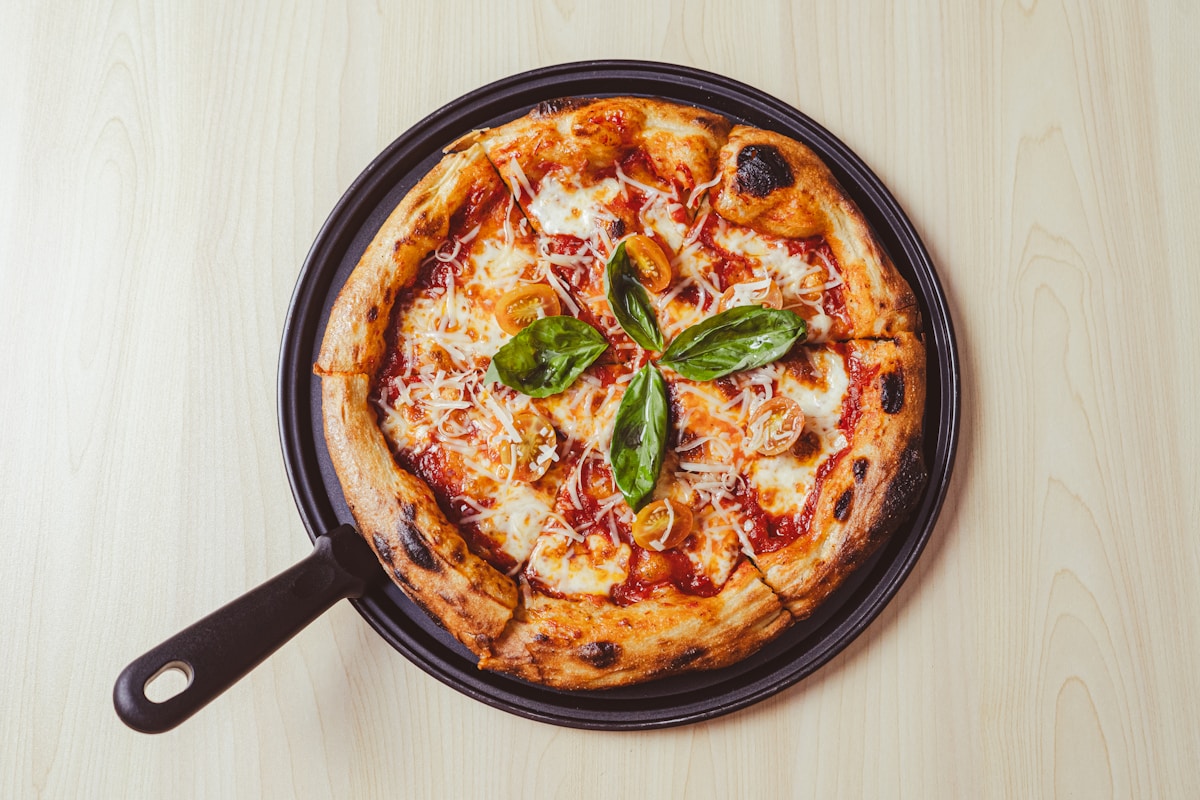
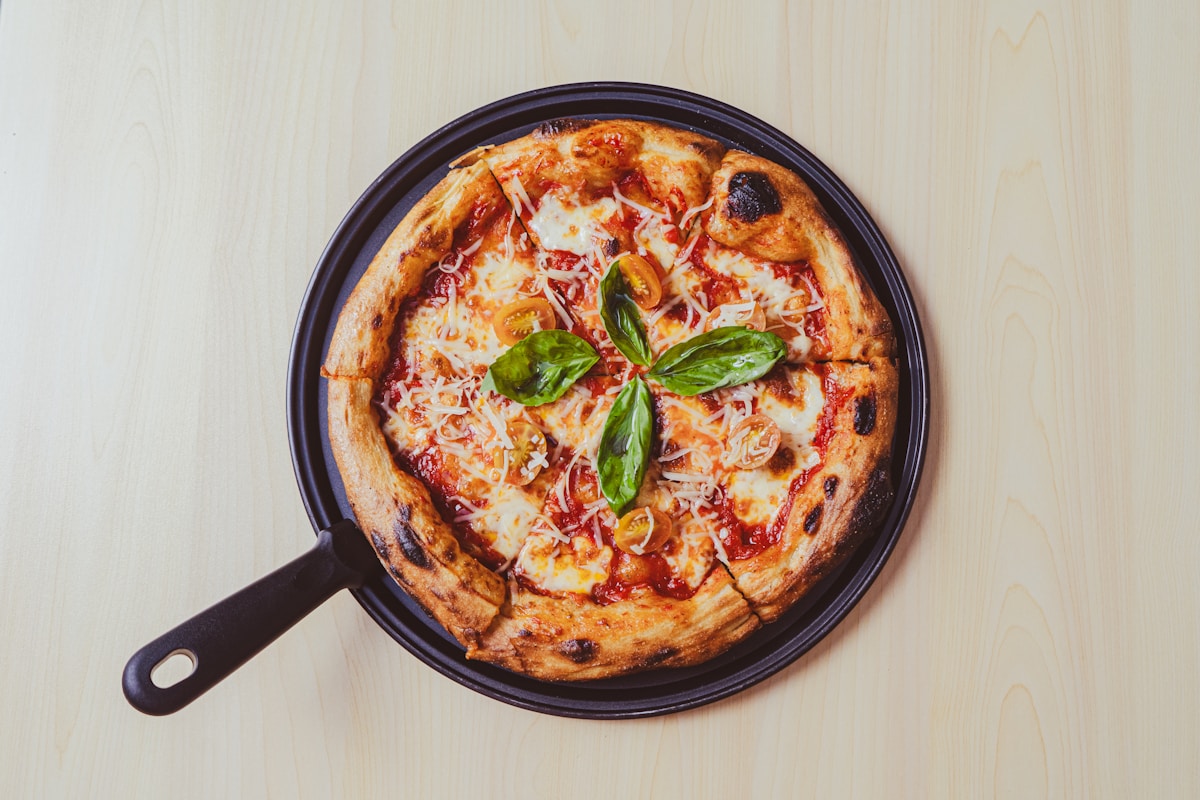
Your Cast Iron Skillet Your Secret Weapon
While your dough is having its final rest, it’s time to prepare your secret weapon: the cast iron skillet. A good old-fashioned Lodge skillet is perfect for this. The reason cast iron is so brilliant for pizza is its incredible ability to absorb and retain heat. When you put your dough in a screaming hot skillet, it delivers a massive, intense burst of heat to the bottom of the crust, instantly.
This mimics the floor of a professional brick pizza oven, which can reach temperatures of 700°F (370°C) or more! That intense bottom heat is what creates a crispy, non-soggy crust that can stand up to sauce, cheese, and toppings. A flimsy baking sheet just can’t do that; it buckles and cools down the second the cold dough hits it, which is the number one cause of a sad, floppy pizza center.
About 45 minutes before you’re ready to bake, place your 10- or 12-inch cast iron skillet on a rack in the middle of your oven and preheat the oven to 475°F (245°C). Let the pan get blisteringly hot. (Seriously, don’t skip this step.)
Assembly and Baking The Final Countdown
This is the exciting part! When your dough is puffy and your oven and skillet are preheated, it’s time to build your pizza.
Safety First: Please be extremely careful. You will be working with a very hot, very heavy pan. Use heavy-duty oven mitts at all times.
- Carefully remove the hot skillet from the oven and place it on a heatproof surface (like your stovetop).
- Pour a generous amount of olive oil into the pan — about 2-3 tablespoons. Swirl it around to coat the entire bottom and up the sides a little. This oil is going to fry the bottom of the crust, making it unbelievably crispy and golden.
- Gently scrape your risen dough out of the bowl and into the center of the hot pan. It will sizzle immediately! Don’t panic; that’s the sound of a great crust being born.
- Working quickly (and carefully, to avoid touching the hot pan), use your fingertips to gently dimple and press the dough out toward the edges of the skillet.
- Now, top it! Spoon on your favorite sauce, spread it out, and cover it with a generous layer of shredded low-moisture mozzarella. Add your toppings of choice — pepperoni, mushrooms, whatever you love.
- Immediately slide the skillet back into the 475°F (245°C) oven.
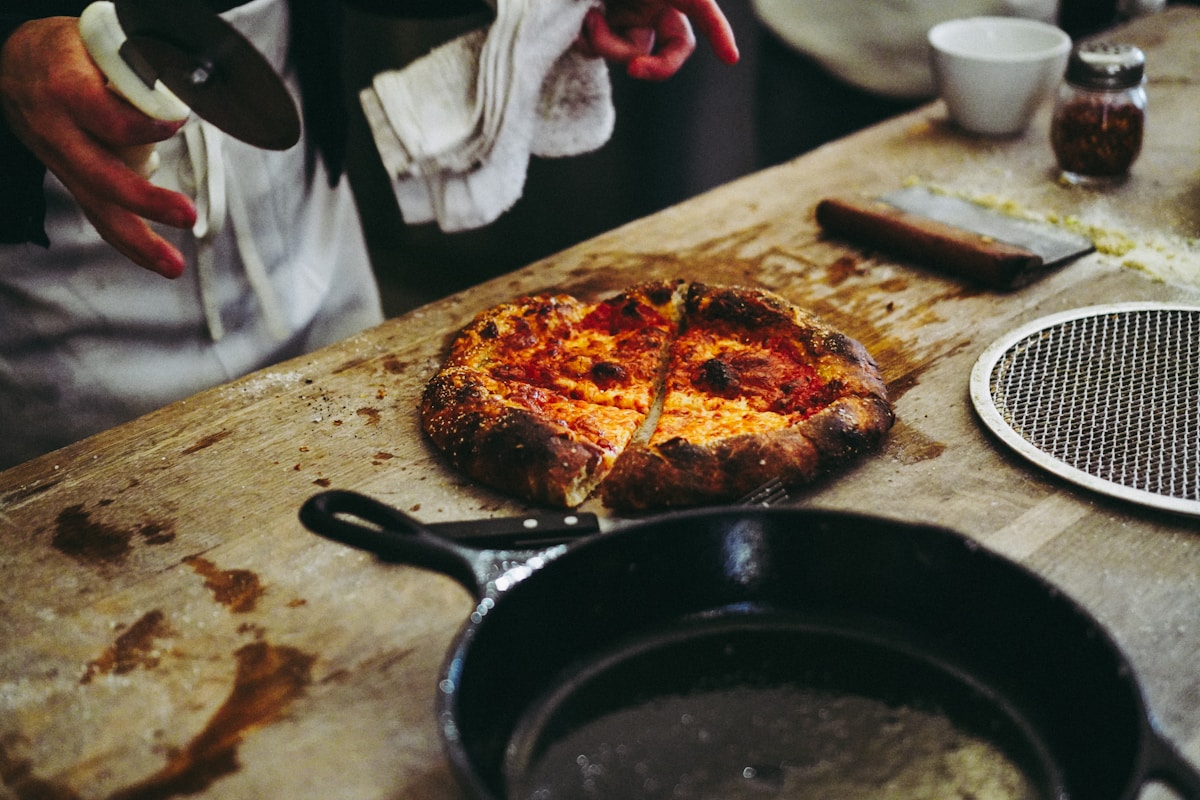
- Bake for 12 to 15 minutes, or until the cheese is bubbly and melted and the crust is a deep golden brown.
When it’s done, carefully remove the pan from the oven. Let it cool in the pan for a minute or two, then use a spatula to slide the pizza onto a cutting board. The sound it makes as it hits the board is pure bliss — a crisp, satisfying thud.
Try This Tonight
You see? No mixer, no kneading, no fancy equipment. Just a few basic ingredients, a little bit of time, and the magic of a hot cast iron pan. The result is a pizza with a thick, chewy, airy interior and a shatteringly crispy, fried bottom crust that will rival any pizzeria.
So go ahead. Dust off that skillet. You have everything you need to make a truly spectacular pizza right now. This isn’t just a recipe; it’s a massive confidence booster. You can do this. Tonight is officially pizza night.