There are few kitchen moments more deflating than pulling a magnificent, golden-brown apple pie from the oven, only to slice into it and find a watery, crunchy mess. The crust looked perfect, the kitchen smells divine, but the filling is a soupy disaster. This isn’t a failure of your baking spirit; it’s a simple, common miscalculation of doneness.
Baking an apple pie is a delicate race against time. The crust needs to become crisp and flaky, while the apples inside need to soften completely and release their juices into a thick, glossy sauce. These two processes don’t always finish at the same time. My philosophy is that baking is chemistry you can eat, and understanding the signs of a completed chemical reaction is the key to a perfect pie, every single time.
The Anatomy of an Undercooked Pie
Why does this happen so often? The primary culprit is relying solely on crust color or the timer on a recipe. A recipe might say “bake for 50 minutes,” but it can’t account for your specific oven’s hot spots, the type of apples you used (Granny Smiths hold their shape differently than McIntoshes), or the thickness of your pie dish.
A pale crust is an obvious sign of an under-baked pie, but a beautifully browned crust can be deceptive. The radiant heat of the oven browns the exterior long before the conductive heat has penetrated the dense, wet filling to work its magic. Pulling the pie based on crust color alone is the number one cause of crunchy apples and a runny filling that soaks the bottom crust into a soggy paste.
Sign 1 The Vigorous Bubble
This is the most reliable visual cue, and the one I trust above all others. You need to see the filling actively, thickly bubbling up through the vents or lattice on your top crust. Not a gentle, watery simmer, but a slow, thick, lava-like bubble. (Yes, really.)
What’s the science here? The thickener in your filling—whether it’s flour, cornstarch, or tapioca starch—needs to reach a specific temperature to do its job. For cornstarch, that’s around 203°F (95°C). When you see those thick bubbles, it’s a definitive sign that the starches have gelatinized, meaning they have absorbed the liquid from the apples and swelled, transforming the juices from a watery liquid into a luscious, stable sauce. If you don’t see this, the filling will never set properly, no matter how long you let it cool.
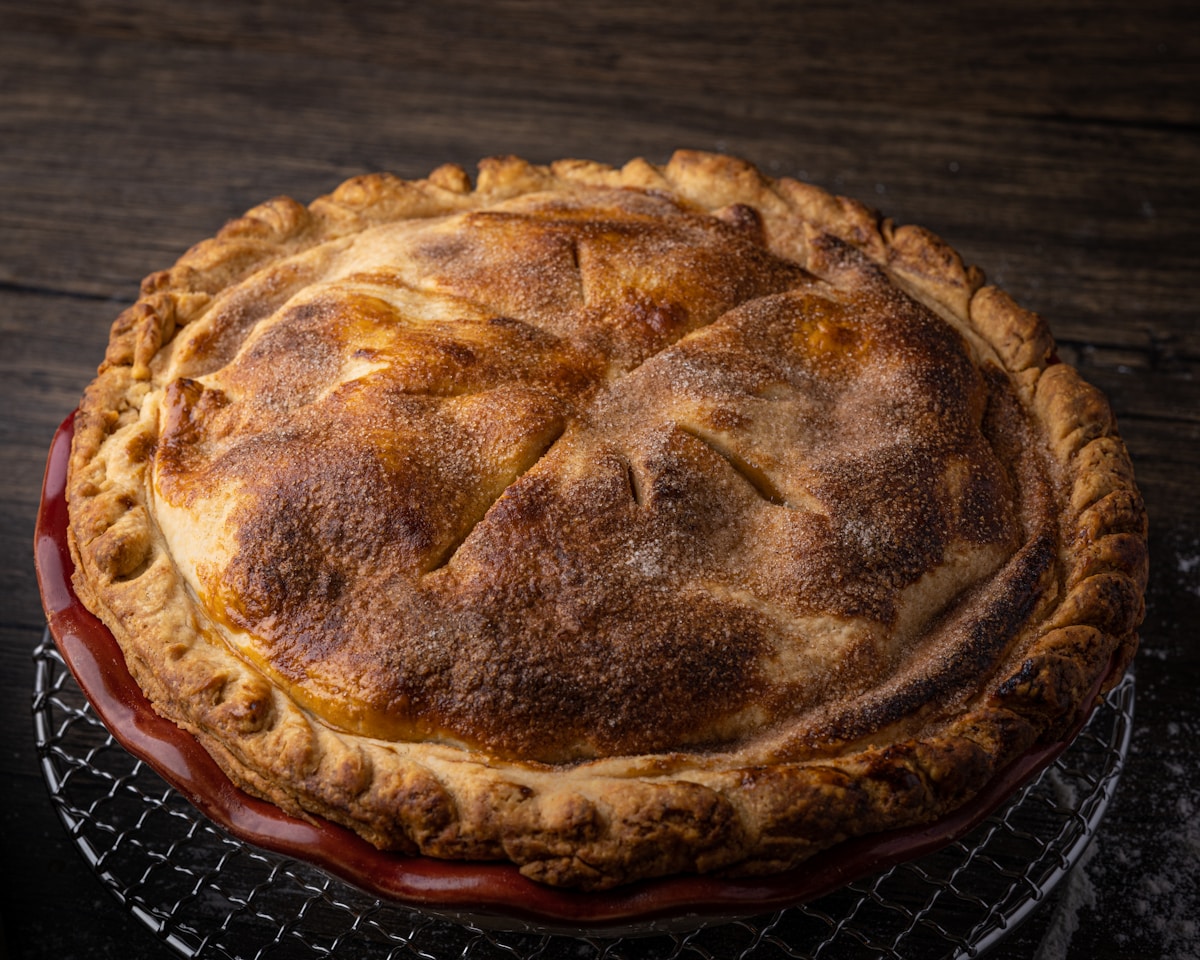
Sign 2 The Deep, Uniform Gold
While color isn’t the only indicator, it is a critical one. We’re not looking for a pale, blonde-blushed crust. We are aiming for a deep, even, and unapologetic golden brown. Think the color of a well-toasted croissant. This deep color is a result of the Maillard reaction and caramelization, complex chemical reactions between amino acids and sugars that create hundreds of new aromatic and flavor compounds.
A pale crust tastes flat and pasty; a deeply browned crust tastes nutty, rich, and complex. This color should be uniform across the top. Pay special attention to the bottom edge where the crust meets the pie plate. If you’re using a glass dish, you can peek underneath to ensure the bottom is browned, not pale and steamy.
Kitchen Hack: If you notice the edges of your crust are getting too dark before the center is bubbling, don’t pull the pie! Create a pie shield. You can buy a reusable silicone one, or simply fashion a ring out of aluminum foil to cover the fluted edge. This deflects the direct heat from the edges, allowing the center to continue baking until it’s perfectly done.
Sign 3 The Temperature Probe
For those of us who believe in the power of data, an instant-read thermometer is your best friend. This removes all guesswork. Carefully insert the thermometer through a steam vent into the very center of the pie, making sure not to touch the bottom of the pie dish.
You are looking for a temperature between 195°F and 200°F (90°C to 93°C). At this temperature, you can be scientifically certain of two things: the apple slices have broken down and become tender, and your thickening agent has fully activated. A reliable thermometer like a Thermapen is a worthy investment for any serious baker, but any good quality digital thermometer will work.
A Foolproof Apple Pie Method
Let’s put this all together into a practical workflow. This method uses an initial blast of high heat to set the bottom crust quickly, helping prevent sogginess.
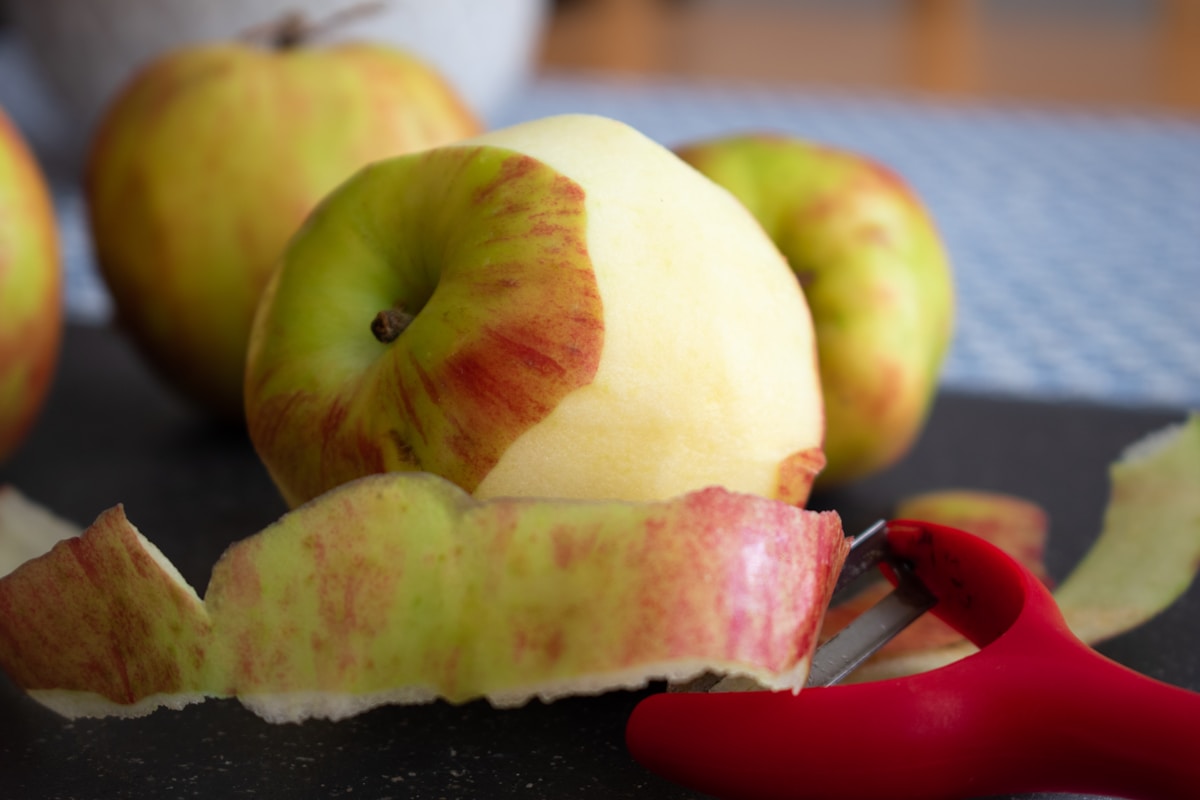
- Preparation: Prepare your double-crust pie with your favorite apple filling. A mix of tart apples like Granny Smith and sweeter, softer apples like Honeycrisp gives great texture and flavor. Make sure you use a thickener—about 1/4 cup of all-purpose flour or 2-3 tablespoons of cornstarch for a standard 9-inch pie.
- Initial Bake: Place your pie on a parchment-lined baking sheet (to catch any drips) on a lower-middle rack in an oven preheated to 425°F (220°C). Bake for 15 minutes. This intense heat helps the bottom crust start crisping immediately.
- Main Bake: Reduce the oven temperature to 375°F (190°C). Continue baking for another 40 to 50 minutes.
- The Check-In: After about 35 minutes at the lower temperature, start looking for your signs. Is the crust a deep gold? Is the filling bubbling thickly through the vents? If the crust is browning too fast, apply your foil shield.
- Confirm Doneness: Once you see the thick bubbles, confirm with your thermometer if you wish. The internal temperature should read at least 195°F (90°C).
- The Critical Cool-Down: This is the final, non-negotiable step. You must let the pie cool on a wire rack for a minimum of 4 hours before slicing. (Your future self will thank you.) This allows the gelatinized filling to cool and set completely into sliceable wedges. Cutting into a hot pie, even a perfectly baked one, will result in a runny filling.
By trading your timer for your senses and a little bit of science, you can move from hoping for a good pie to knowing you’ve baked a perfect one. Look for the bubble, aim for the deep gold, and trust the thermometer. Happy baking.