It’s a moment every baker dreads. You followed the recipe for tangy, glorious lemon bars. The shortbread crust is golden, your kitchen smells like a citrus grove, but when you gently shake the pan, the center jiggles with the liquid despair of a soupy, unset filling. Your heart sinks. Before you even think about the trash can, take a deep breath. This isn’t a failure; it’s an opportunity.
Here at kitchen-fun.com, we believe that understanding the ‘why’ behind a recipe is the key to both success and clever improvisation. A ‘failed’ lemon bar is simply the first, unplanned step toward an incredibly delicious Lemon Berry Trifle. Let’s explore the science of what went wrong and how to make it wonderfully right.
The Science of a Perfect Lemon Curd Set
Baking is chemistry you can eat, and a lemon bar filling is a perfect example of edible science. The structure of that silky, firm curd relies almost entirely on one thing: the coagulation of egg proteins.
When you whisk eggs with sugar and lemon juice and gently heat the mixture, the long protein strands in the eggs begin to unwind (a process called denaturation) and then link together, forming a mesh that traps liquid. This is what transforms a fluid mixture into a semi-solid gel. For this to happen correctly, a critical temperature must be reached.
The magic number for an egg-based curd is between 165°F and 170°F (74°C to 77°C). If the filling doesn’t reach this temperature in the oven, the egg proteins won’t form a strong enough network to hold everything together, resulting in a runny filling. If you go too far past 185°F (85°C), you risk scrambling the eggs.
This is why I consider an instant-read digital thermometer to be as essential as a whisk in my kitchen. It takes the guesswork out of baking. A quick probe into the center of the filling tells you precisely when it’s done.
- The Role of Acid and Sugar: Both lemon juice (acid) and sugar are essential for flavor, but they also affect the texture. They get in the way of the egg proteins, forcing them to coagulate at a higher temperature. This is actually a good thing! It creates a more tender, smoother curd and provides a larger window of time before the eggs risk scrambling.
- Starch as Insurance: Many recipes, like those from King Arthur Flour, call for a tablespoon or two of all-purpose flour or cornstarch in the filling. Starch acts as a stabilizer. It absorbs liquid and gelatinizes when heated, providing a secondary thickening mechanism that offers a safety net against an imperfect egg set.
Common Reasons Your Lemon Bars Failed to Set
Now that we understand the science, we can diagnose the problem. Your soupy filling most likely happened for one of these reasons:
-
Underbaking: This is the number one cause. Your oven might run cool, or you pulled the bars out too soon. The edges might look set, but the center never reached that crucial 170°F (77°C) mark. The rule of thumb is to bake until the edges are firm and the center has only a very slight wobble, like Jell-O.
-
Incorrect Ratios: Baking demands precision. If you used too much lemon juice, not enough eggs, or accidentally omitted the flour/cornstarch called for in the recipe, the liquid-to-thickener ratio was thrown off from the start. Always measure your ingredients carefully, preferably with a kitchen scale for accuracy.
-
Oven Temperature Inaccuracy: Most home ovens are not perfectly calibrated. They can be off by as much as 25-50°F. If your oven is running cooler than the display indicates, your bars will be chronically underbaked. An inexpensive oven thermometer that lives inside your oven is one of the best investments a baker can make.
-
Cooling Improperly: A proper cool-down is part of the setting process. You should let the bars cool completely at room temperature for at least an hour before moving them to the refrigerator to chill for another two to three hours. Moving them too quickly can sometimes affect the final texture.
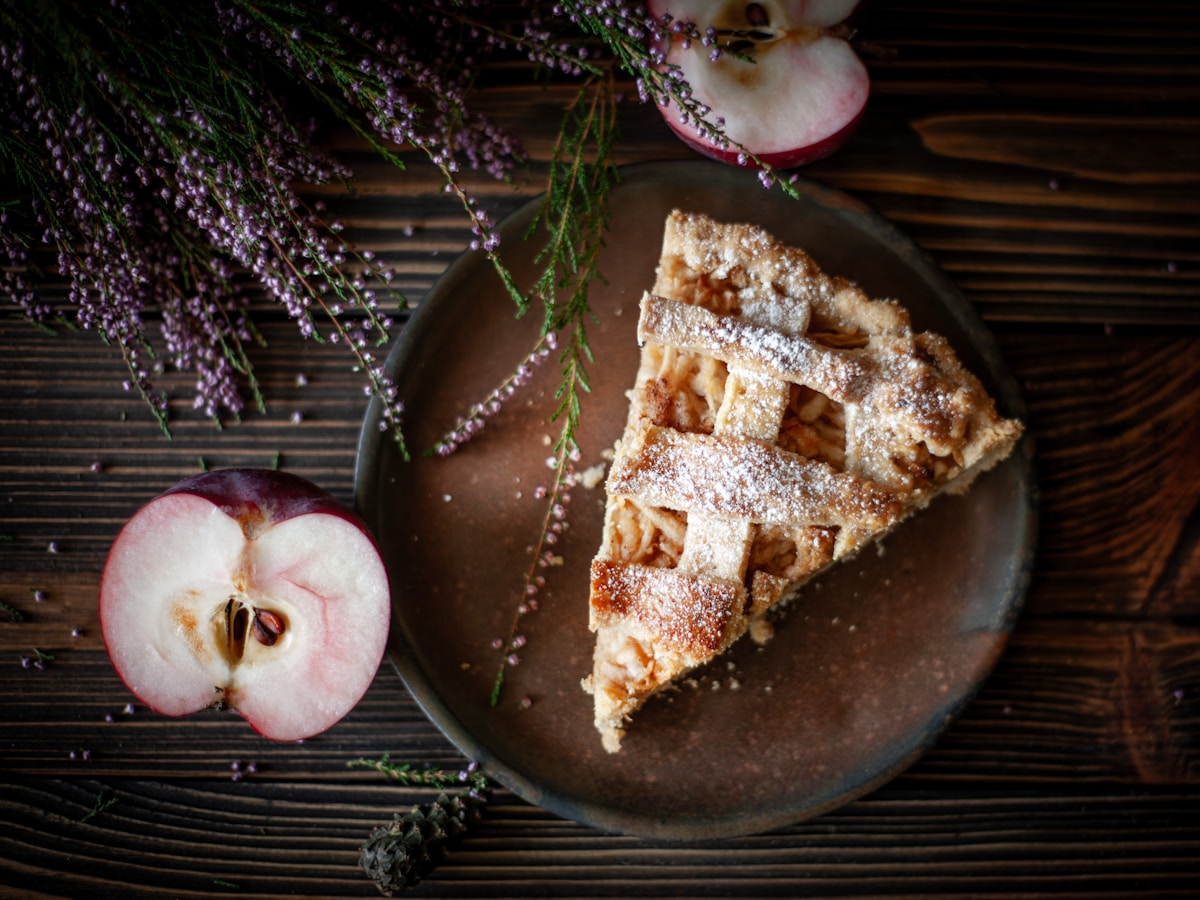
The Ultimate Salvage Plan The Lemon Bar Trifle
So, you’ve diagnosed the issue, but you still have a pan of delicious goo. Let’s turn it into something stunning. The beauty of a trifle is that it celebrates soft textures and distinct layers. (Your guests will never know this wasn’t the original plan.)
You Will Need:
- Your pan of ‘failed’ lemon bars
- 1 pint (about 2 cups) of fresh berries, like raspberries or blueberries
- A large glass trifle dish or individual glasses/jars
- For the Stabilized Whipped Cream (see next section for the recipe)
Assembly Instructions:
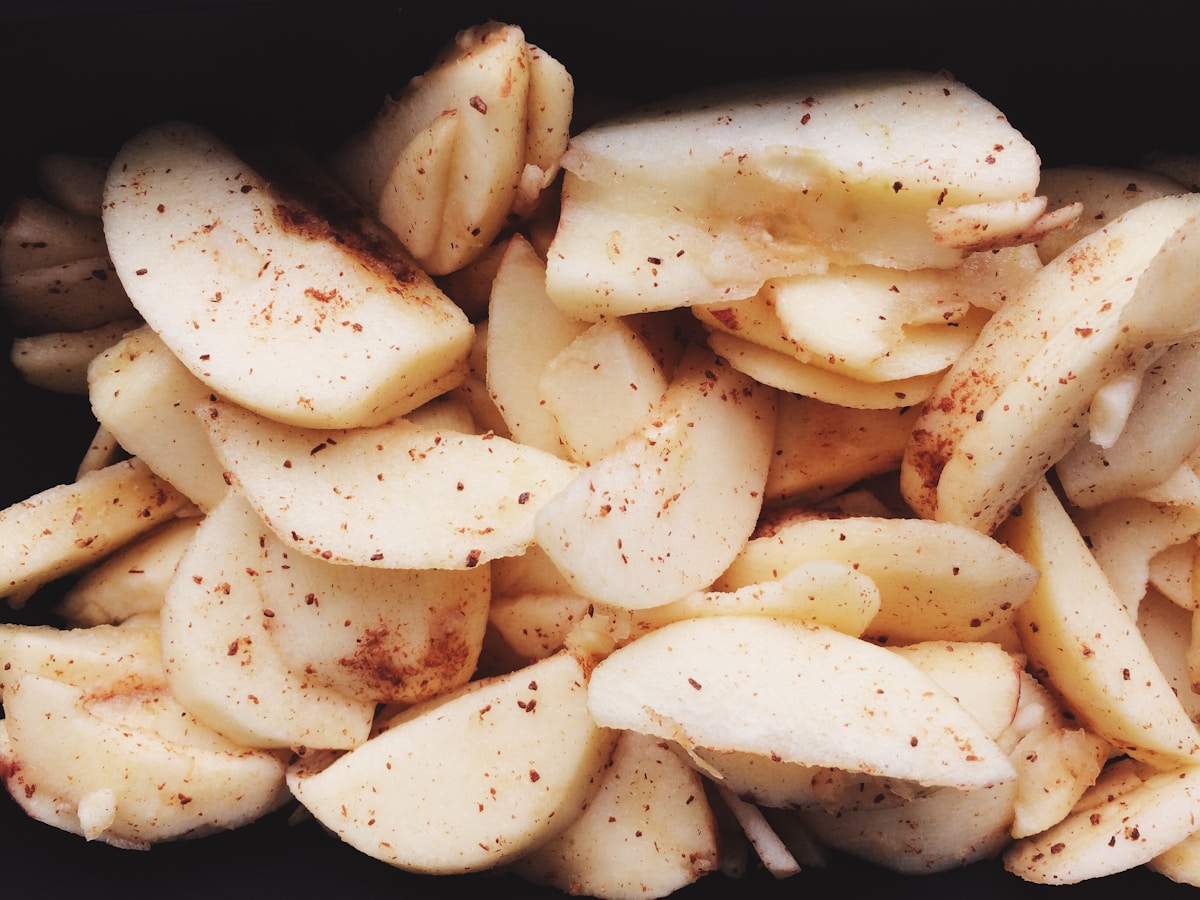
- Deconstruct: Carefully use a spatula to scrape all of the unset lemon curd filling into a bowl. Don’t worry about getting a few crust crumbs in there. Set it aside.
- Crumble the Crust: Take the remaining shortbread crust and break it up into bite-sized crumbles. If it’s very moist from the filling, you can spread it on a baking sheet and toast it in a 350°F (175°C) oven for 5-7 minutes to dry it out and make it crispy again. Let it cool completely.
- Prepare the Cream: Whip up a batch of our reliable, stabilized whipped cream. The stability is key here, ensuring your trifle holds its shape and doesn’t become weepy in the fridge.
- Layer Like an Artist: Begin layering in your trifle dish.
- Start with a layer of the shortbread crumbles.
- Spoon a generous layer of the unset lemon curd over the crust.
- Add a layer of fresh berries.
- Top with a thick layer of stabilized whipped cream.
- Repeat: Continue the layers—crust, curd, berries, cream—until you reach the top of the dish, finishing with a final swirl of whipped cream and a scattering of fresh berries and maybe a little lemon zest for color.
Chill the assembled trifle for at least one hour before serving. This allows the flavors to meld and the layers to set slightly. What was once a soupy disappointment is now an elegant, layered dessert with contrasting textures of crisp crust, silky curd, fluffy cream, and bright berries.
Kitchen Hack A Guide to Perfectly Stabilized Whipped Cream
A common issue with trifles is that the whipped cream can deflate and weep after a few hours. The secret to a long-lasting, picture-perfect topping is a stabilizer. Here’s how to do it.
The Science: Whipped cream is a foam of air bubbles trapped in a network of fat globules from the cream. Stabilizers work by reinforcing this network, preventing the air from escaping and the water from leaking out.
The Recipe:
- 1 cup (240ml) very cold heavy whipping cream (at least 36% fat)
- 2 tablespoons (25g) powdered sugar
- 1/2 teaspoon vanilla extract
- Your Stabilizer: 1 teaspoon of cornstarch
Method:
- Chill Everything: Place your metal mixing bowl and whisk attachment (I use my KitchenAid stand mixer) in the freezer for 15 minutes before you begin. Cold equipment is non-negotiable for good volume.
- Combine and Whisk: In a small bowl, whisk the powdered sugar and cornstarch together. This prevents the cornstarch from clumping. Set aside.
- Whip the Cream: Pour the cold heavy cream into your chilled bowl. Start whipping on medium-low speed, gradually increasing to medium-high. When the cream begins to thicken and you see faint trails from the whisk (the ‘soft peak’ stage), slowly sprinkle in the sugar/cornstarch mixture and the vanilla.
- Finish to Stiff Peaks: Continue whipping on medium-high speed until the cream is thick, voluminous, and holds a stiff peak when you lift the whisk. Be careful not to over-whip, or you’ll start making butter!
This stabilized cream will hold its shape beautifully in your trifle for up to 24 hours in the refrigerator.
Beyond the Trifle Other Ways to Rescue Baking Fails
This philosophy of adaptation extends to almost any baking project. Learning to pivot is a skill that separates good bakers from great ones. It reduces food waste and sparks creativity.
- Runny Pumpkin Pie? Scrape out the filling, whisk in an extra egg, and use it to make a spectacular bread pudding with cubes of day-old brioche or challah.
- A Cake That Crumbled? Perfect for making cake pops. Mix the crumbles with a bit of frosting to bind them, roll into balls, chill, and dip in melted chocolate.
- Broken or Burnt-Edge Cookies? Crush them up and use them as a crunchy topping for ice cream or yogurt, or press them into a pan with melted butter to form the crust for a no-bake cheesecake.
Remember, the kitchen is a place for joy and experimentation. The next time a bake doesn’t go exactly as planned, don’t see it as a failure. See it as a delicious puzzle waiting to be solved. That soupy lemon bar isn’t a mistake—it’s just a trifle in disguise.