You did everything right. You measured the flour meticulously, creamed the butter and sugar until it was fluffy and pale, and chilled the dough for exactly one hour. You arranged your perfect shortbread cookies on the baking sheet, slid them into the preheated oven, and set a timer. Yet, when the timer dinged, you were greeted not by golden-edged perfection, but by a tray of dark brown, borderline-burnt disappointments.
It’s a uniquely frustrating kitchen moment. You followed the recipe to the letter, but the oven had other plans. If this sounds familiar, I’m here to tell you it’s probably not your fault. The culprit is likely the biggest, most expensive appliance in your kitchen, and it’s been telling you a little white lie for years.
Why Your Oven’s Dial Is Just a Suggestion
Let’s get one thing straight: the temperature you set on your oven’s dial is, at best, a well-intentioned guess. Most home ovens, whether they’re brand new or decades old, can be off by as much as 25°F to 50°F (about 15-30°C), and sometimes even more.
Why the inaccuracy? It comes down to two main factors. First, ovens don’t maintain a constant heat. They work by cycling their heating elements on and off to average a target temperature. When the element is on, the oven is hotter than your setting. When it’s off, it’s cooler. The built-in thermostat that reads this temperature is often in a single, fixed location that might not represent the true temperature in the center of the oven where your food is actually cooking.
Second, these thermostats degrade over time. Just like any other component, they lose their accuracy. An oven that was perfectly calibrated when it left the factory might be running 30 degrees hot five years later. For delicate recipes like cakes, custards, or that finicky shortbread, a 30-degree difference is the gap between success and failure.
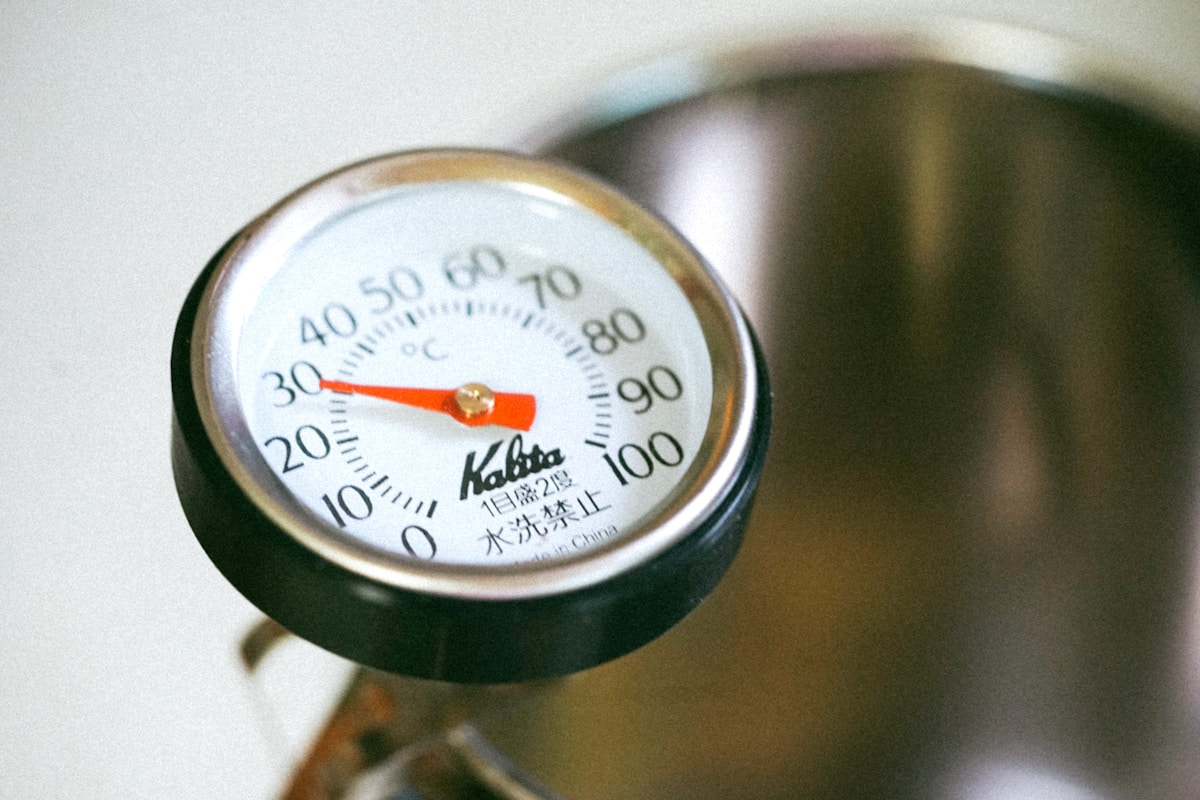
The $10 Tool That Will Change Your Baking Forever
Before you think about replacing your oven or calling a costly repair service, I want you to invest in the single most important tool for baking consistency. It’s not a fancy stand mixer or a high-end baking stone. It’s a simple, freestanding oven thermometer.
(Yes, really. This small, inexpensive gadget is the key.)
These thermometers are designed to sit or hang directly on your oven rack, measuring the ambient temperature right where your food is. They ignore the wild swings of the heating elements and give you a true, stable reading of your oven’s environment. Here are a couple of my go-to, no-nonsense recommendations:
-
Taylor Precision Products Classic Oven Thermometer (~$7-10): This is the workhorse you’ll see in countless kitchens. It has a large, easy-to-read dial, a durable stainless steel construction, and can either hang from a rack or stand on its own. It’s simple, reliable, and cheap. There’s no reason not to own one.
-
Rubbermaid Commercial Grade Oven Thermometer (~$10-15): A slight step up in durability. This one is NSF-certified (meaning it’s approved for professional food service), so it’s built to withstand abuse. The dial can sometimes be a little smaller than the Taylor, but it’s a rock-solid piece of equipment that will last for years.
Honestly, the brand doesn’t matter as much as simply having one. An inexpensive thermometer that tells you the truth is infinitely better than an expensive oven that lies.
How to Properly ‘Learn’ Your Oven
Once you have your thermometer, it’s time to conduct a little experiment. This is how you stop guessing and start knowing exactly what your oven is up to. It’s easy and takes about an hour.
-
Placement is Key: Place your oven thermometer in the very center of the middle oven rack. This is the most common position for baking and will give you the most useful baseline reading.
-
The 350°F Test: Set your oven to preheat to 350°F (177°C). Now, here’s the most important part: ignore the preheat beep. That beep usually just means the air near the sensor has hit the target temperature for a moment. The oven walls and racks, which hold the most heat, are likely still catching up. Wait a full 20-30 minutes after the oven claims it’s preheated.
-
Record the Truth: Open the oven door quickly, read the temperature on your new thermometer, and close the door. Is it 350°F? Or is it 325°F? Or maybe 380°F? Write down the difference between the set temperature and the actual temperature.
-
Test at Different Temps: Repeat the process at two other common temperatures, like 300°F (150°C) and 425°F (220°C). Sometimes an oven is consistently off by the same amount across the board. Other times, the discrepancy is worse at higher temperatures.
Now you have data. If your oven consistently runs 25°F hot, you can simply adjust your dial accordingly. If the recipe calls for 350°F, you’ll know to set your oven to 325°F. (Your future self will thank you.) If the discrepancy is huge or inconsistent, you can look up your oven’s manual to see if it has a calibration mode, or decide if it’s time for a professional tune-up.
Kitchen Hack: Conquer Hot Spots with the Bread Test
Knowing your oven’s true average temperature is step one. Step two is understanding that no oven heats perfectly evenly. They all have hot and cold spots. The back left corner might be scorching while the front right is lukewarm. Here’s a brilliant, cheap way to map them out.
- Get a loaf of the cheapest, plainest white sandwich bread you can find.
- Preheat your oven to 350°F (using your new, calibrated knowledge, of course).
- Cover an entire oven rack with slices of bread, edge to edge.
- Bake for 8-10 minutes, or until the bread starts toasting.
- Pull the rack out and look at the pattern. You’ll have a perfect visual map of your oven’s personality. Dark brown or burnt spots are your hot zones. Pale, untoasted spots are your cool zones.
This knowledge is power. Now you know that when you’re baking a single sheet of cookies, you should place it in the most evenly browned area. You’ll also know that for longer bakes, like a cake or a casserole, you should rotate the pan 180 degrees halfway through the cooking time to ensure even results.
Putting It to the Test: Perfect Butter Shortbread
Let’s try this again, but armed with knowledge. Shortbread is incredibly sensitive to temperature. Too low, and it stays pale and pasty. Too high, and the butter burns before the cookie is properly cooked through, resulting in a bitter, crumbly mess. The sweet spot is a gentle, steady heat.
Ingredients:
- 1 cup (227g) unsalted butter, softened
- 1/2 cup (100g) granulated sugar
- 1 teaspoon vanilla extract
- 2 cups (240g) all-purpose flour
- 1/4 teaspoon salt
Instructions:
- In a bowl, cream the softened butter and sugar together until light and fluffy.
- Stir in the vanilla extract.
- In a separate bowl, whisk together the flour and salt. Gradually add this to the butter mixture, mixing on low speed until just combined. Do not overmix.
- Press the dough into an 8x8 inch pan and chill for at least 30 minutes.
- Preheat your oven to the actual temperature of 325°F (163°C). Use your thermometer to verify, and adjust your dial as needed based on your test results.
- Bake for 25-30 minutes, or until the edges are just beginning to turn a light golden brown. The center should still look pale.
- Let it cool in the pan for 10 minutes before cutting into squares or fingers.
By controlling the temperature precisely, you give this simple cookie the chance to be what it’s meant to be: tender, crisp, and buttery. No more burnt edges. No more guesswork. Just the satisfaction of knowing your equipment and getting the results you deserve.

