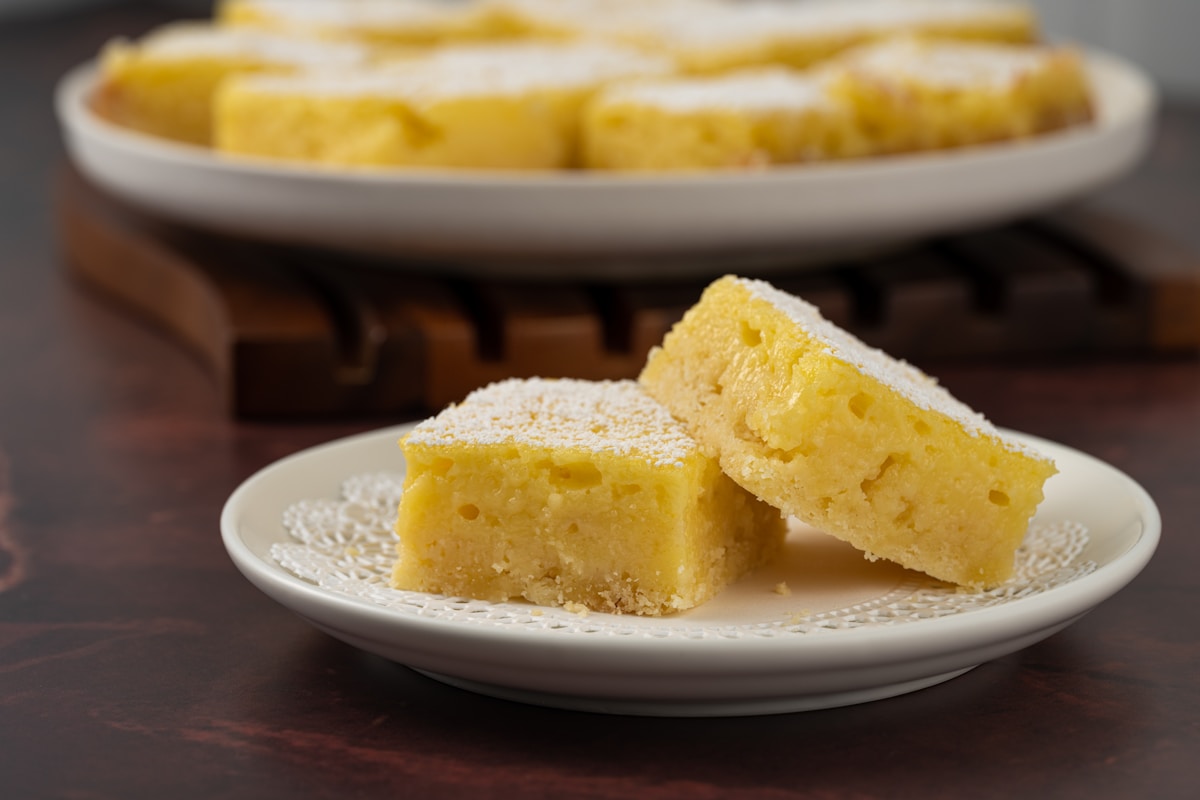
You pull a beautiful pan of lemon bars out of the fridge. The filling is perfectly set, the shortbread crust is golden, and the powdered sugar dusting looks like fresh snow. You grab a knife and confidently make the first cut — only to watch the sticky lemon curd drag across the blade, pulling the top layer apart and leaving behind a sad, smeared mess. Sound familiar? You are not alone. Cutting lemon bars cleanly has stumped home bakers and even professional pastry chefs for ages. In fact, a recent Reddit thread in r/KitchenConfidential showed servers laughing over a pan of lemon bars that was butchered during plating, then neatly fixed by a colleague. The caption simply read “No notes.” So what is the secret to getting those perfect, photogenic squares? It comes down to a few simple techniques that anyone can master. Let me walk you through them.
Why Lemon Bars Are So Difficult to Cut
The problem is all in the chemistry. A classic lemon bar has two layers: a firm, buttery shortbread crust and a thick, glossy lemon curd filling. While the curd sets firmly when chilled, it remains inherently sticky and soft — almost like a firm jelly. When you press a knife into it, the curd clings to the metal, pulling away from the crust and creating ragged edges. Add to that a crust that can be crumbly, and you have a recipe for frustration. The goal is to make each cut clean, with the curd staying put and the crust holding together. The good news? With a few small adjustments, you can achieve bar perfection every time.
The Secret Is in the Chill
Temperature is your number one ally. Lemon bars must be fully chilled before you even think about slicing. This means a minimum of 2 hours in the refrigerator, but overnight is even better. The colder the curd, the less it will stick to the knife. Here is a pro tip: after the bars are completely set, pop them in the freezer for 15 to 20 minutes before cutting. The extra chill firms up the curd just enough to reduce sticking without freezing it solid. However, do not leave them in the freezer too long, or the crust can become brittle and crack. Aim for a temperature around 40°F (4°C) — straight out of the fridge is perfect. If your bars were baked in a metal pan, set the pan on a cold surface like a granite countertop or a metal baking sheet chilled in the fridge to keep them cool as you work.
The Right Knife and the Hot Water Trick
Even with perfectly chilled bars, your choice of knife matters enormously. A thin, sharp blade with a smooth edge will slice through curd with less drag. Avoid serrated knives, which will tear the filling. A long slicing knife or a thin chef’s knife — like an 8-inch Wüsthof or Zwilling — works beautifully. But the real game-changer is the hot water technique. Fill a tall glass or a narrow pitcher with hot tap water (not boiling, just very hot). Before each cut, dip the entire blade into the water for a few seconds, then quickly wipe it dry with a clean kitchen towel. The heat melts the curd momentarily as the knife passes through, creating a clean separation. Then you wipe the blade clean and repeat. It sounds fussy, but once you get into the rhythm, it only adds a second or two per cut. I keep a glass of hot water on the counter and a towel at the ready — and my lemon bars come out looking like they belong on a magazine cover.
The Dental Floss Hack (Yes, Really)
If you want a knife-free solution, reach for a box of unflavored, unwaxed dental floss. This is a trick that professional bakers have used for years to slice sticky bars, cheesecakes, and even soft cheeses. Here is how it works: take a long piece of floss (about 12 inches), hold it taut with both hands, and press it down through the top of the lemon bars. Slide it straight through the entire slab until it reaches the pan bottom. Then pull the floss out to the side — do not lift it straight up, or you might disturb the curd. The floss glides through the curd without any stickiness at all. For a 9x13-inch pan, you can slice the entire batch in a grid pattern by running floss lengthwise and then widthwise. This method yields exceptionally clean edges with no smearing. One tip: mark your cutting lines with a toothpick or the tip of a knife so your squares are even. Your guests will never guess you used dental floss (but feel free to brag about it).
A Pizza Cutter Can Save the Day
Another surprisingly effective tool is a sharp pizza cutter. The rolling motion reduces the dragging force that causes curd to tear. Choose a pizza cutter with a large, thin wheel — brands like OXO Good Grips or KitchenAid make reliable models. As with a knife, you can lightly grease the wheel with a tiny amount of butter or spray oil to reduce sticking. However, be careful not to over-grease, or you will leave oily marks on the bars. A better option is to dust the wheel with a little powdered sugar before rolling. The sugar acts as a non-stick barrier. Roll the cutter in one long, confident stroke; do not wiggle or pause. If you feel resistance, stop and clean the wheel before continuing. This method is especially useful if you are cutting many bars quickly — for a bake sale or party platter.
A Final Pro Tip and Your Action Plan
Here is one last trick that ties everything together: coat your knife or pizza cutter with a thin layer of butter or vegetable oil before cutting. The fat repels the sticky curd, allowing the blade to glide through. Some bakers also recommend dusting the top of the bars lightly with powdered sugar before cutting; the sugar reduces friction. However, if you are using the hot water method, you will already be wiping the blade clean, so you may not need extra grease. My personal routine is to chill the bars for at least 4 hours, then freeze them for 15 minutes. I then cut with a hot, wet blade, wiping between each slice. The first cut always shows a little drag, but by the second cut, the blade is warm and the edges are pristine. Try it tonight: bake a batch of your favorite lemon bars (from scratch or a box mix — no judgment here), chill them overnight, and use the dental floss hack for your first cut. You will see the difference immediately. And when you serve those perfect squares, you can smile knowing that even professional servers have messy moments — but now you have the tools to fix them. Happy baking!