You’ve seen them on social media. Those towering, magnificent cakes with a perfectly clean, dense stripe of cheesecake nestled between layers of impossibly fluffy sponge, all wrapped in a coat of silky buttercream. It’s a showstopper. It’s also, for many home bakers, a source of quiet anxiety. How do you get that heavy cheesecake layer in there without the whole thing collapsing into a delicious, but structurally disastrous, mess?
Baking is chemistry, and building a cake like this is a lesson in physics and engineering. The secret isn’t just a good recipe; it’s about understanding the properties of your components and assembling them with intention. Today, we’re going to deconstruct this hybrid masterpiece, turning that baking anxiety into confident execution.
The Blueprint of a Hybrid Masterpiece
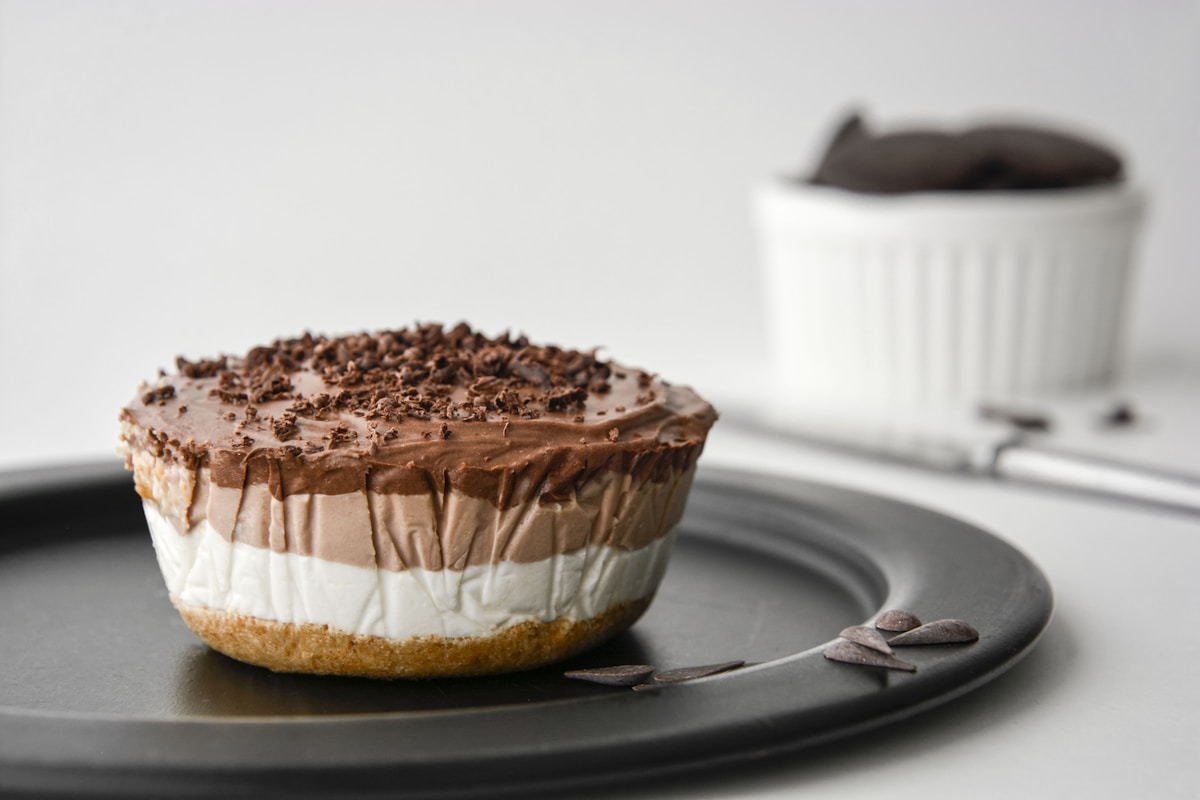
At its core, a cheesecake layer cake is a study in contrasts. You have the light, airy, flexible structure of a sponge cake supporting the dense, rich, and comparatively fragile cheesecake. This is the central challenge. A standard, airy chiffon cake, for example, would be crushed under the weight. A cheesecake that’s too soft or warm will sag, taking the rest of the cake with it.
Success depends on three key pillars:
- A Structurally Sound Cheesecake: It must be firm enough to be moved and stacked without breaking or sagging.
- A Supportive Sponge: The cake layers must have enough crumb structure to bear the cheesecake’s weight without compressing.
- A Stable Finish: The buttercream acts as more than just decoration; it’s the structural glue and outer shell that holds everything together.
Get these three elements right, and you’re not just baking a cake—you’re an architect of dessert.
Engineering the Cheesecake Layer for Stability
This is the heart of the operation. You cannot simply bake your favorite creamy cheesecake and hope for the best. That center layer needs to be engineered for firmness. There are two primary, reliable methods to achieve this.
Method 1: The No-Bake Gelatin Set (The Sure Thing)
This is my preferred method for guaranteed stability. Gelatin creates a hydrocolloid gel, essentially building a microscopic net that traps liquid and creates a firm, perfectly sliceable texture that’s still wonderfully creamy.
- The Science: When you bloom powdered gelatin in cold water, its protein strands (collagen) absorb the liquid and swell. When you gently heat this mixture and add it to your cream cheese base, the strands unwind. As the mixture cools in the refrigerator, these strands twist back together, trapping the dairy and creating a firm set.
- The Ratio: A good starting point is 2 teaspoons (about 7g) of powdered gelatin for every 2.5 cups (about 560g) of cream cheese filling. Bloom the gelatin in 1/4 cup of cold water for 5 minutes until it looks like applesauce. Gently warm it in the microwave (5-10 second bursts) until it’s liquid again, then whisk it into your prepared no-bake cheesecake base.
- Base Recipe Idea: Beat 16oz (450g) of full-fat, room temperature cream cheese with 1/2 cup (100g) granulated sugar and 1 teaspoon of vanilla extract until smooth. Separately, whip 1 cup (240ml) of cold heavy cream to stiff peaks. Gently incorporate the melted (but not hot) gelatin into the cream cheese mixture, then fold in the whipped cream. Pour into a prepared cake pan the same size as your sponge layers and chill for at least 6 hours, or preferably overnight.
Method 2: The Deep-Chill Baked Cheesecake (The Classic)
If you prefer the rich flavor of a classic baked cheesecake, this method works beautifully, but the chill time is non-negotiable.
- The Science: The firmness here comes from the solidification of fats. As a baked cheesecake cools, the immense amount of butterfat in the cream cheese firms up, turning the entire layer into a solid, sturdy disc. This process requires a long, uninterrupted chill.
- The Technique: Use a simple, dense cheesecake recipe—one with a higher ratio of cream cheese to liquid ingredients. Something like 24oz (680g) cream cheese, 1 cup (200g) sugar, 3 large eggs, and 1 teaspoon vanilla. Bake it low and slow in a water bath at 325°F (160°C) until the edges are set but the center still has a slight wobble. Critically, let it cool completely at room temperature, then wrap it and refrigerate it for at least 12 hours. (Yes, really.) Trying to assemble with a merely ‘cool’ cheesecake is a recipe for disaster.
Choosing the Right Sponge Cake Foundation
You need a cake that says, “I can handle this.” A delicate angel food cake will fail you. You want a cake with a fine, sturdy crumb. My recommendation is a high-ratio vanilla butter cake. The “high-ratio” method, where the sugar weighs as much as or more than the flour, creates an incredibly moist and tender cake that is also surprisingly strong, thanks to the way the sugar tenderizes the gluten.
A sample recipe might look like this:
- 2 1/2 cups (300g) cake flour
- 1 3/4 cups (350g) granulated sugar
- 1 tbsp baking powder
- 1 tsp salt
- 1 cup (226g) unsalted butter, softened and cubed
- 4 large eggs
- 1 cup (240ml) whole milk
- 1 tbsp vanilla extract
Combine the dry ingredients, then mix in the butter until it resembles coarse sand. In a separate bowl, whisk the wet ingredients. Add the wet to the dry in two additions, mixing on medium speed with your KitchenAid or hand mixer for about a minute each time until just combined. This method produces a wonderfully plush but stable cake, perfect for our project.
The Flavor Bridge A Tangy Berry Reduction
With all this richness from the cake, cheesecake, and buttercream, you need a sharp, acidic counterpoint to cleanse the palate. A mixed berry reduction is perfect.
- The Chemistry of Balance: Acidity cuts through fat. The bright tang from raspberries, blackberries, and blueberries provides a necessary contrast that prevents the final cake from feeling heavy or overly sweet. As you cook the berries down, their natural sugars caramelize, deepening the flavor from simply ‘fruity’ to complex and jammy.
- The Recipe: In a saucepan, combine 350g (about 12oz) of mixed frozen berries, 1/4 cup (50g) of sugar, and the juice of half a lemon. Cook over medium heat, stirring occasionally, until the berries have broken down and the sauce has thickened enough to coat the back of a spoon, about 15-20 minutes. For a smoother filling, you can press it through a fine-mesh sieve. Crucial Tip: You must cool this reduction completely to room temperature before using it. Any residual warmth will melt your buttercream dam and create a mess.
The Silky Armor Swiss Meringue Buttercream
Please, step away from the powdered sugar. For a cake this elegant, you need an elegant buttercream. American buttercream is often too sweet and can be gritty. Swiss Meringue Buttercream (SMBC) is stable, impossibly smooth, and less sweet, letting the other flavors shine.
- The Science of Emulsion: SMBC is a beautiful emulsion of fat (butter) and water (from the egg whites). You start by gently heating egg whites and sugar over a double boiler to 160°F (71°C). This dissolves the sugar completely (no grit!) and pasteurizes the eggs for safety. You then whip this mixture into a stiff, glossy meringue. Once the meringue has cooled, you slowly beat in softened butter, piece by piece. The mixture might look curdled at one point—this is normal! It’s just the emulsion breaking before it comes back together. Just keep whipping, and it will transform into the smoothest, most ethereal buttercream you’ve ever tasted.
- Troubleshooting Tip: If your SMBC looks like cottage cheese, the butter was likely too cold or the meringue was still too warm. If it’s soupy, the butter was too soft. Both are fixable! If it’s curdled, gently warm the outside of the mixing bowl with a kitchen torch or a warm cloth for a few seconds while mixing. If it’s soupy, chill the whole bowl in the fridge for 15 minutes, then whip again.
The Grand Assembly Step-by-Step Construction
This is where your planning pays off. Work with cold components. Your cake layers should be fully cooled, and your cheesecake layer should be firm from the fridge.
- Level Everything: Use a long serrated knife to level the tops of your sponge cakes so they are perfectly flat. Your cheesecake layer should already be flat.
- The First Layer: Place one sponge layer on your cake board or serving plate.
- Build the Dam: Pipe a thick ring of SMBC around the top edge of the cake layer. This is your dam. It will contain the berry filling and prevent it from squishing out the sides.
- Fill It In: Spread a thin layer of your cooled berry reduction inside the buttercream dam.
- The Main Event: Carefully lift your chilled, firm cheesecake layer (a large offset spatula is your best friend here) and place it gently and evenly on top of the first layer.
- Repeat: Pipe another buttercream dam on top of the cheesecake layer, and spread another layer of berry filling inside it.
- Top It Off: Place your final sponge layer on top, upside down, for a perfectly flat top surface.
- The Crumb Coat: Apply a very thin layer of SMBC over the entire cake to trap any loose crumbs. Use a bench scraper to get the sides straight. Chill the cake in the refrigerator for 30 minutes until the buttercream is firm to the touch.
- The Final Coat: Apply a generous, final layer of SMBC and use your bench scraper and offset spatula to achieve that coveted, perfectly smooth finish.
- The Final Chill: Let the finished cake chill for at least one more hour. This allows the buttercream to harden and the entire structure to settle, ensuring clean, beautiful slices.
Building a cheesecake layer cake is a project, there’s no doubt about it. But by breaking it down into a series of manageable, science-backed steps, you transform an intimidating challenge into an achievable, and incredibly rewarding, baking accomplishment.