We’ve all been there. You carefully measure, mix, and pour your beautiful cake batter into three identical pans. You place them in the oven with high hopes, only to pull them out 30 minutes later to a frustrating sight: one layer is golden brown, one is pale, and the third has a dark, overbaked edge. It’s a classic home baking mystery, but the solution isn’t magic—it’s science.
Baking is chemistry you can eat, and achieving those coveted, bakery-style flat cake layers is a matter of controlling variables. The primary variable? Heat. Your oven, as reliable as it may seem, is likely lying to you. Let’s diagnose the problem and arm you with the techniques to guarantee perfectly even layers every single time.
The Prime Suspect: Understanding Oven Hot Spots
Your oven is not a uniformly heated box. It has an internal thermostat that clicks the heating element on and off to maintain an average temperature. This cycle, combined with the oven’s shape and fan placement (or lack thereof), creates “hot spots” and “cool spots.”
When you crowd multiple pans onto a single rack, you obstruct the flow of hot air. The pan closest to the rear heating element will bake faster. The pans on the sides might get more radiant heat from the oven walls. This is why your cake layers emerge looking like distant, non-identical cousins. The problem isn’t your recipe; it’s thermodynamics at work in an imperfect environment.
Kitchen Hack: Map Your Oven’s Hot Spots
Here’s a simple experiment to reveal your oven’s unique heat map. Preheat your oven to 350°F (177°C). Cover a single oven rack with slices of plain white sandwich bread, leaving no gaps. Let them “toast” for 5-7 minutes, watching closely. When you pull the rack out, you’ll have a perfect visual map. The darkest slices are your most intense hot spots, and the palest are the cool zones. Now you know exactly where the heat congregates in your oven.
The Art of Strategic Pan Placement and Rotation
Now that you know your oven has quirks, you can work with them instead of against them. The single most effective technique professionals use is rotation.
For a standard 30-minute bake time, set a timer for 15 minutes. When it goes off, open the oven and, working quickly to minimize heat loss, perform these two moves:
- Swap Positions: Move the pan from the back of the oven to the front, and the front pan to the back. If you have pans side-by-side, swap their left-right positions.
- Turn 180 Degrees: Rotate each individual pan 180 degrees. The side that was facing the back of the oven should now be facing the door.
This simple maneuver ensures each cake layer gets a roughly equal amount of time in the oven’s various heat zones, promoting stunningly even browning and a consistent rise. If you must use two racks, swap the racks’ positions as well (top goes to bottom, bottom goes to top) in addition to rotating the pans themselves. However, for the absolute best results, baking in batches on the center rack is always the superior choice.
Your Toolkit for Flawless Cake Layers
Beyond technique, a few key pieces of equipment can dramatically improve your results by giving you more control over the baking environment.
-
An Oven Thermometer: The temperature dial on your oven can be off by as much as 50°F (28°C). An inexpensive, leave-in oven thermometer (like a classic one from Taylor) is non-negotiable. Place it in the center of the oven and preheat until the thermometer shows the correct temperature, not just when the oven’s preheat light turns off. This ensures you’re baking at the precise temperature your recipe requires.
-
Light-Colored Aluminum Pans: The material and color of your bakeware matters immensely. Dark, non-stick pans absorb and radiate heat more aggressively, which often leads to dark, tough crusts before the center of the cake is fully cooked. The professional standard is heavy-gauge, light-colored aluminum pans (brands like Fat Daddio’s or Nordic Ware are excellent). Aluminum is a fantastic heat conductor, promoting even heat transfer, while the light color gently bakes the cake edges to a tender, golden brown.
-
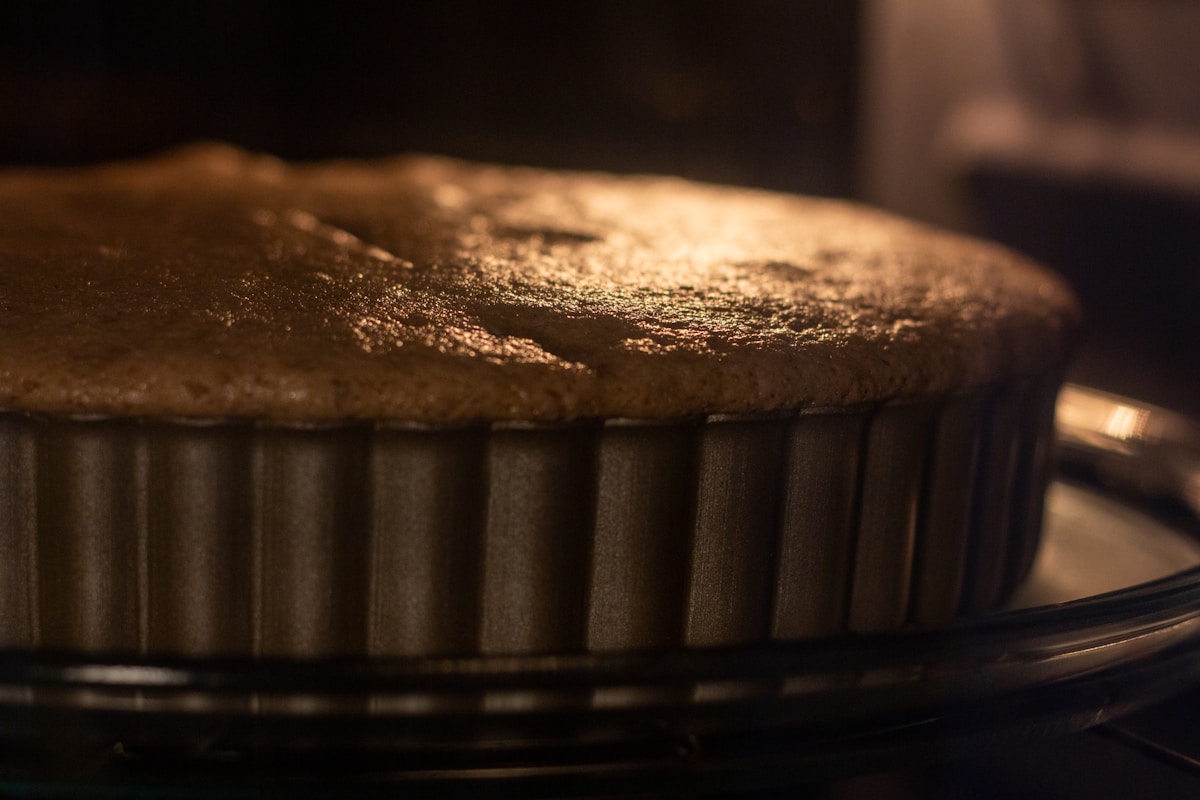
Bake-Even Strips: These are one of the best-kept secrets for eliminating domed cake tops. They are fabric strips (like those from Wilton) that you soak in cold water, wring out, and wrap tightly around the outside of your cake pan before baking. The wet strip insulates the pan’s sides, forcing the cake batter to bake more slowly from the edges. This allows the center to rise at the same rate as the sides, resulting in a remarkably flat top that requires little to no trimming. (Your future self will thank you for the lack of wasted cake scraps.)
A Foundational Recipe to Test Your Technique
Let’s put this science into practice. Here is a reliable vanilla butter cake recipe, perfect for testing your new even-baking skills. This makes enough for two 8-inch round layers.
Ingredients:
- 2 1/2 cups (300g) All-Purpose Flour (King Arthur is a great choice)
- 2 1/2 tsp Baking Powder
- 1/2 tsp Salt
- 1 cup (227g) Unsalted Butter, softened to 65°F (18°C)
- 1 3/4 cups (350g) Granulated Sugar
- 4 Large Eggs, room temperature
- 2 tsp Pure Vanilla Extract
- 1 cup (240ml) Whole Milk, room temperature
Instructions:
- Preparation: Adjust your oven rack to the center position and preheat to 350°F (177°C), verifying the temperature with an oven thermometer. Grease and flour two 8-inch light-colored aluminum cake pans and line the bottoms with parchment paper. If using, prepare your bake-even strips and wrap them around the pans.
- Dry Ingredients: In a medium bowl, whisk together the flour, baking powder, and salt. Set aside.
- Cream Butter & Sugar: In the bowl of a stand mixer fitted with the paddle attachment (a hand mixer also works), beat the softened butter and granulated sugar on medium-high speed for a full 4-5 minutes, until it’s very light, pale, and fluffy. This step is critical for incorporating air into the batter.
- Add Eggs & Vanilla: Add the room temperature eggs one at a time, beating well after each addition and scraping down the sides of the bowl as needed. Mix in the vanilla extract.
- Alternate Wet & Dry: With the mixer on low speed, add the dry ingredients in three additions, alternating with the milk in two additions (beginning and ending with the dry ingredients). Mix only until just combined—overmixing develops gluten and makes the cake tough.
- Bake Evenly: Divide the batter evenly between your prepared pans. An electronic kitchen scale is the best tool for this. Bake for 30-35 minutes. At the 15-minute mark, perform the rotation technique described above. The cakes are done when a wooden skewer inserted into the center comes out with a few moist crumbs attached.
- Cool: Let the cakes cool in their pans on a wire rack for 10 minutes before inverting them onto the rack to cool completely.
By combining precise temperature control, strategic rotation, and the right tools, you move from a baker who hopes for the best to one who engineers a predictable, delicious result. The kitchen is your laboratory, and these repeatable experiments are your path to perfection. No more lopsided layers, just beautiful, even cakes ready for their starring role.