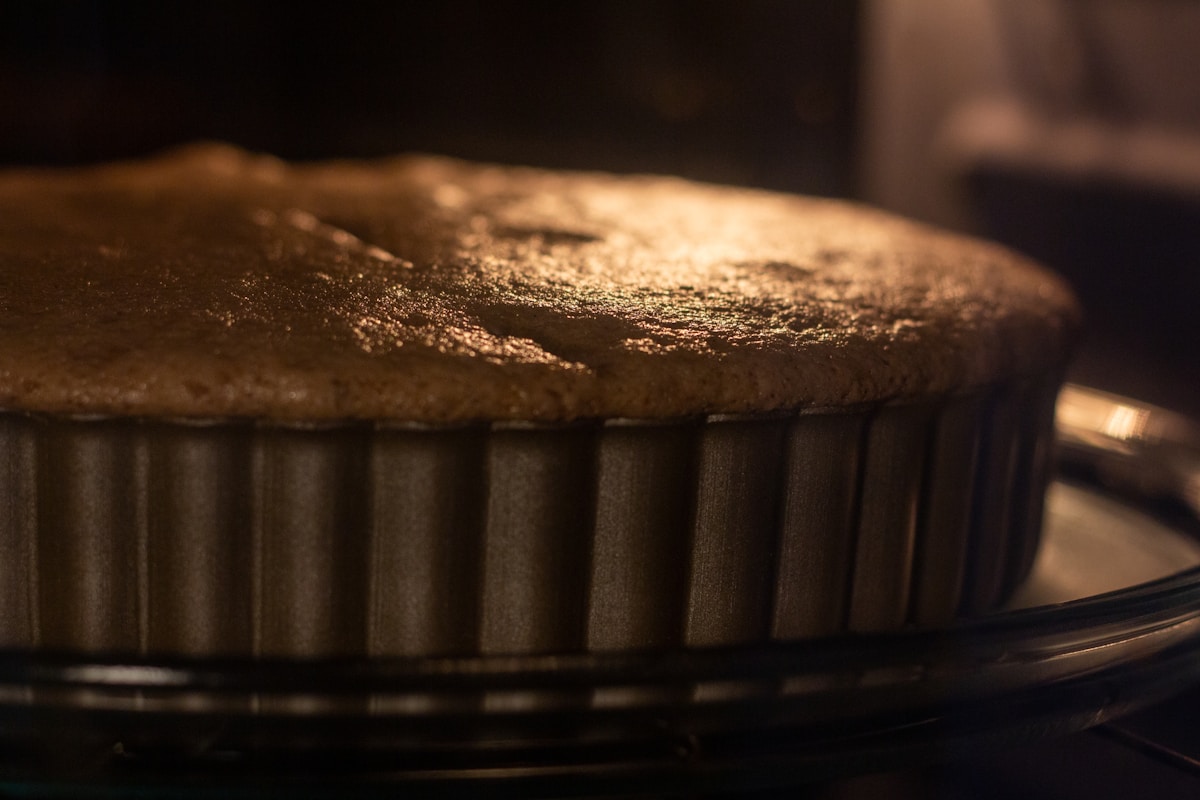
It’s a moment every ambitious home baker knows. The timer chimes, and you pull three beautiful pans of cake from the oven, the aroma of vanilla and butter filling your kitchen. But a closer look reveals a frustrating reality: one layer is perfectly golden, another has a pale, sunken center, and the third is threatening to burn at the edges. The dream of a majestic, perfectly stacked three-tier celebration cake suddenly feels a bit wobbly.
This isn’t a failure of your recipe or your skills. It’s a battle against physics. Baking is chemistry, and the primary catalyst in that reaction is heat. When we ask our standard home oven to perform the demanding task of baking three large items simultaneously, we’re pushing its design to the limit. But with a little understanding of heat dynamics and a methodical approach, you can outsmart your oven and achieve perfectly consistent results every single time.
The Unseen Enemy Your Oven’s Hot Spots
Before we can solve the problem, we have to understand it. Your oven is not the perfectly even, temperature-stable chamber we wish it was. It’s a dynamic environment with quirks and inconsistencies. The heating element, typically at the bottom (and sometimes a broiler at the top), cycles on and off to maintain an average temperature. This cycling creates fluctuations.
More importantly, every oven has hot spots. These are areas that consistently run hotter than others, often in the back corners or directly over the heating element. When you place a single pan in the center of the middle rack, you’re generally using the most stable thermal zone. But when you introduce two more pans, you’ve just built roadblocks. These pans obstruct the natural flow of hot air, which needs to circulate freely to transfer heat energy to your batter.
The result? The pan nearest the hot spot overbakes. The pan shielded by another pan underbakes because it’s sitting in a cooler air pocket. This is why you can’t simply place three pans on one rack and hope for the best. The key is to manage the oven’s space to promote, not prevent, that crucial air circulation.
The Strategic Baker Arranging Pans for Success
To give your cakes the best possible chance at even baking, you need to arrange them like a strategist planning a campaign. The goal is to maximize the space around each pan.
First, adjust your oven racks. You’ll need two. Position one in the lower third of the oven and the other in the upper third. You want them well-spaced, avoiding the very bottom floor and the area right under the top broiler element.
Now, for the placement. This is the most effective configuration for a standard 30-inch oven:
- Lower Rack: Place two of your cake pans here. Position them on opposite sides of the rack, leaving a generous gap between them. Don’t let them touch the oven walls or each other.
- Upper Rack: Place the third cake pan in the center of this rack.
By staggering the pans this way, you ensure that no pan is sitting directly above another. You’ve created vertical and horizontal channels for hot air to rise from the bottom element, flow around every pan, and circulate throughout the entire oven cavity. Each layer gets a much more consistent and even exposure to the heat it needs to rise and set properly.
The Mid-Bake Shuffle The Art of Rotation
Strategic placement is half the battle. The other half is rotation. This single step is the most powerful tool you have to counteract your oven’s inherent unevenness. It might feel fussy, but it is the secret to bakery-quality results.
The process is simple and requires two distinct movements performed halfway through the bake time. If your recipe calls for 30 minutes of baking, you’ll perform this shuffle at the 15-minute mark.
- The Rack Swap: The two pans on the bottom rack move up to the top rack, and the single pan on the top rack moves down to the bottom.
- The 180-Degree Turn: As you move them, give each individual pan a 180-degree turn. The edge that was facing the back of the oven should now face the front door.
Why does this work? The rack swap ensures that the layers experience both the more intense, direct heat from the bottom of the oven and the gentler, ambient heat at the top. The 180-degree turn guarantees that no single side of the cake is left to languish in a cool spot or scorch in a hot one. You are actively distributing the oven’s imperfections evenly across all three layers. (Your future self will thank you for setting that mid-bake timer.)
Work quickly and deliberately when you do this to minimize the amount of time the oven door is open, as you want to prevent significant heat loss.
A Practical Example My Go-To Vanilla Butter Cake
Let’s put this theory into practice. Here are the bones of a reliable vanilla cake, perfect for layering, with our multi-pan technique built right in. This recipe yields enough batter for three 8-inch round cake layers.
Ingredients:
- 3 cups (360g) King Arthur All-Purpose Flour
- 1 tbsp (12g) baking powder
- 1/2 tsp salt
- 1 cup (227g) unsalted butter, at room temperature
- 2 cups (400g) granulated sugar
- 4 large eggs, at room temperature
- 1 tbsp pure vanilla extract
- 1 1/4 cups (300ml) buttermilk, at room temperature
Method:
- Preparation: Preheat your oven to 350°F (175°C). Position your oven racks in the upper and lower thirds. Grease and flour three 8-inch round cake pans.
- Dry Ingredients: In a medium bowl, whisk together the flour, baking powder, and salt.
- Creaming: In the bowl of a stand mixer (like a KitchenAid) fitted with the paddle attachment, beat the softened butter and sugar on medium-high speed for 3-4 minutes until it’s light, fluffy, and pale.
- Incorporate Eggs: Add the eggs one at a time, beating well after each addition and scraping down the sides of the bowl as needed. Beat in the vanilla extract.
- Alternate Wet & Dry: With the mixer on low speed, add the dry ingredients in three additions, alternating with the buttermilk in two additions, beginning and ending with the dry ingredients. Mix only until just combined—overmixing develops gluten and makes the cake tough.
- Divide Batter: Here is my favorite kitchen hack for perfectly even layers. Place one of your prepared pans on a kitchen scale and tare it to zero. Add batter until you reach your target weight. Repeat for the other two pans. This guarantees each layer is identical in size.
- Bake & Rotate: Arrange the pans in the staggered configuration we discussed. Bake for 28-32 minutes. Set a timer for 15 minutes. At the 15-minute mark, perform the rack swap and 180-degree turn. Continue baking until a wooden skewer inserted into the centers comes out with a few moist crumbs attached.
- Cool: Let the cakes cool in their pans on a wire rack for 10 minutes before inverting them onto the rack to cool completely.
Troubleshooting Common Multi-Layer Mishaps
Even with the best technique, issues can arise. Here’s how to diagnose and fix them.
-
Problem: My layers have large domes in the center.
- Likely Cause: The oven is too hot, causing the cake’s exterior to set before the center has finished rising. This forces the still-liquid center batter to push upwards, creating a dome. It can also be a sign of too much leavening agent.
- The Fix: First, verify your oven’s true temperature with a separate oven thermometer—they are inexpensive and invaluable. Your oven dial can be off by as much as 25-50°F. If the temperature is accurate, consider using insulated baking strips (like those from Wilton) around your pans. They slow down the cooking of the outer edge, promoting a more even rise.
-
Problem: The centers are raw, but the edges are dark and dry.
- Likely Cause: This is the classic symptom of poor air circulation and not rotating the pans. The edges were exposed to intense heat while the centers were shielded and under-baked.
- The Fix: The stagger-and-rotate method is the cure. This ensures the centers get the heat they need without incinerating the edges. If the problem persists, your oven temperature might still be a touch too high, so try reducing it by 25°F (about 15°C) and extending the baking time slightly.
Mastering multi-layer baking isn’t about owning a professional convection oven. It’s about understanding the appliance you have and working with its personality, not against it. By treating your oven less like a black box and more like a scientific instrument that you can control, you unlock the ability to consistently produce the tall, beautiful, and perfectly even cakes you’ve always dreamed of making.