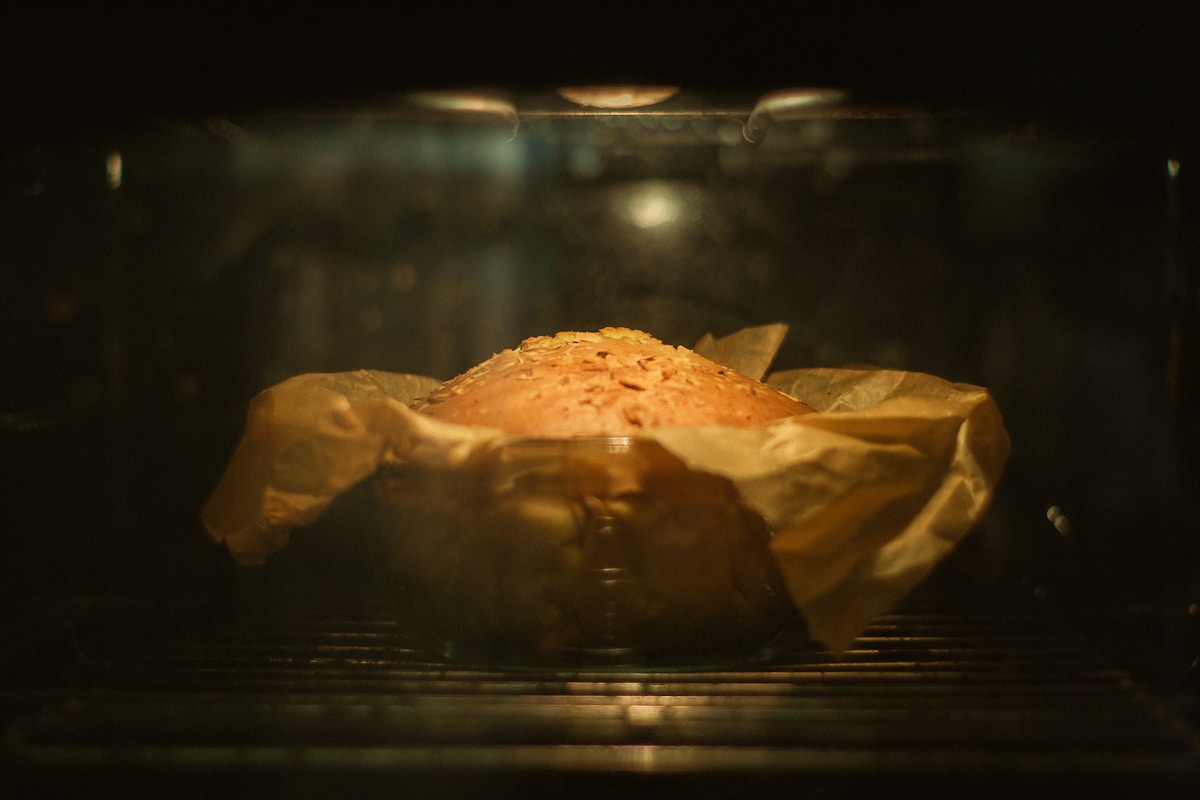
You’ve done everything right. You followed the recipe to the gram, your batter is silky smooth, and you’ve divided it perfectly between three gleaming 8-inch pans. This is going to be the birthday cake of dreams. You slide them into the preheated oven, set the timer, and wait for that magical, buttery aroma to fill the kitchen.
But when the timer chimes, your heart sinks. The pan from the back is dark brown and domed like a little volcano. The one from the front is pale and worryingly sunken. And the one from the bottom rack? It looks okay on top, but a tester reveals a gooey, underbaked center. The dream of a perfectly stacked, three-layer masterpiece evaporates, replaced by the frustrating reality of an uneven bake.
If this sounds familiar, you are not alone. This is one of the most common hurdles for home bakers looking to level up their skills. The good news is that the solution isn’t a new, magical recipe. It’s about understanding the unique environment inside your home oven. Baking is chemistry, and your oven is the laboratory. Let’s learn how to control the variables.
Why Your Oven is Lying to You (and How to Fix It)
The first principle we must accept is this: the temperature you set on your oven dial is more of a suggestion than a rule. Most home ovens, especially conventional models without a fan, do not heat evenly. They have hot spots and cool spots, and they cycle their heating elements on and off, causing the internal temperature to fluctuate by as much as 50°F (about 28°C) in either direction.
A conventional oven works through radiant heat from elements at the top and bottom, and the natural movement of hot air rising. When you place multiple large objects like cake pans inside, you’re essentially creating walls that block that heat and disrupt airflow. This is why the cake in the back corner might burn while the one in the front languishes.
So, how do you discover the truth about your oven’s climate? With a simple, inexpensive tool: an independent oven thermometer. Brands like Taylor or OXO make reliable ones that can hang from a rack or stand on their own. Place it in the center of your oven, preheat to 350°F (175°C), and wait 20 minutes. You might be shocked to find it reads 325°F or 375°F. Now you know to adjust your dial accordingly to achieve the true target temperature.
For a more advanced analysis, you can try my favorite kitchen hack: The Bread Test. Arrange slices of plain white sandwich bread in a grid across your oven rack, covering it completely. Bake at 350°F (175°C) for 5-10 minutes. The resulting toast pattern will be a perfect map of your oven’s hot and cool zones. The darker spots are your hot spots; the paler ones are the cool zones. (Your future self will thank you for this intel.)
The Art of Pan Placement Giving Your Cakes Room to Breathe
Now that you understand your oven’s personality, you can manage it. The most critical factor when baking multiple items is airflow. Hot air needs to circulate freely around every single pan for an even bake. If pans are too close to each other or the oven walls, they create heat sinks and air dams.
The golden rule is the One-Inch Rule. You must leave at least one inch (about 2.5 cm) of open space on all sides of each pan—between the pans themselves, and between the pans and the oven walls (front, back, and sides). This is non-negotiable.
If you can fit all pans on a single rack: This is the ideal scenario. Arrange your pans on the center rack, making sure to maintain that one-inch buffer. For three 8-inch rounds, this might not be possible in a standard oven, but for two, you’d place them side-by-side with space between them.
If you must use two racks: This is the most common situation for a three-layer cake. The key here is to stagger the pans to prevent one from acting as a heat-shielding roof for the one below it. Position your racks in the upper-third and lower-third of the oven.
- Upper Rack: Place two pans here. Position one toward the front-left and the other toward the back-right.
- Lower Rack: Place the third pan in the center, ensuring it is not directly underneath either of the top pans.
This staggered arrangement gives the heat a fighting chance to rise and circulate around everything. Never, ever place one pan directly over another.
The Mid-Bake Shuffle Why Rotation is Non-Negotiable
Even with perfect placement, your oven’s hot spots will still try to sabotage you. That’s where the most crucial step of all comes in: the mid-bake rotation.
Rotating your pans ensures that every side of every cake gets its fair share of exposure to all the different temperature zones inside your oven. It’s the great equalizer.
- When to Rotate: The best time is exactly halfway through the bake time stated in your recipe. If a cake bakes for 30-34 minutes, you’ll perform the shuffle at the 16-minute mark. You want to wait until the cake’s structure has begun to set (the top will look matte, not wet), so it won’t collapse from the movement. But don’t wait too long, or the uneven baking will already be locked in.
- How to Rotate: This is a coordinated, two-part maneuver. Be prepared and work quickly to minimize heat loss.
- The 180-Degree Turn: Every single pan gets turned 180 degrees. The side that was facing the back of the oven is now facing the door.
- The Rack Swap: Pans on the top rack move to the bottom rack, and pans on the bottom rack move to the top. When you move them, try to swap their general positions as well (e.g., the front pan now goes to the back).
Yes, it feels like a bit of a fuss. But this single act is the difference between flat, even layers and a trio of frustratingly lopsided cakes.
A Practical Walkthrough Baking Three 8-Inch Layers
Let’s apply this science to a real-world scenario. You’re baking a classic yellow cake that requires three 8-inch round pans. The recipe instructs you to bake at 350°F (175°C) for 30 minutes.
-
Preparation: Place your oven racks in the upper and lower third positions. Place your independent thermometer in the center and preheat to 350°F (175°C). Adjust your dial until the thermometer shows the correct, stable temperature.
-
Pan Placement: Prepare your pans (I prefer light-colored aluminum pans like those from Fat Daddio’s, as they conduct heat more evenly than dark non-stick pans). Place two pans on the upper rack, staggered front-left and back-right. Place the third pan on the lower rack, in the center. Ensure you have at least one inch of clearance everywhere.
-
Set the First Timer: Set a timer for 15 minutes.
-
Execute the Shuffle: When the timer goes off, open the oven door. With your oven mitts ready, perform the rotation:
- Move the single pan from the bottom rack up to the empty space on the top rack.
- Move the two pans from the top rack down to the bottom rack, swapping their positions.
- As you place each pan, give it a 180-degree turn.
- Close the door quickly.
-
Set the Second Timer: Bake for another 15-18 minutes. Start checking for doneness at the low end of the range. A wooden skewer inserted into the center should come out clean or with a few moist crumbs clinging to it. The top should spring back when lightly touched.
Troubleshooting Common Layer Cake Disasters
Even with these techniques, things can sometimes go awry. Here’s a quick guide to diagnose what happened.
-
The Problem: My cakes are domed in the center and cracked on top.
- The Chemistry: Your oven is too hot. The edges of the cake baked and set too quickly, forcing the still-liquid center batter to push upwards as it expanded, creating a dome and eventually cracking the crust. Dark metal pans can also contribute to this.
- The Fix: Use your oven thermometer to ensure you’re at the right temperature. If you use dark, non-stick pans, try reducing the oven temp by 25°F (15°C) next time. Insulating cake strips are also a fantastic tool for this issue.
-
The Problem: The layers that were on the bottom rack are pale and dense.
- The Chemistry: The pans on the top rack blocked the oven’s main heating element (usually at the top) from radiating down. The bottom layers were effectively baking in a cooler, shielded environment.
- The Fix: You forgot to swap the racks. The mid-bake shuffle, where top and bottom pans trade places, is essential to solve this.
-
The Problem: One side of my cake is tall and golden, the other is short and pale.
- The Chemistry: Your cake sat with one side in a hot spot and the other in a cool spot for the entire bake. The hot side rose faster and set, while the cool side lagged behind.
- The Fix: You forgot the 180-degree turn. Rotating the pan halfway through gives both sides equal time in the oven’s various temperature zones.
Baking a magnificent multi-layer cake isn’t about luck. It’s about taking control of your environment. By understanding your oven, respecting the physics of airflow, and committing to the mid-bake shuffle, you can move from frustrating bakes to consistent, repeatable success. You’re not just following a recipe; you’re conducting a delicious experiment, and now you have the method to get the results you want, every single time.