My dears, let me paint a picture for you. It’s early on Mother’s Day morning. The sun is just peeking through the curtains, and the house is quiet, except for a few hushed whispers coming from the kitchen. It’s the sound of a loving partner and some very excited little chefs attempting to create a surprise breakfast for the most important lady in their lives.
I see so many partners wanting to create this beautiful memory, but they’re often held back by a perfectly understandable fear: the mess! The thought of a four-year-old with a carton of eggs or a bag of flour can send a shiver down anyone’s spine. But what if I told you that the secret to a perfect Mother’s Day breakfast isn’t a perfectly flipped omelet, but a perfectly proud smile on your child’s face?
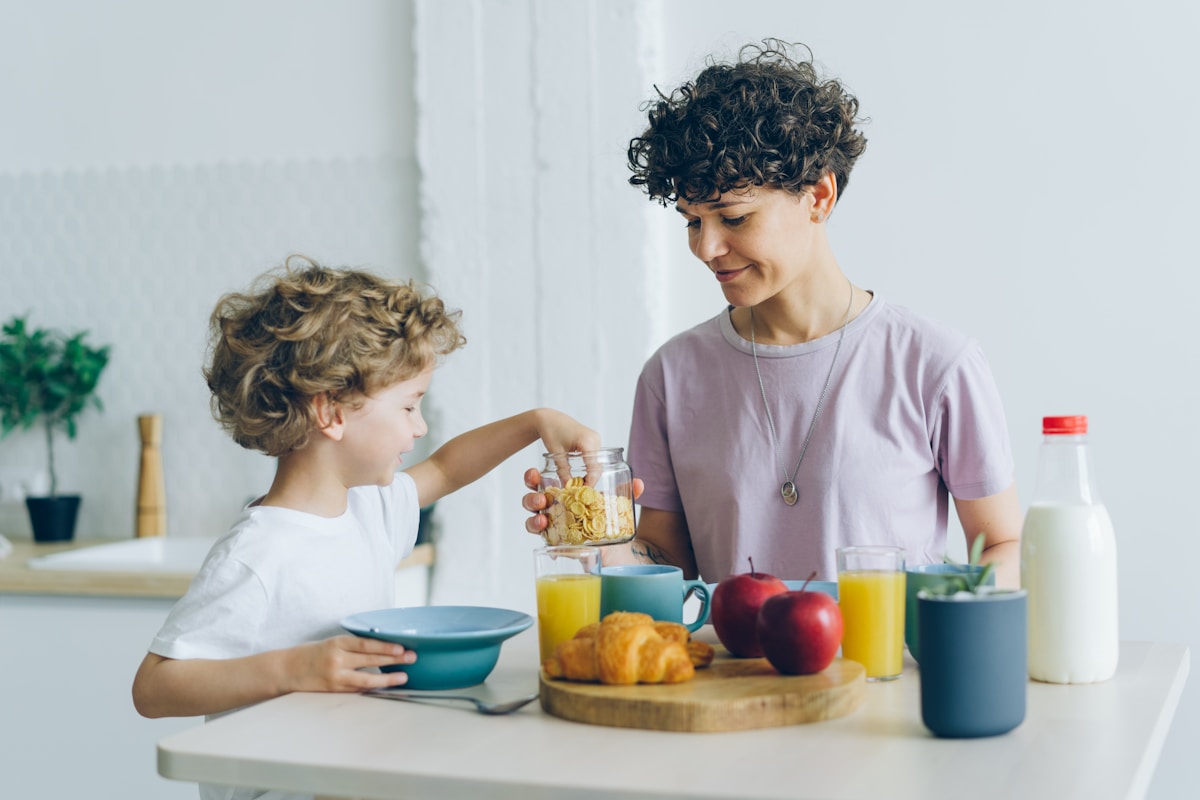
The kitchen is where families grow together, and this is one of those core memory moments. It’s not about achieving culinary perfection. It’s about the love, the effort, and the sticky-fingered joy of a child getting to say, “I made this for you, Mommy.” The most cherished gift isn’t the food on the plate; it’s the story behind it. So, let’s tie on those aprons (a big t-shirt works just fine for the little one!) and make some magic together.
First, Our Golden Rules for Little Chefs
Before we even think about recipes, we need to set the stage for success. Managing a tiny sous chef is all about preparation and mindset. Remember, the goal here is happy participation, not a spot on a cooking show.
- Safety is a Non-Negotiable: For children in the 4-to-7-year-old range, our rule is simple: no heat and no sharp tools without direct, hands-on adult supervision. This means the grown-up handles the stove, the oven, the toaster, and any serious chopping. The child’s world will be one of mixing, scooping, arranging, and decorating.
- Embrace the Controlled Chaos: A spill is not a failure; it’s a gravity lesson! Before you start, lay a towel or a cheap plastic tablecloth on the floor. Have a damp cloth ready for sticky hands. Work on a large, clear counter space. When you expect a little mess, it’s much less stressful when it happens. (And it will happen.)
- Assign Real, Important Jobs: Kids have a wonderful radar for “pretend” work. Don’t just give them an empty bowl to stir. Give them a specific, achievable task that genuinely contributes to the final meal. Their job might be whisking the eggs (in a big bowl to catch the splashes), pressing the button on the blender, or arranging berries on the plate. This is how they build real confidence.
- Focus on the “Art” of It All: Little ones are natural artists. Frame their tasks as creative work. They aren’t just plopping fruit on yogurt; they are “designing a beautiful parfait” or “creating a fruit rainbow.” This turns a simple task into an exciting artistic endeavor.
The Ultimate Low-Stress Idea The ‘Build-Your-Own’ Breakfast Bar
This is my go-to recommendation for a truly joyful and kid-friendly kitchen adventure. The concept is simple: the adult prepares the main base (pancakes, waffles, or oatmeal), and the kids take charge of the toppings. It’s an assembly line of deliciousness!
For a Pancake & Waffle Bar:
The grown-up is on griddle duty. You can even make these the night before and gently reheat them in the oven at around 200°F (95°C) to save time in the morning. Your little chef’s job is to be the Toppings Master.
Their Mission: Set up a beautiful toppings station. Give them several small, non-breakable bowls. Their job is to fill them with all sorts of goodies. This is a wonderful sorting and fine-motor-skill activity.
- Topping Ideas: Blueberries, sliced strawberries, raspberries, banana slices, mini chocolate chips, sprinkles (a must!), shredded coconut, and maybe even a little bowl of whipped cream or maple syrup for drizzling.
- Beatrice’s Kitchen Tip: Give them a pair of kid-friendly tongs or a soup spoon to transfer the toppings. It makes them feel like a professional and helps contain the mess a little better than using their fingers.
When Mom is ready, she gets to visit the pancake bar and have her custom-made creation served up by her proud little cook. The joy in that moment is simply priceless.
The ‘I Pushed the Button’ Smoothie Station
Is there anything more satisfying to a child than being given the power to push a button that makes a loud, whirring noise? I think not! Smoothies are a fantastic way to let kids feel like they are in complete control of a very cool kitchen machine.
Their Mission: To be the Official Blender Operator and Ingredient Assistant.
The adult should peel and chop any hard fruits, but the child can absolutely be in charge of adding the soft stuff to the blender jar. (Yes, really.)
A Simple, Can’t-Miss Recipe:
- The Child Adds: 1 whole banana (broken into chunks), 1 cup of frozen strawberries or mixed berries, a big handful of fresh spinach (they’ll love watching it disappear!).
- The Adult Adds: About 1/2 cup of plain Greek yogurt (like Fage or Chobani) and 1/2 to 3/4 cup of milk or almond milk.
- The Team Effort: The adult secures the lid. This is a critical step! Double-check that it’s on tight.
- The Grand Finale: The child gets the honor of pressing the “ON” button. Let them watch everything swirl together into a delicious, creamy drink. It’s pure magic!
Beatrice’s Safety Tip: Always make sure the blender is unplugged while you are adding ingredients and before you clean it. The adult is in charge of the cord; the child is in charge of the button. This clear division of labor keeps everyone safe and happy.
The Edible Art Studio Toast & Toppings
Never underestimate the power of a simple piece of toast. It is a blank canvas just waiting for a young artist’s touch. This is perhaps the simplest and most accessible activity for even the youngest of kitchen helpers.
Their Mission: To be the Breakfast Artist.
First, the grown-up lightly toasts the bread. While it’s toasting, you and your little one can prepare the “paints.”
- The “Paints”: Put softened cream cheese, butter, or a nut-free spread into a small bowl. You can even add a drop of natural food coloring to the cream cheese for a fun twist!
- The “Sprinkles”: Have a small bowl of cinnamon-sugar, sprinkles, or finely chopped berries ready.
Once the toast is ready and has cooled just enough to handle, the art begins.
Beatrice’s Kitchen Tip: Instead of a sharp knife, give your child a small, flexible silicone spatula or the back of a spoon for spreading. It’s much safer and just as effective for smearing their creation onto the toast.
Another wonderful idea is to use blunt-edged cookie cutters. Before you toast the bread, let your child press a heart or star shape into the center of the slice. Toasting the shaped bread makes it feel extra special.
Don’t Forget the Final Flourish The Presentation
The meal is only part of the gift. The final act of love is in how it’s presented. This is another area where your child can shine and take immense pride in their work. Let them be the Director of Presentation.
Their Mission: To prepare the breakfast tray for its journey to Mom.
- The Card: Let them sign their name (or make their special mark) on a handmade card.
- The Flower: If you have a garden, let them pick one special flower to put in a tiny vase or cup.
- The Napkin: Let them choose which napkin to use and show them how to fold it (a simple square fold is perfect).
Placing everything carefully on the tray is a final, important ritual. It teaches them that presentation is a way of showing care. When they walk into the room, holding that tray with their partner, their face will say it all: “I did this. I made this for you, because I love you.”
And that, my friends, is a recipe for the best Mother’s Day ever. The memories you make in that messy, joyful kitchen will be far more lasting than any fancy brunch. Happy cooking!


