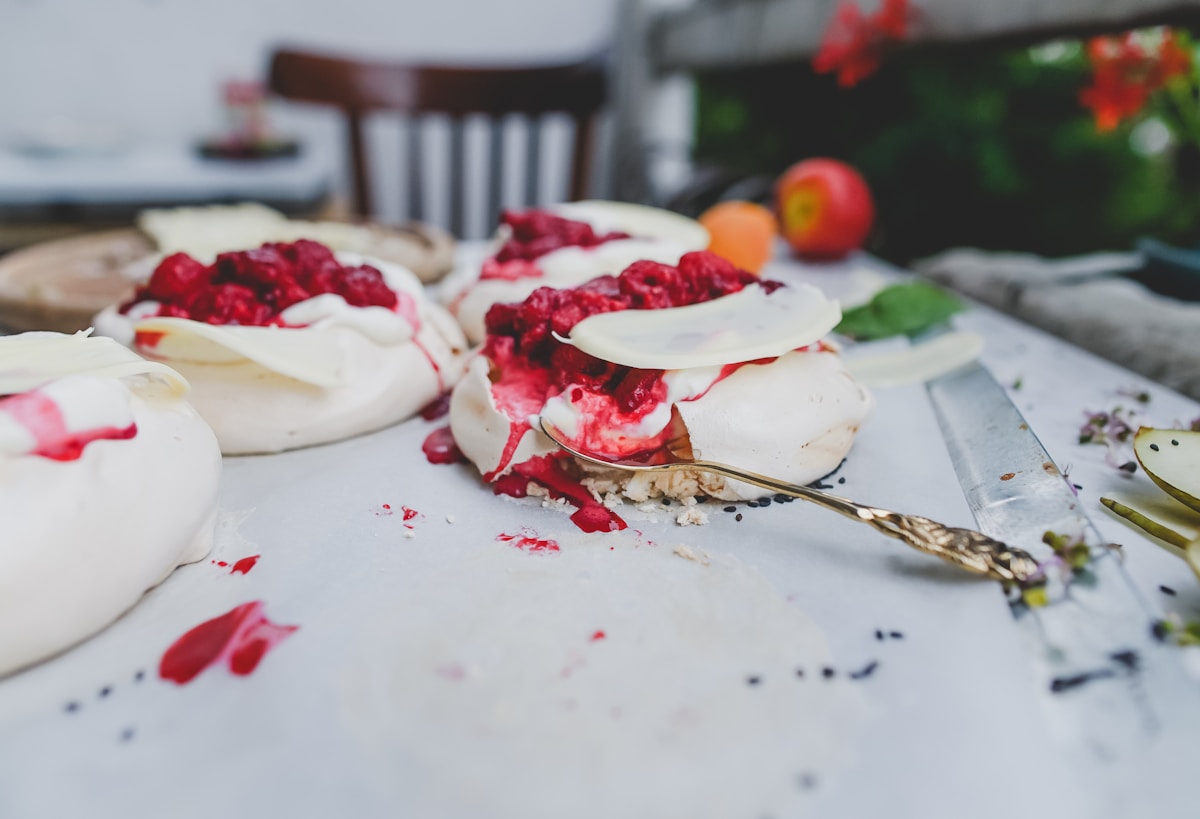
You lift a tray of small meringues from the oven and feel hopeful: the shells are pale, firm, and beautifully puffed. Then one breaks open to reveal a hollow pocket and a chewy middle. The good news is that hollow meringue cookies are often the result of uneven drying, not a completely failed batch.
The short explanation is this: the outside sets and expands faster than moisture can escape from the center. If you want crisp meringue cookies, the pieces need enough gentle heat and time to dry throughout. If you prefer a soft, chewy middle, the result may be closer to a small pavlova—and that can be intentional.
Key Takeaways
- A firm shell can form before the center has dried, creating a hollow pocket and chewy middle.
- Crisp meringue cookies need gradual, thorough drying; high heat can set the outside too quickly.
- Thick or unevenly shaped pieces dry less consistently than small, uniform meringues.
- A chewy center is not always a mistake: it may be the texture of a pavlova-style bite.
- Store completely cool, dry meringues in an airtight container because humidity quickly softens them.
Why meringues puff and form hollow centers
A meringue is a foam made from egg whites, sugar, and air. Whipping creates many small bubbles, while egg-white proteins form a structure around those bubbles. Dissolved sugar helps support the foam and affects how smoothly it sets.
When the meringue enters the oven, heat expands the air and turns some of the water in the egg whites into vapor. That expansion can make the pieces rise or puff. At the same time, the outside begins to dry and form a shell.
If the shell becomes firm before moisture has escaped from the center, the interior can pull away from the shell or leave a hollow pocket. The result may look finished from the outside but remain soft, sticky, or chewy inside. A crisp exterior is therefore not proof that the whole cookie is dry.
Foam stability matters too. Under-whipped egg whites may not hold their shape well, so the bubbles expand unevenly and create larger air spaces. Over-whipped whites can look dry, clumpy, or grainy, making it difficult to incorporate sugar smoothly. Either condition can contribute to cracks, uneven expansion, or meringue voids.
Sugar that has not dissolved properly is another possible problem. A rough or grainy foam may be less uniform, and undissolved sugar can affect both structure and texture. Grease, a trace of yolk, or moisture on the bowl and beaters can also weaken the foam before it reaches the oven.
These issues do not always make the batch unusable. A few cracks or pockets may simply mean the meringue needs more drying time or that the pieces were shaped unevenly. The goal is to identify whether the main problem is foam stability, heat, thickness, or moisture.
How meringue oven temperature affects the shell and center
Meringues are usually closer to a drying project than a conventional cake-baking project. The aim is to set the foam while gradually removing moisture, rather than quickly browning the surface.
If the oven is too hot for the size of the pieces, the outside can set rapidly. The meringues may puff dramatically, develop a firm shell, brown at the peaks, or form a sticky center. Fast expansion can also push against the shell and create larger internal voids.
A low, steady oven is often more predictable when the target is a dry, brittle cookie. However, there is no single temperature or baking time that works for every recipe. The correct approach changes with the size and thickness of the meringues, the recipe, the oven’s actual temperature, the rack position, and the humidity in the kitchen.
This is why an oven thermometer can be useful when results are repeatedly inconsistent. An oven may be hotter or cooler than its setting suggests, and a small difference can matter during the long drying stage. Use the thermometer as a diagnostic tool rather than assuming it will solve every texture problem.
The hot-oven-then-off method can work well for small, evenly shaped pieces. The initial heat helps the foam set, and the remaining warmth dries the meringues gradually. But this method depends heavily on how well the oven retains heat. If the oven cools quickly, the pieces are thick, or the oven temperature is inaccurate, the centers may remain chewy.
An extended rest in the switched-off oven can help, but cooling alone cannot replace sufficient drying. If the cookies still feel tacky after cooling, they likely need more time in a gentle oven rather than simply more time on the counter. Avoid opening the door repeatedly during the early setting stage, since sudden changes can disturb the fragile structure.
How size, thickness, and piping shape change drying time
Small, thin, evenly shaped meringues dry more reliably than thick or irregular mounds. Moisture has a shorter distance to travel before it reaches the surface, so the center catches up with the shell more easily.
A thick center can remain soft long after a thin edge has become crisp. This is especially common when a spooned mound has a wide base, a tall peak, or several layers piled on top of one another. Ridges and pointed tips may brown or set before the middle is ready.
Not having a piping bag is usually not the direct cause of hollow meringue cookies. You can make meringues with a spoon or a sturdy food bag, provided the pieces are reasonably consistent. The main issue is that uneven scoops create different drying times, so one cookie may be crisp while another remains chewy.
For more even results:
- Use the same scoop or piping tip for every piece.
- Keep the center from being much thicker than the edges.
- Leave space between cookies so warm air can circulate.
- Avoid changing the batch size without reconsidering the drying time.
- Make a small test piece if you are unsure how quickly the mixture is drying.
If you want a fully crisp cookie, make the pieces smaller and more uniform than you would for a pavlova-style dessert. If you deliberately want a soft center, thicker shapes are more suitable—but they still need a stable foam and enough time to set according to the recipe’s instructions.
How to tell whether meringue cookies are fully dry
Check the batch before removing it from the oven whenever possible. A dry meringue should feel light for its size, and the outside should feel dry rather than tacky. It should generally release from the parchment instead of leaving a soft layer behind.
Do not judge the texture while the cookies are hot. Warm sugar and moisture can make a properly dried meringue seem softer than it will be after cooling. Let one test cookie cool completely before deciding whether the batch is finished.
For a crisp-cookie target, break the cooled test piece open. The inside should be dry and brittle, without a sticky or marshmallow-like section. A small cavity can occur even when the cookie is crisp, but a moist or stretchy center indicates that drying is incomplete or that the intended texture is closer to pavlova.
For a pavlova-style target, a soft, marshmallow-like or chewy middle is expected. The important distinction is whether the result matches what you wanted. A chewy center is not automatically a failure; it becomes a problem when you expected a dry, crisp cookie.
If the centers remain sticky, return the meringues to a low, gentle oven for additional drying, following the recipe’s method and considering the size of the pieces. Then allow them to cool gradually. Change one factor at a time when troubleshooting so you can tell whether more drying, smaller shapes, or gentler heat made the difference.
Meringue troubleshooting: symptoms, likely causes, and adjustments
| Symptom | Possible cause | Adjustment to test |
|---|---|---|
| Hollow shell with a chewy middle | The exterior set before the center dried; the pieces may be thick or the heat too strong | Use smaller, more even shapes; choose gentler drying conditions if the recipe allows; extend drying and cooling |
| Large internal voids | Rapid expansion, an unstable foam, or uneven shaping | Whip to a stable foam, add sugar gradually, and keep the pieces consistent |
| Browning before the center is dry | The oven may be too hot, the rack may be too high, or the pieces may be receiving strong top heat | Check the oven temperature, use an appropriate rack, and reduce harsh heat |
| Cracked tops | Rapid heating or cooling, excess heat, or an unstable foam | Use gradual heating and cooling, avoid over-whipping, and incorporate sugar smoothly |
| Sticky or wet centers | Insufficient drying, thick cookies, humidity, or inaccurate oven temperature | Dry longer, make smaller pieces, and check the oven’s actual temperature |
| Collapse after cooling | The foam was unstable, moisture remained, or the structure was disturbed while warm | Improve foam stability, avoid unnecessary door opening, and cool slowly |
These causes can overlap. For example, high heat and a thick shape may create both browning and a sticky center. Start with the most obvious clue, make one adjustment, and record what happens in the next batch.
How to prevent chewy centers and keep meringues crisp
Begin with a clean, completely dry bowl and beaters. Separate the eggs carefully so no yolk reaches the whites. Even a small amount of fat can make it harder for the whites to build and maintain a strong foam.
Whip the whites to the stage specified by your recipe. The foam should hold the appropriate shape, but it should not look dry, lumpy, or grainy. Add the sugar gradually and continue mixing until the mixture is smooth enough for the recipe’s method. Poorly incorporated sugar can make the structure less uniform.
Shape the meringues consistently, with no very thick centers. Favor slow drying over aggressive heat when crispness is the goal. Keep the oven door closed as much as practical during the initial setting stage, then cool the cookies gradually if the recipe calls for it.
Humidity is another major reason crisp meringues soften. Even cookies that were fully dry in the oven can absorb moisture from damp air. Wait until they are completely cool before storing them, and pack them promptly in an airtight container at room temperature, away from steam, sinks, and other damp areas.
Refrigeration is usually not helpful for a crisp texture unless a particular recipe requires it. Cold storage can expose the cookies to condensation when they are removed. If a batch softens, it may be possible to dry it again cautiously in a low oven, but the original texture is not guaranteed to return perfectly.
Because meringue recipes vary in how thoroughly the egg whites are cooked, follow the recipe’s food-safety guidance. If the dessert uses lightly cooked or uncooked egg whites, use appropriate ingredients and handling for the people you are serving, especially when serving anyone more vulnerable to foodborne illness.
FAQ
Are meringue cookies supposed to be chewy in the middle?
Not always. Fully crisp meringue cookies should be dry and brittle throughout, while pavlova-style desserts intentionally have a soft, chewy, marshmallow-like center. Compare the cooled interior with your recipe’s intended texture before deciding that the batch failed.
How do I fix hollow meringue cookies after baking?
Let one cookie cool completely and check the center. If it is sticky or moist, return the batch to a gentle oven for additional drying, then cool it gradually. Smaller, more even pieces and less aggressive heat usually help the next batch.
What oven temperature is best for drying meringue cookies?
The best setting depends on the recipe, cookie size, oven calibration, rack position, and humidity. In general, crisp cookies benefit from gentle, steady drying rather than intense heat. Follow the recipe’s temperature as a starting point and use browning, tackiness, and the cooled interior to judge the result.
Can I use the hot-oven-then-off method for every meringue?
No. It can work for small, evenly sized pieces in an oven that retains heat well, but thick meringues or a rapidly cooling oven may leave chewy centers. An oven-off method also does not replace the drying time needed by the recipe.
Is a missing piping bag the reason my meringues are hollow?
Usually not. A piping bag mainly helps create consistent shapes. A spooned or roughly shaped meringue can still work, but thick or uneven pieces dry at different rates and are more likely to have soft centers or irregular cavities.