There are few kitchen heartbreaks as acute as the pavlova problem. You’ve spent an hour patiently whipping egg whites into a glossy, cloud-like mountain. You baked it low and slow, filled the house with a sweet, toasted-sugar scent, and waited with anticipation. But when you open the oven, you find a fractured, weeping mess.
The crisp, snowy-white shell is riddled with cracks, and a sticky, amber-colored syrup is pooling at its base. It’s a common story, and one that makes many home bakers shy away from this magnificent dessert. But I’m here to tell you that a perfect pavlova isn’t a matter of luck; it’s a matter of chemistry. Once you understand the science at play, you can control the outcome every single time.
Baking is chemistry you can eat, and the pavlova is a masterclass in protein structures, sugar solutions, and thermal dynamics. Let’s get our lab coats on (metaphorically, of course) and build a flawless pavlova from the ground up, troubleshooting those two classic failures: weeping and cracking.
The Anatomy of a Perfect Pavlova
Before we diagnose the problems, let’s define success. A perfect pavlova is a study in contrasts. It should have a thin, crisp, delicate outer shell that shatters beautifully under a spoon. This gives way to a soft, marshmallowy, slightly chewy interior. It’s light, airy, and structurally sound enough to hold a generous pile of whipped cream and fresh fruit.
This structure is created by whipping air into egg whites. The proteins in the whites (primarily ovalbumin) denature and rearrange themselves to form a network around the air bubbles, creating a foam. Sugar is then introduced, and this is where the magic—and the potential for error—truly begins. The sugar dissolves into the water content of the egg whites, creating a thick syrup that coats the air bubbles. This syrup strengthens the bubble walls, preventing them from collapsing and making the meringue stable and glossy.
When baked, the heat causes the air bubbles to expand, and the water evaporates, setting the protein-sugar structure into a solid, albeit delicate, form. The final result is this beautiful balance of textures. So, when it goes wrong, it’s because some part of that chemical process was disrupted.
Mystery of the Weeping Meringue: Solving for Sugar
Let’s tackle the first culprit: weeping. That sticky, sweet syrup that pools at the base of your pavlova is simply undissolved sugar that has drawn moisture out of the meringue structure.
The Cause: Undissolved Sugar Crystals
If the sugar isn’t fully dissolved into the egg white foam before baking, those tiny, sharp crystals are left suspended in the mixture. In the heat of the oven, these crystals attract water from the surrounding proteins, forming a concentrated syrup. This heavy syrup can’t be supported by the delicate foam structure, so it leaks out and pools at the bottom. It’s a classic case of an unstable solution.
The Solution: A Methodical Approach to Sugar
Preventing this is all about ensuring every last crystal dissolves. Here’s the precise method:
-
Use Superfine Sugar: This is non-negotiable. Standard granulated sugar has large crystals that take much longer to dissolve. Superfine sugar (often sold as caster sugar) has tiny crystals that dissolve quickly and easily into the egg whites. If you can’t find it, you can pulse granulated sugar in a clean food processor or blender for 15-20 seconds to break down the crystals. (Just let the dust settle before opening the lid!)
-
Add Sugar Slowly: Do not dump the sugar in all at once. Once your egg whites have reached soft peaks (when you lift the whisk, a peak forms but its tip flops over), begin adding the sugar one tablespoon at a time, with the mixer running on medium-high. Wait about 30 seconds between each addition. This gradual process gives the crystals time to dissolve without overwhelming the foam.
-
Perform the Grain Test: This is the most important kitchen hack for meringue success. After all the sugar is added and the meringue looks stiff and glossy, stop the mixer. Take a small dab of the meringue and rub it between your thumb and forefinger. If you feel any grittiness at all, it means there are still undissolved sugar crystals. Turn the mixer back on and continue whipping for another 2-3 minutes, then test again. The meringue is ready only when it feels completely smooth. (Your future self will thank you for this extra step.)
By ensuring your sugar is completely dissolved, you’re creating a stable sugar-protein syrup that will support your meringue structure instead of sabotaging it.
The Cracked Shell: Taming Temperature and Time
Now for the second classic failure: the cracked pavlova. While a few small cracks can be charming and easily hidden by cream, major chasms and a collapsing structure are signs of a problem.
The Cause: Thermal Shock
The delicate, airy structure of a baked meringue is extremely sensitive to sudden temperature changes. When you bake it, the air bubbles and water vapor inside expand, puffing up the pavlova. If you then remove it from a hot oven into cool room-temperature air, the exterior cools and contracts much faster than the still-hot interior. This tension is what causes the shell to fracture and crack.
The Solution: The Slow Cool-Down
The key to a crack-free pavlova is managing the temperature drop. It needs to be incredibly gradual.
-
Low and Slow Baking: A hot oven will make the pavlova expand too quickly and brown before the interior is set. A low temperature is essential. I find the sweet spot to be 250°F (120°C). This temperature is high enough to dry out the shell but gentle enough to prevent rapid expansion.
-
The Overnight Rest: This is the game-changer. Once the baking time is up (typically 75-90 minutes), do not open the oven door. Simply turn the oven off. Let the pavlova sit in the sealed, turned-off oven until it has cooled completely to room temperature. This can take several hours, which is why many bakers (myself included) make it the night before and let it cool in the oven overnight. This allows the pavlova to cool down as slowly as the oven itself, preventing any thermal shock and keeping that pristine shell intact.
A Blueprint for a Flawless Pavlova
Let’s put all this science into practice with a foundational recipe and method. Remember, precision is your friend.
Ingredients:
- 4 large egg whites (about 120g), at room temperature
- 1 cup (200g) superfine (caster) sugar
- 1 teaspoon white vinegar or lemon juice (this helps stabilize the egg whites)
- 2 teaspoons cornstarch (this helps create the marshmallowy center)
- 1 teaspoon pure vanilla extract
The Method:
-
Preparation is Key: Preheat your oven to 250°F (120°C). Line a large baking sheet with parchment paper. Draw an 8-inch (20cm) circle on the parchment as a guide. Wipe the bowl and whisk of your stand mixer (a KitchenAid is perfect for this) with a paper towel dampened with a little vinegar. This removes any trace of grease, which is the enemy of egg white foam.
-
Whip the Whites: In your impeccably clean bowl, whip the egg whites on medium speed until they form soft peaks. They should be foamy and opaque.
-
The Sugar Ritual: With the mixer running on medium-high, add the superfine sugar one tablespoon at a time, waiting about 30 seconds between additions. This process should take at least 5-7 minutes.
-
Whip to Glossy Peaks: Once all the sugar is added, turn the speed to high and whip for another 5-8 minutes. The meringue should become very thick, white, and brilliantly glossy. It’s ready when you can lift the whisk and the peak that forms holds its shape completely.
-
Perform the Grain Test: Stop the mixer. Rub a small amount of meringue between your fingers. It must be perfectly smooth. If not, whip for another 2 minutes and test again.
-
Fold in Stabilizers: Sprinkle the cornstarch, vinegar, and vanilla over the surface of the meringue. Using a spatula, gently fold them in until just combined. Don’t overmix and deflate your beautiful foam.
-
Shape and Bake: Spoon the meringue onto your prepared parchment paper, using the circle as a guide. Shape it into a nest, creating a slight crater in the center to hold the toppings later. Place it in the preheated oven and bake for 90 minutes. The outside should be dry to the touch and a pale cream color.
-
The All-Important Cool Down: After 90 minutes, turn the oven OFF. Do not open the door. Leave the pavlova inside to cool completely for at least 4 hours, or preferably, overnight.
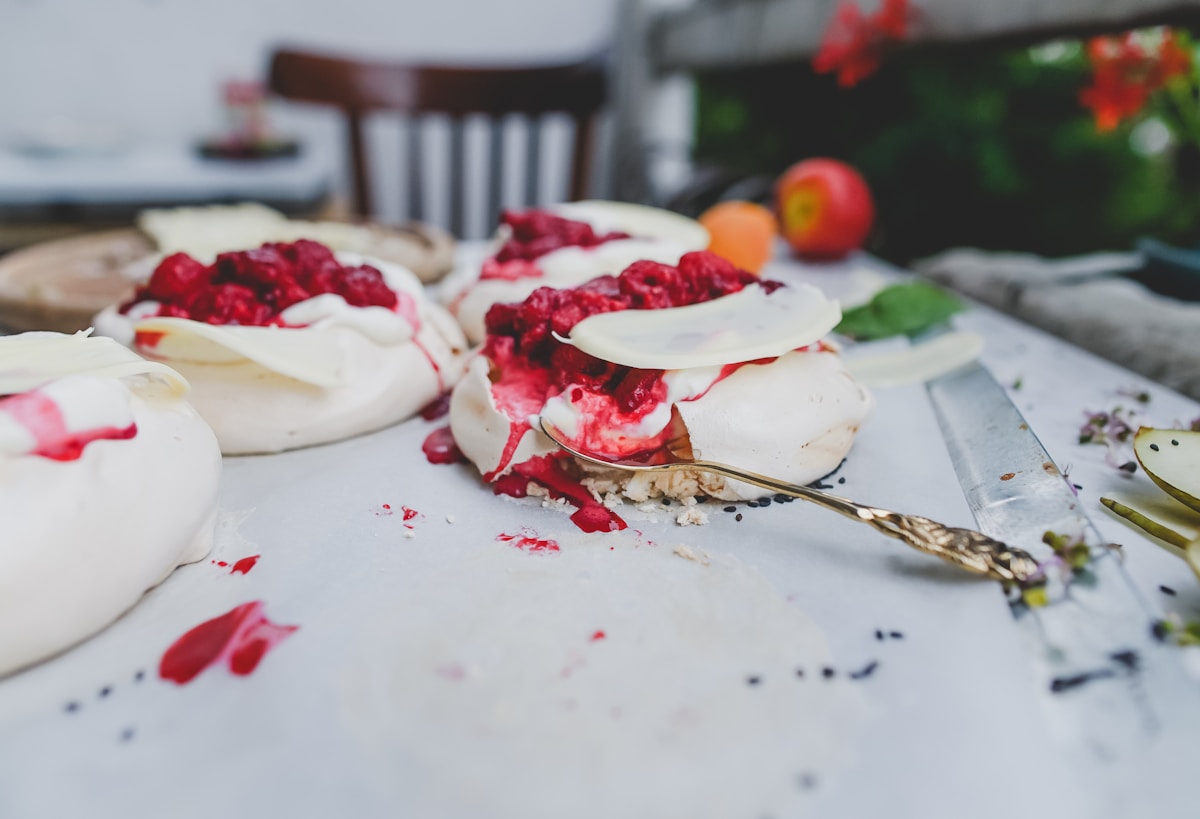
Once cooled, your pavlova is a blank canvas. The classic topping is simple whipped cream and a tumble of tart berries or passionfruit, which cut through the sweetness of the meringue perfectly. By understanding the simple science behind this dessert, you’ve moved from hoping for the best to ensuring success. That first crackle of the crisp shell yielding to a soft, pillowy center is one of baking’s greatest rewards, and now, it’s one you can reliably create in your own kitchen.


