Close your eyes and picture it: the restaurant bread basket arrives at your table. It’s filled with warm, impossibly soft rolls that gleam under the lights. You tear one open, steam escapes, and a pat of butter melts instantly into its pillowy center. For years, I thought that kind of magic was reserved for professional bakers with giant mixers and secret ingredients.
I remember staring at the bread section of cookbooks, feeling a wave of anxiety. Words like “proofing,” “gluten development,” and “bulk fermentation” sounded like a foreign language. And yeast? Yeast seemed like a tiny, temperamental science experiment just waiting to fail in my kitchen. If you’ve ever felt that way, I want you to know you’re not alone. And I have a secret to share: those perfect dinner rolls are one of the easiest, most rewarding things you can learn to bake. Let’s walk through it together, one simple step at a time.
The Myth of Difficult Bread
First, let’s get one thing straight. Not all bread is created equal. The complicated, multi-day process of making a rustic sourdough loaf is miles away from the simple joy of making soft dinner rolls. Think of it like this: sourdough is the marathon of the bread world, while dinner rolls are a friendly neighborhood 5k. They are the perfect entry point for any aspiring baker.
Why are they so beginner-friendly? The recipe is incredibly forgiving. The ingredients are simple pantry staples. And the hands-on time is surprisingly short. The dough does most of the work itself while you do other things. The biggest ingredient you need isn’t some fancy flour (though a good one helps!), it’s a little bit of confidence. We’re about to build that right now.
Let’s Talk About Yeast (It’s Not Scary!)
This is where most beginners get nervous, but I promise it’s simple. Yeast is a living organism that’s just dormant, like it’s taking a nap. Our job is to wake it up gently so it can do its job, which is to create little air bubbles that make our rolls light and fluffy.
Think of it like waking up a sleepy friend. You wouldn’t jolt them with ice water, and you wouldn’t try to rouse them in a freezing cold room. You’d offer them something warm and maybe a little sweet. That’s exactly what yeast wants!
Here’s the foolproof method:
- Get the Temperature Right: You need warm water, but not hot. The ideal range is between 105°F and 115°F (40°C to 46°C). Too cold, and the yeast won’t wake up. Too hot, and you’ll unfortunately kill it. If you don’t have a thermometer, aim for water that feels comfortably warm to your wrist, like a baby’s bath.
- Give It a Snack: Sprinkle your yeast (we’re using Active Dry Yeast for this recipe) over the warm water. Then, add a pinch of sugar. This is the snack that gives the yeast energy to get going.
- Wait for the Proof: Give the mixture a gentle stir and let it sit for 5-10 minutes. You’ll know it’s alive and happy when it gets foamy and bubbly on top and smells distinctly like bread or beer. If nothing happens after 10 minutes, your yeast may be expired, or your water was the wrong temperature. Don’t worry! Just toss it and start this one step over. (This is called “proofing your yeast,” and you just mastered the scariest part!)
Your Step-by-Step Dinner Roll Recipe
This recipe makes about 12 wonderfully soft and buttery rolls. The dough will be a little sticky—that’s a good thing! It’s what makes them tender.
Ingredients:
- 1 cup (240ml) warm water (105-115°F / 40-46°C)
- 2 ¼ teaspoons active dry yeast (1 standard packet)
- 2 tablespoons granulated sugar
- 1 teaspoon salt
- 3 tablespoons unsalted butter, melted and slightly cooled
- 1 large egg, at room temperature
- 3 cups (360g) bread flour (I like using King Arthur brand, but all-purpose works in a pinch!), plus more for dusting
Instructions:
- Activate the Yeast: In a large bowl, combine the warm water, yeast, and sugar. Let it sit for 5-10 minutes until foamy.
- Mix the Dough: To the yeast mixture, add the melted butter, egg, and salt. Stir to combine. Then, add the bread flour, one cup at a time, mixing with a wooden spoon until a shaggy, sticky dough forms. Don’t worry if it’s not perfectly smooth.
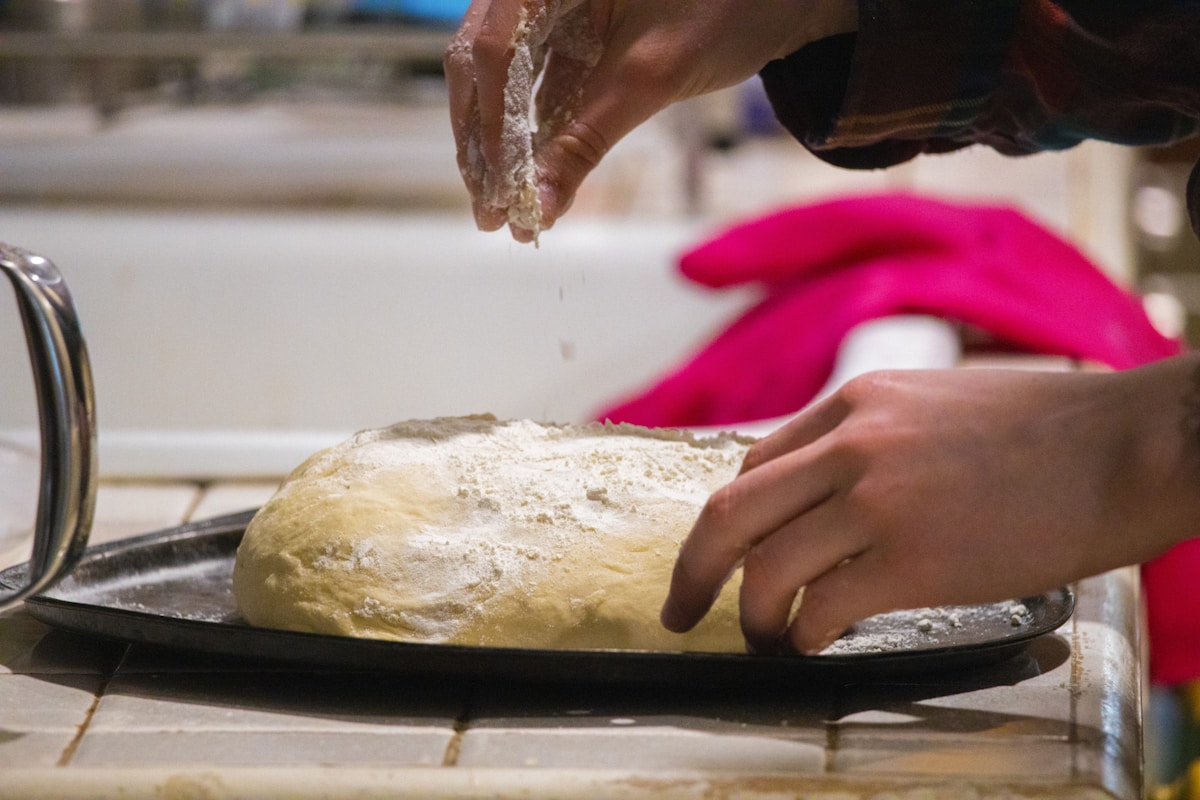
- Knead Briefly: Turn the dough out onto a lightly floured surface. Knead for just 3-5 minutes. You’re not looking for the same elasticity as a pizza dough. You just want it to come together into a mostly smooth ball. It will still be soft and a little tacky.
- The First Rise (Bulk Fermentation): Lightly grease your bowl with a little oil or butter. Place the dough ball inside, and turn it over once to coat it. Cover the bowl with a clean kitchen towel or plastic wrap and place it in a warm, draft-free spot for about 1 hour, or until it has doubled in size.
- Shape the Rolls: Gently deflate the dough. Divide it into 12 equal pieces. To shape each piece into a ball, gently pull the edges of the dough down and tuck them underneath, creating a smooth top. Place the balls in a lightly greased 9x13 inch baking pan.
- The Second Rise (Proofing): Cover the pan and let the rolls rise again in a warm spot for another 30-45 minutes. They should look puffy and be touching each other.
- Bake to Perfection: Preheat your oven to 375°F (190°C). Bake the rolls for 15-20 minutes, or until the tops are beautifully golden brown. The internal temperature should be around 190°F (88°C) if you have a thermometer.
My Favorite Kitchen Hack: The Shiny Top
Want that professional, bakery-window shine on your rolls? The secret is incredibly simple. Just before you put the rolls in the oven, you can give them a little wash. For a deep golden, shiny finish, whisk one egg with a tablespoon of water and gently brush it over the tops of the proofed rolls. For a softer, buttery finish, simply brush them with a little melted butter as soon as they come out of the oven. (Honestly, you can’t go wrong with more butter.)
What If… Common Beginner Worries
- “My dough didn’t rise!” Don’t panic. The most likely culprit is the yeast. It was either expired or the water was too hot or too cold. The second most common reason is that your kitchen was too chilly. Try finding a warmer spot, like on top of the fridge or in an oven that’s turned off with the light on.
- “My rolls are dense, not fluffy!” This usually means they were under-proofed. Either the first or second rise was cut a little short. Make sure the dough truly doubles in size and that the rolls look visibly puffy before baking. Patience is a key ingredient here!
- “I added too much flour and the dough is dry!” It happens! Resist the urge to add tons of flour while kneading. A soft, slightly sticky dough yields a tender roll. If you do over-flour, it’s a learning experience for next time. They’ll still be tasty, just a bit more like a biscuit.
Try This Tonight: Your mission, should you choose to accept it, is to make this recipe this week. Don’t aim for perfection. Aim for the experience. Serve your warm, homemade rolls with a simple weeknight soup, or just enjoy them warm with a slab of butter and a sprinkle of flaky salt. The pride you’ll feel when you pull that golden-brown pan out of the oven is the best seasoning of all. You can do this.