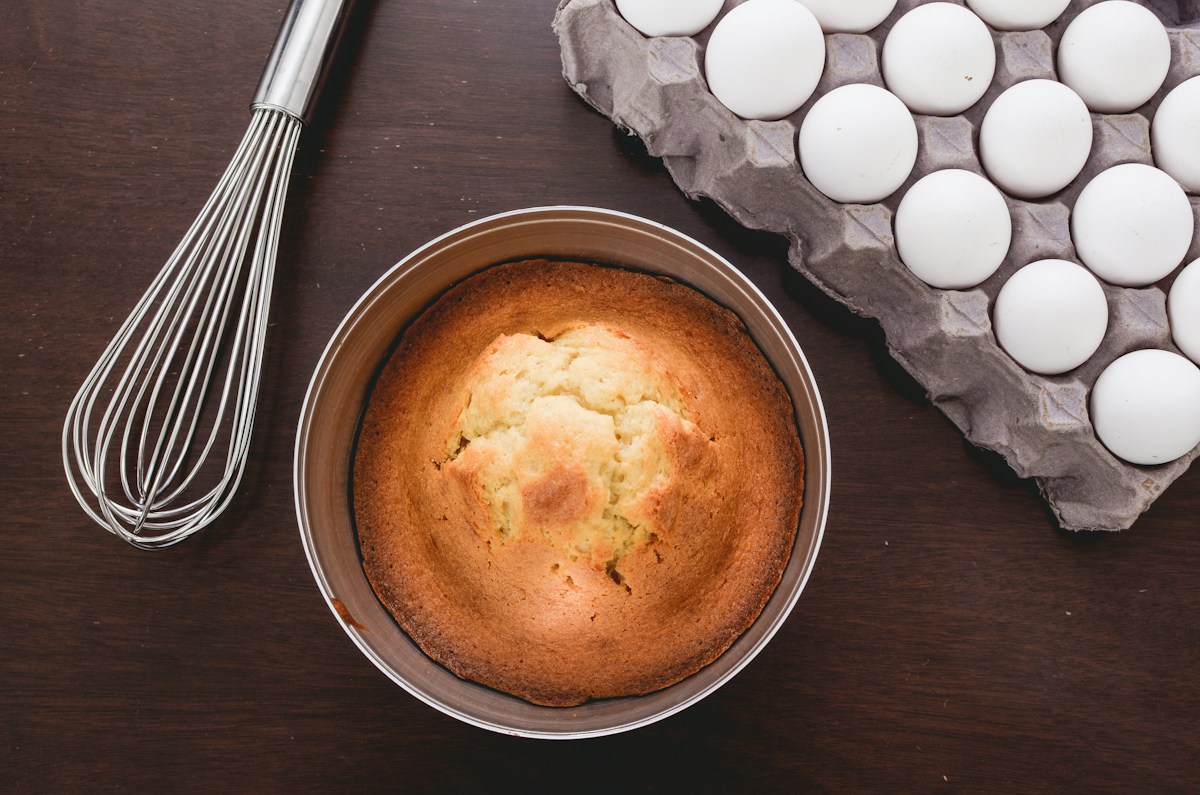
You pull two cake layers from the oven, ready to stack and frost them, only to find rounded tops instead of neat, level tiers. You can trim them, but turning good cake into crumbs is not always the plan.
DIY cake strips are worth trying if you make occasional layer cakes and want to reduce doming without buying another specialty tool. A damp, insulated strip around the pan can encourage more even baking, but it cannot guarantee perfectly flat layers. Pan size, batter portions, recipe instructions, oven behavior, and proper doneness still matter.
Key Takeaways
- DIY cake strips can reduce doming by slowing how quickly the pan edges heat and set.
- Homemade strips are inexpensive for occasional baking but take more setup and can be less consistent than reusable strips.
- Keep damp paper towel completely enclosed in secure foil; never use loose, exposed, or dripping materials in the oven.
- Cake strips may reduce trimming, but a small trim is still the most reliable way to get precisely level layers.
The quick answer: DIY cake strips can help, but they are not a guarantee
Homemade cake strips can reduce a dome because they slow how quickly the outer edge of the batter heats and firms. When the edges do not set as early, the center may rise in a more even pattern.
That makes DIY cake strips especially useful for cakes that will be stacked, filled, and frosted. Flatter layers can mean less trimming, fewer crumbs, and less need to compensate for uneven tops with extra filling.
Think of strips as a helper rather than a cure-all. They cannot reliably fix a pan that is too small, unevenly divided batter, a recipe that naturally rises high in the center, or an oven with pronounced hot spots. They also do not make an underbaked center acceptable.
For casual baking, the low cost is the main appeal. If you bake layer cakes often, reusable strips or simply trimming cooled layers may be more convenient and consistent.
Why cake layers dome in the first place
Cake batter does not bake at the same speed from edge to center. The batter touching the hot pan wall heats first. As that outer portion starts to set, the center remains softer longer and can continue expanding upward.
That difference often creates a higher middle and lower edges. The dome may be slight or obvious depending on the cake, pan, and oven setup.
Several factors can affect the final shape:
- Batter depth: A deeper layer gives heat farther to travel before it reaches the center.
- Pan size: Too much batter in one pan can create a taller, more domed layer than the recipe intended.
- Pan material and finish: Different pans transfer and retain heat differently, so matching pans are helpful when baking multiple layers.
- Oven behavior: Hot spots, rack position, and uneven heating can affect how evenly cakes rise.
- Recipe formulation: Ingredients and mixing methods can make some cakes naturally rise higher in the center.
- Batter division: Pans with noticeably different amounts of batter will not bake alike.
DIY cake strips aim to change the edge portion of that equation. A damp layer enclosed in foil adds insulation around the outside of the pan. It may moderate edge heating enough to help the edges and center bake more evenly.
This is why strips can help prevent cake domes, but results vary. A shallow cake may need little help, while a deeper layer may show a more noticeable improvement.
How to make and use DIY cake strips with care
The common homemade method uses paper towel fully wrapped in aluminum foil. It is inexpensive, but the setup must be tidy and secure. Do not put exposed paper towel in the oven, and do not use anything loose, dripping, torn, or likely to contact a heating element.
You will need absorbent paper towel, water, aluminum foil, cake pans, and a way to keep the foil strip snug around each pan. The foil should completely contain the damp towel.
Use this careful setup method:
-
Measure the pan. Cut paper towel strips long enough to wrap around each pan with only a small overlap. Make each strip about as tall as the pan side so it does not extend far above or below the pan.
-
Wet the towel. Thoroughly wet each strip, then squeeze it out well. The towel should be evenly damp, not dripping. Water should not run from it when held over the sink.
-
Enclose it in foil. Place the damp towel on a larger piece of foil and fold the foil around it so no paper towel remains exposed. Press the seams closed and keep folded edges facing outward where possible.
-
Check the fit first. Wrap the foil-covered strip around the empty pan before adding batter. It should sit snugly against the side without covering the base, hanging down, or leaving a loose tail.
-
Fill and secure the pan. Add evenly divided batter, then place the strip around the pan. Press the overlap flat so it stays in place. The pan must still sit level on the oven rack.
-
Bake according to the recipe. Use the recipe’s intended oven temperature and doneness cues. Do not lower the temperature simply because you are using wet towel cake strips unless the recipe specifically instructs you to do so.
-
Remove with care. Let the pans cool briefly as the recipe directs, then carefully remove the foil strips. They may still contain hot moisture. Discard the paper towel and recycle or discard the foil according to its condition.
Before using any homemade setup, consider your oven manual, pan shape, rack clearance, and heating-element layout. This method is not suitable for every appliance or baking arrangement. Skip it if the strip could shift, leak heavily, touch an element, interfere with airflow, or prevent the pan from sitting securely.
A common mistake is making the strip too wet. Dripping water does not improve the result and makes the setup harder to handle. A strip that is too narrow may offer little insulation, while one that is too wide may not fit securely.
Homemade cake strips vs. reusable strips vs. trimming
Cake strips vs trimming is not an either-or decision. Strips may reduce the amount of cake you remove, while trimming gives you final control when you need an exact level surface.
| Option | Best for | Cleanup and storage | Main limitation |
|---|---|---|---|
| DIY cake strips | Occasional layer cakes and low-cost experiments | Disposable paper towel and foil; little storage needed | Setup varies each time, so results can be inconsistent |
| Reusable fabric strips | Frequent bakers who want a repeatable routine | Need washing, drying, and drawer space | Must fit the pan size and cannot guarantee flat layers |
| Trimming cooled layers | Precise stacking and polished decorating | Creates crumbs and cake scraps | Removes some cake and takes a steady hand |
DIY cake strips are the budget option. You may already have the materials, and they are useful for testing whether strips make enough difference for your usual cakes. The trade-off is prep: cutting, wetting, wrapping, fitting, and disposing of materials every time.
They can also be less consistent than purpose-made strips. One homemade strip may be wetter, wider, or tighter than another, which can affect how similarly multiple pans bake.
Reusable fabric strips are the convenience option for frequent layer-cake bakers. Once you have the right sizes, they are generally quicker to soak and wrap. They still need to be washed and dried thoroughly before storage, so they are not maintenance-free.
They also take up some space and may not fit every pan diameter you own. Buying several sizes can make sense for someone who regularly bakes decorated cakes, but it may be poor value for an occasional birthday cake.
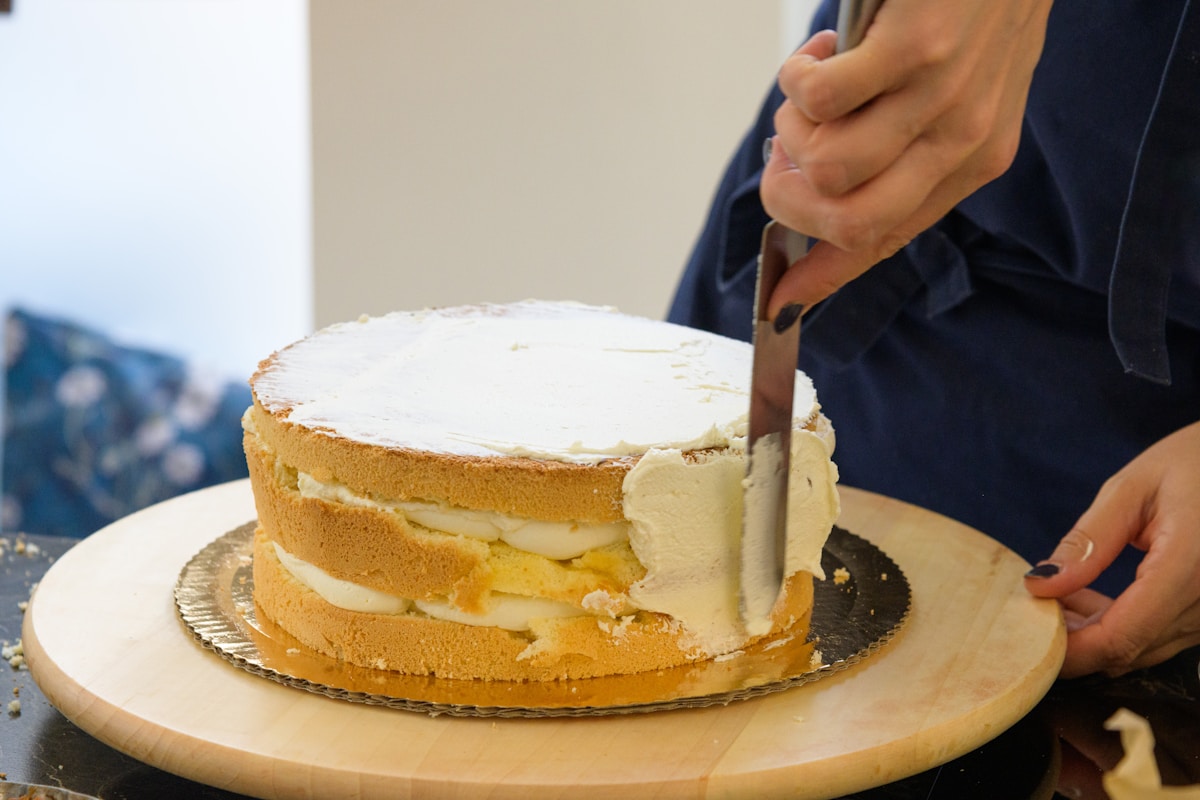
Trimming is the precision option. Once cakes are fully cool, use a long serrated knife or cake leveler to remove the dome. Rotate the cake steadily and make shallow passes rather than cutting deeply from one side.
Save scraps for trifles, cake pops, snack bowls, or layered dessert cups. If the finished cake needs sharply even layers, trimming remains the dependable finishing step even when strips have helped.
If strips are not enough: practical ways to prevent cake domes
Start with the basics before blaming the strips. The simplest way to bake flatter cake layers is to follow the recipe’s specified pan size, oven temperature, and batter amount as closely as possible.
Weigh divided batter. Put each prepared pan on a scale and divide batter as evenly as possible. Matching portions help layers bake at similar rates and reach similar heights.
Use matching pans. Pans with the same diameter, depth, and material are easier to manage than a mixed set. A dark-coated pan and a light-colored pan may not behave identically in the same oven.
Do not overfill. If a recipe calls for three pans, avoid forcing the batter into two. The deeper batter may bake differently and need more time, which can lead to a larger dome or dry edges.
Give pans room. Leave space around pans for air circulation. If you know your oven has a hot spot, rotate pans only when appropriate for the recipe and avoid opening the door repeatedly or very early in the bake.
Prioritize complete baking. A flatter top is not proof of doneness. If the center seems soft, wet, or unstable, continue baking according to the recipe’s cues. Do not pull a cake early just to preserve a flatter appearance.
Here is how to troubleshoot common results:
- Layers are different heights: Check whether batter was weighed, pans matched, and pans positioned evenly on the rack.
- The center is underbaked: Follow the recipe’s doneness guidance and bake until the cake is properly done. Next time, confirm the intended pan size and avoid overly deep batter.
- The strips dry out: Make sure the absorbent layer was evenly damp before wrapping. If repeated DIY setup is frustrating, reusable strips may be a better fit.
- A dome remains: Let the cake cool completely, then level it. Do not overbake in pursuit of a perfectly flat top.
- The strip slips or leaks: Stop using that setup. A strip must be snug and fully enclosed; if you cannot make one that fits securely, trim the layers instead.
FAQ: DIY cake strips for flat cake layers
Do DIY cake strips really work for preventing cake domes?
They can reduce doming in many cakes by slowing the baking of the outer edge. Results vary with the recipe, pan size, batter depth, oven, and how evenly the strips fit. Expect improvement, not perfectly level layers every time.
Can wet towel cake strips go in the oven safely?
Use caution. The paper towel should be damp rather than dripping and completely enclosed in intact foil, with no loose or exposed material. Make sure the strip is secure, does not touch heating elements, does not interfere with the pan sitting level, and suits your oven arrangement. If any of those checks fail, do not use it.
Are cake strips better than trimming cake layers?
They do different jobs. Cake strips may reduce the dome and the amount of cake you need to remove. Trimming gives the most precise level result after the cake is fully cooled. For occasional bakers, DIY cake strips plus a small final trim can be a practical middle ground.