You know that moment — you pull a steak off the pan, slice into it with high hopes, and find a sad gray band of overcooked meat surrounding a tiny pink center? We have all been there. It is frustrating, wasteful, and it can make you want to order takeout instead. But here is the good news: ribeye is one of the most forgiving cuts of beef you can cook. Its generous marbling (those white flecks of fat running through the meat) acts like a built-in insurance policy against dryness. With a few simple techniques, you can consistently produce a steak with a deep brown crust and a warm, juicy medium-rare center — the kind that would make a Reddit crowd proud. Let us walk through it step by step, from picking the right steak to slicing it at the table.
Choosing Your Ribeye
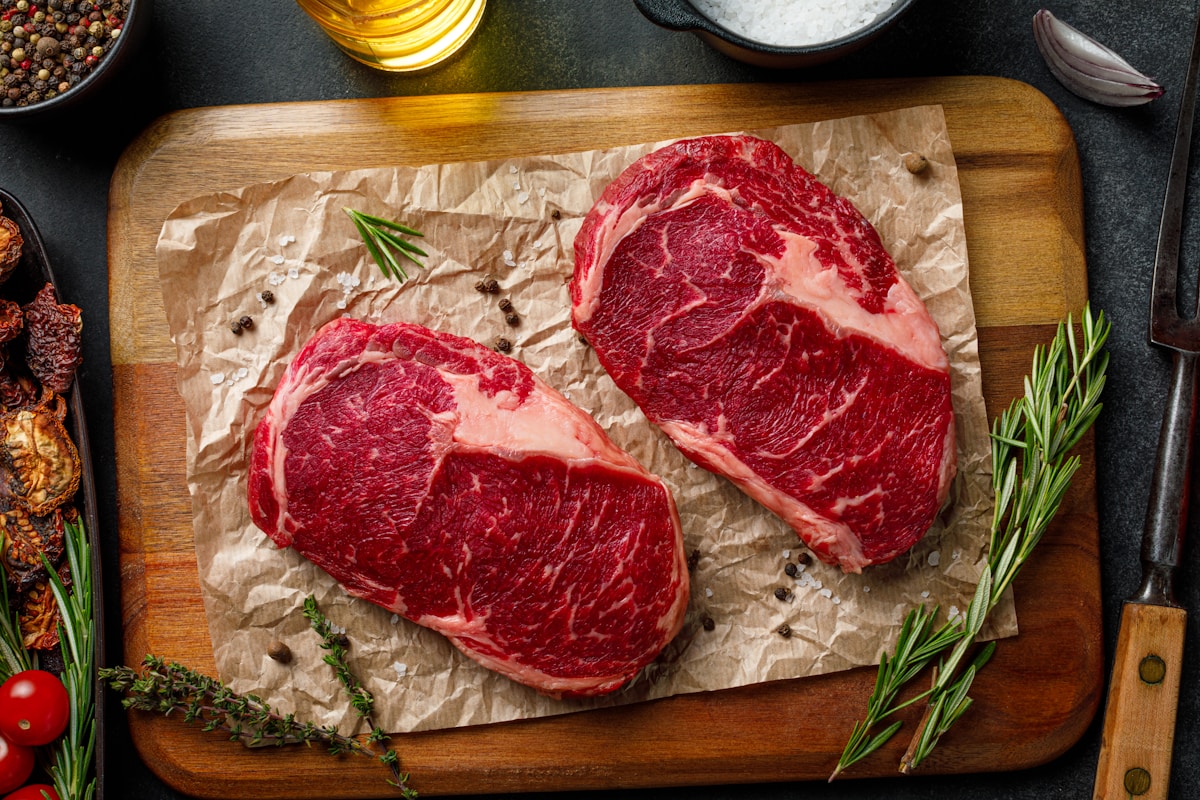
Start at the grocery store or butcher counter. Ribeye comes in two main styles: bone-in and boneless. Bone-in (sometimes called a cowboy steak or tomahawk if the bone is long) looks impressive and adds a little flavor, but it cooks slightly unevenly near the bone. For a beginner, boneless is easier to control and more consistent. Aim for a steak that is at least 1 inch thick — 1.5 inches is even better. Thin steaks (under 1 inch) overcook in seconds and are harder to nail. Look for steaks with abundant, even marbling. The more fat splattered through the red muscle, the more forgiving and flavorful the cook will be. A solid choice is a USDA Choice or Prime ribeye. If you see a pack labeled “Angus” or “Certified Angus Beef,” that is a plus, but not required. Price range: expect $12–$20 per pound for Choice, more for Prime. One steak per person is usually plenty.
Seasoning and Prep
You do not need a complicated marinade for a good ribeye. Salt and pepper are the classic duo. But the key is timing. Season the steak generously with kosher salt (Diamond Crystal or Morton are great) and freshly ground black pepper at least 40 minutes before cooking. Even better: salt it the night before and leave it uncovered in the fridge. This is called dry brining. The salt draws out moisture, then the moisture reabsorbs, seasoning the meat all the way through and helping create a better crust. (Trust me on this one — it is a game changer.) If you are short on time, season right before cooking. But never season and let it sit for only 10 minutes — that will pull water to the surface and make the pan cool down. Before cooking, take the steak out of the fridge about 30 minutes early to let it come closer to room temperature. This helps it cook more evenly.
The Pan-Sear Method (Easiest for Beginners)
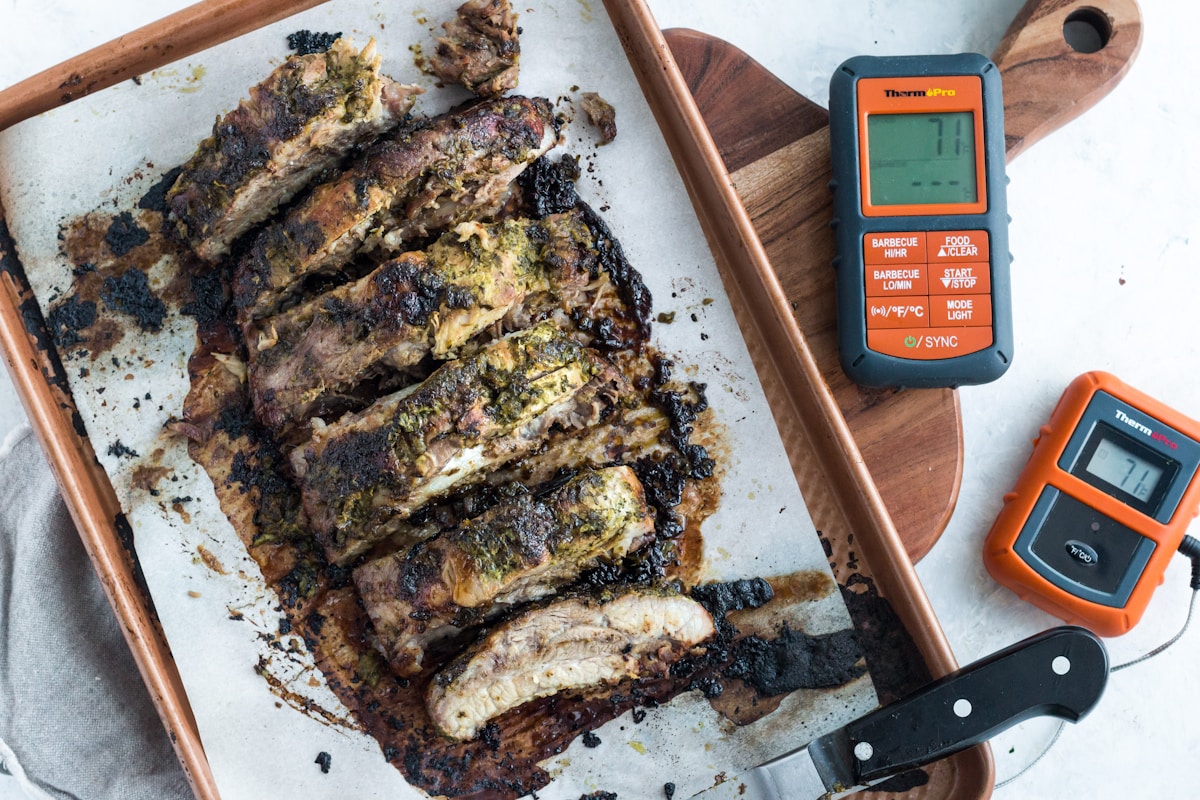
You will need a heavy pan — cast iron is best. A 12-inch Lodge skillet (around $30–$40) is perfect. Cast iron holds heat like a champion and gives you a deep, even crust. Preheat the pan over medium-high heat for at least 5 minutes. It should be hot enough that a drop of water sizzles and evaporates immediately. Add a high-smoke-point oil like avocado oil or grapeseed oil (about 1 tablespoon). Do not use olive oil — it burns at high heat. Pat the steak dry with paper towels (moisture is the enemy of crust). Lay the steak away from you into the pan. You will hear a gratifying sizzle. Now, here is a trick many beginners miss: leave it alone. Do not poke, push, or move the steak for at least 3 minutes. You want the surface to develop a golden-brown crust. After 3 minutes, flip it using tongs (never a fork — you will lose juices). Cook the second side for another 3 minutes. For a 1-inch ribeye, this gets you to medium-rare (130°F internal). But the only way to be sure is with an instant-read thermometer. The Thermapen ONE is pricey ($99) but lightning fast. A budget option like the ThermoPro TP18 ($15) works fine. Insert the probe sideways into the thickest part of the steak (avoiding fat pockets). Pull the steak at 130°F for medium-rare. If you like medium, aim for 140°F. But remember: the temperature will rise about 5°F while resting, so pull it a few degrees early. For extra flavor, add a tablespoon of butter, a sprig of thyme, and a crushed garlic clove to the pan after the flip. Tilt the pan and spoon the sizzling butter over the steak for 30 seconds. This is basting — it adds richness and aroma. (Your future self will thank you.)
The Reverse-Sear Alternative
If pan-searing feels stressful, try the reverse-sear method. It is almost foolproof. Season the steak as above, then place it on a wire rack set on a baking sheet. Cook in a low oven (250°F) until the internal temperature reaches about 120°F for medium-rare. This takes about 30–45 minutes for a 1.5-inch steak, but use your thermometer. Then, heat a cast iron skillet on high heat and sear each side for 1 minute. The result: an even pink edge-to-edge with a perfect crust. Many pros (including J. Kenji López-Alt) swear by this method, especially for thicker steaks. It reduces the risk of overcooking the center while you wait for the crust.
Resting and Serving
Resting is not optional. If you cut into a steak right away, all those juices will flood onto the cutting board, leaving you with a dry piece of meat. Place the cooked steak on a clean cutting board and let it rest for 5–10 minutes (sometimes I tent it loosely with foil, but not tight — you do not want to soften the crust). During this time, the juices redistribute evenly through the meat. After resting, slice the steak against the grain. The grain is the direction the muscle fibers run. Look at the steak and find the lines; cut perpendicular to them. This shortens the fibers and makes every bite tender. For a ribeye, slice into half-inch-thick pieces. Serve with a pat of compound butter (mix softened butter with chopped parsley, garlic, and a pinch of salt) melting over the top. The Reddit post we saw included caramelized onions and herb butter — a classic pairing. To make caramelized onions: slice one onion, cook slowly in a pan with butter over medium-low heat for 20 minutes, stirring occasionally, until golden and sweet.
Common Mistakes and How to Fix Them
- Not heating the pan enough: If the pan is not screaming hot, you will steam rather than sear, and the meat will turn gray. Test with a water drop.
- Moving the steak too early: Letting go of the urge to fiddle gives you a crust. If the steak sticks, it is not ready to flip. Give it another 30 seconds.
- Not drying the surface: Pat the steak dry right before cooking. Any moisture creates steam, preventing browning.
- Skipping the thermometer: Guessing by time alone is risky. A $15 thermometer is the best investment for consistent results.
- Overcooking: Ribeye is forgiving, but medium-well (160°F+) turns it tough. Aim for medium-rare or medium at most.
- Cutting without resting: Always rest. Even 5 minutes makes a huge difference.
One Thing to Try Tonight
If you feel ready, grab a single 1-inch boneless ribeye, salt and pepper it for 40 minutes, then pan-sear in hot cast iron following the times above. Pull it at 130°F, rest for 7 minutes, slice against the grain, and enjoy with a simple butter pat. No sides needed — just you and a perfectly cooked steak. You will be amazed at how easy it is when you take it step by step. The kitchen is more forgiving than you think, and that crusty, juicy steak is waiting for you.