So you just picked up your first cast iron skillet — maybe a classic Lodge, heavy as a brick, and full of promise. You’ve heard they last forever, give you restaurant-quality sears, and even bake a mean cornbread. But then you start reading online horror stories: rust spots, scrambled eggs that glue themselves to the pan, and ruined seasoning that leaves you starting from scratch. Take a breath. I’ve been through all of it, and I’m here to tell you that cast iron is actually one of the most forgiving and rewarding cookware investments you’ll ever make. The right tips — and a little patience — turn that hunk of metal into a nonstick heirloom.
Why Cast Iron Is Worth the Hype
Before we dive into the nitty-gritty, let’s talk about why cast iron deserves a spot in your kitchen. Unlike cheap nonstick pans that flake after a year, a well-seasoned cast iron skillet retains heat like a champ and distributes it evenly. You can sear a steak at 500°F (260°C) and then pop it directly into the oven without worrying about melting a handle. It’s naturally nonstick when properly seasoned — no chemical coatings needed. And with basic care, that skillet will outlive you, your kids, and maybe even your grandkids. (Trust me, your future self will thank you.) The sweet spot for beginners? A Lodge 10.25-inch skillet. It’s pre-seasoned right out of the box, runs about $20-40, and is tough enough to handle your learning curve.
The First Rule: To Soap or Not to Soap
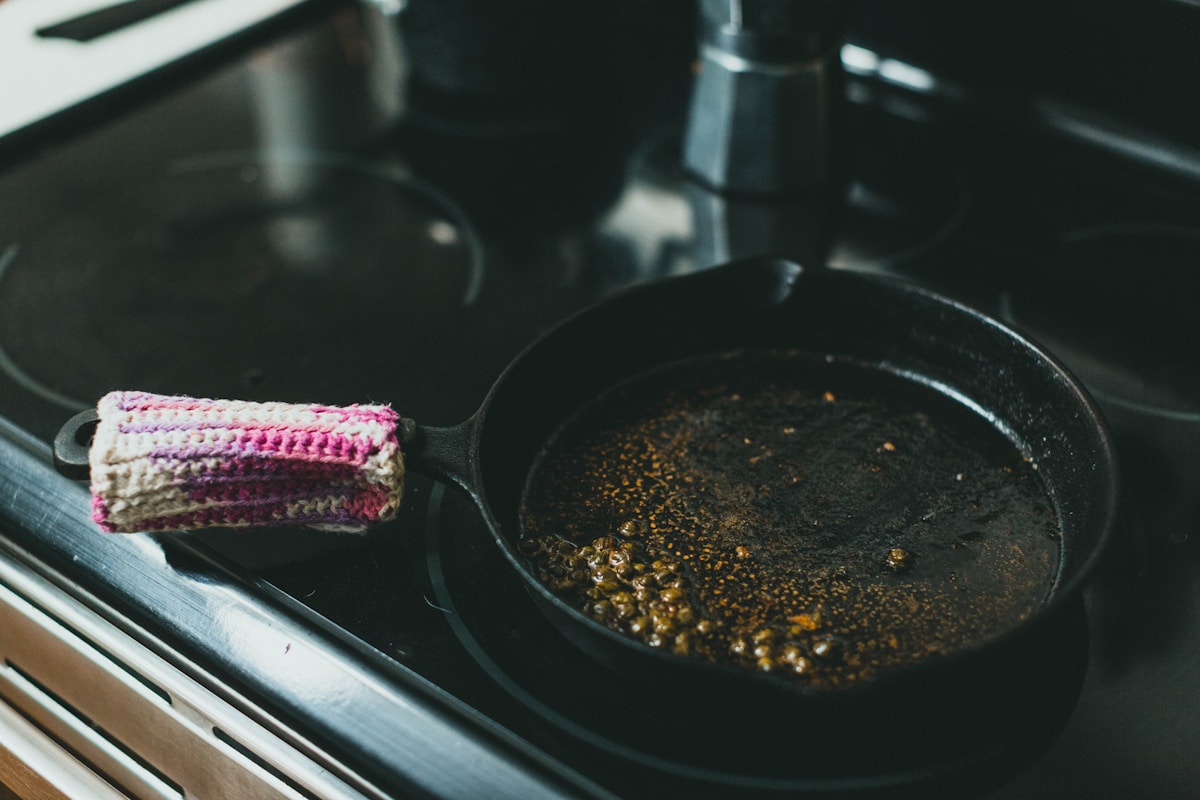
One of the first things you’ll hear from the cast iron community — and from that Reddit thread you stumbled upon — is “never use soap when starting out.” That’s actually solid advice for the first few months. Why? Because early on, your seasoning is thin and delicate. Modern dish soaps are milder than the old lye-based ones, but they can still strip that fragile polymer layer if you scrub aggressively. Instead, while the pan is still warm (not blazing hot), rinse it under hot water and use a stiff brush or a chainmail scrubber to knock off stuck bits. If you need extra grit, sprinkle a tablespoon of coarse kosher salt and rub it around with a paper towel. The salt acts as an abrasive without damaging the seasoning. Then — and this is critical — hand dry the skillet immediately with a clean dish towel or place it on a low burner for a minute. Cast iron rusts fast if left wet. After drying, apply the thinnest possible layer of vegetable oil or canola oil to the entire cooking surface (and the outside too). Wipe it with a paper towel until it looks like you wiped most of the oil off. (Yes, really. The pan should feel dry to the touch.) That’s your after-every-use routine.
Building That Seasoning Layer by Layer
Seasoning is simply oil that has been heated past its smoke point, turning it into a hard, slick polymer. You don’t need a complicated oven process — the best thing you can do is just cook with fats. Every time you fry bacon, sauté onions in butter, or make fried chicken, you’re adding a microscopic layer to your seasoning. But there’s a catch: you need gentle heat. Cast iron retains heat so well that medium-low on most stovetops is plenty. A common mistake is cranking the dial to high, which burns off seasoning and makes food stick. Aim for a pan temperature around 350-375°F (175-190°C) for most frying. You can test by flicking a drop of water — it should sizzle and evaporate immediately, not dance around. When you do get stuck food, reach for a metal spatula. That thin metal edge scrapes off bits while also burnishing the seasoning smooth. It’s like a free maintenance hack. (Your grandmother’s spatula? She knew what she was doing.)
The Acid Test: When to Cook Tomatoes and Lemons
Here’s where many beginners trip up: acidic foods. A new seasoning is still vulnerable to chemical attack from tomatoes, wine, citrus, and vinegar. Those acids can react with the bare iron, leaving a metallic taste and dulling your patina. So for the first 3-4 months of regular use, stick to neutral or fatty foods: cornbread, fried potatoes, eggs (once the seasoning is decent), pancakes, grilled cheese, and meat sears. After you’ve built up a good black layer — usually after dozens of cooks — your skillet becomes resilient enough to handle a quick tomato sauce or a lemon deglaze. Even then, don’t let acidic foods sit in the pan for more than 15 minutes. Transfer them out for storage. If you do accidentally cook something acidic too early, simply scrub lightly, dry, oil, and keep cooking. One mistake won’t ruin your pan, but repeated acid baths will set you back.
Sticking? Here’s What to Do
It happens to everyone. You try to flip an egg and half of it stays welded to the pan. The problem is almost always too much heat or not enough fat. Cast iron doesn’t need the screaming heat that stainless steel does. Preheating on medium-low for about 5 minutes ensures even surface temperature. Add a generous pat of butter or a splash of oil — about a tablespoon for an 8-inch skillet — and let it shimmer before adding food. If sticking still happens, don’t panic. Let the pan cool a bit, then fill it with a little water and bring to a simmer. That loosens crusty bits. Scrub gently with a non-scratch pad, rinse, dry, and re-oil. For persistent rust spots, scrub with fine steel wool until the rust is gone, wash, dry thoroughly, then give the skillet a full oven seasoning: apply a thin layer of oil, place it upside down on the oven rack (with foil below to catch drips), and bake at 450-500°F (230-260°C) for one hour. Let it cool in the oven. That resets the surface, and you’re back in business.
Daily Use Is the Best Maintenance
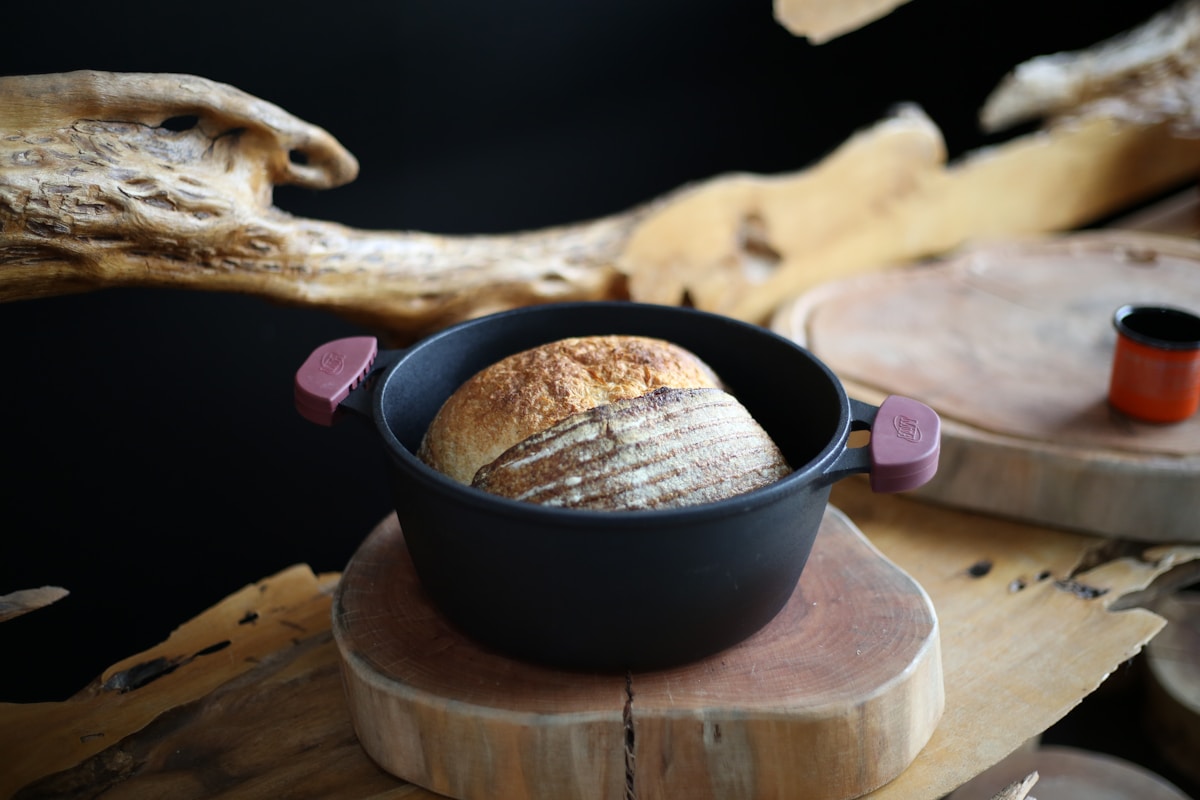
Here’s the secret that every r/castiron veteran will tell you: the more you use your skillet, the better it gets. It’s not a delicate collector piece; it’s a workhorse. Fry chicken, bake cornbread, sear steaks, sauté greens, even make pizza. Each cook adds another microscopic layer. A great starting recipe is cornbread. Preheat your skillet in a 400°F (200°C) oven with a tablespoon of butter. Mix 1 cup cornmeal, 1 cup flour, 1/4 cup sugar, 1 tablespoon baking powder, 1/2 teaspoon salt. Whisk in 1 cup buttermilk, 1/3 cup oil, and 2 eggs. Pour the batter into the hot skillet (it should sizzle) and bake 20-25 minutes until golden. The butter and cornmeal combo seasons the pan beautifully while you get a delicious side dish. Afterward, rinse while warm, dry, and give it a quick oil wipe. That’s it.
One More Thing: Don’t Overthink It
I’ve seen beginners obsess over the perfect seasoning, buying expensive flaxseed oil and spending hours in the oven. But the truth? A Lodge pre-seasoned skillet, some bacon fat, and a willingness to cook every day will get you 95% of the way there. If you scratch it, so what? Cook some fried potatoes and it heals. If you get rust, scrub it off and reseason. Cast iron is practically indestructible. The beauty is that it gets better with age — and with you. So grab that heavy skillet, embrace the learning curve, and start cooking. Your kitchen adventures are about to get a whole lot tastier. (And your grandchildren will thank you.)