You’re weeding the garden on a warm Saturday, pulling out roots and rocks, when your trowel hits something solid. You dig it up—a small, heavy, rust-caked skillet. It’s black with orange crust, maybe from the 1920s. Your first thought: “Can I actually use this?” The answer is a confident yes. With the right steps, that crusty relic can become your most treasured non-stick pan. I’ve restored dozens of pans over the years, and I’m going to walk you through exactly how to do it safely and successfully. Let’s get that skillet back on the stove.
Step One: Assess the Pan — Safety First
Before you do anything, stop and look. Vintage cast iron can be beautiful, but it can also carry unknown coatings or even lead residue if it was used for melting lead for fishing weights or soldering. This is rare, but worth a quick check. You can buy a home lead testing kit (3M makes one for about $12) and swab the inside and outside of the pan. If the test shows lead, do not use it for cooking—keep it as a wall hanger. If it’s clean, move on. Look for cracks, deep pitting, or warping. A crack is a dealbreaker; heat causes it to spread and can split the pan mid-cook. For minor pitting or rust, we’ve got solutions. Also check for any old seasoning flakes. If the pan has a shiny, tar-like black coating, it might be old enamel or a mystery layer—strip it fully to be safe.
Step Two: Stripping the Old Seasoning and Rust
Your goal here is bare metal. There are three main methods, and I’ll rank them from easiest to most involved.
Method A: Oven Cleaner (Easy for Light Rust) Yellow-cap Easy-Off oven cleaner works wonders. Spray the pan generously, seal it in a garbage bag, and leave it for 24-48 hours. Then scrub with a stainless steel scrubber or chainmail (the Ringer chainmail scrubber is my go-to) under hot water. Repeat if needed. This method is gentle on the iron and cheap. Works great for pans with light rust and old seasoning.
Method B: Vinegar Soak (Best for Moderate Rust) For a pan like the one you found—probably covered in yard rust—a 50/50 white vinegar and water soak is effective. Submerge the pan for 30-60 minutes. Check every 15 minutes; vinegar can etch the iron if left too long. After soaking, scrub with steel wool (I like 0000-grade) and rinse thoroughly. Neutralize with a baking soda paste (1 tbsp soda + water) to stop the acid reaction, then rinse and dry immediately.
Method C: Electrolysis (For Heavy Rust, But More Work) This method uses a low-voltage current in a water-and-washing-soda bath to blast away rust. It’s extremely thorough and leaves no pitting. You’ll need a car battery charger, a plastic tub, a sacrificial piece of steel, and washing soda (Arm & Hammer Super Washing Soda). The process takes 12-24 hours. It’s the method many r/castiron enthusiasts swear by for vintage pans. If you’re patient, this yields a pristine, smooth surface. However, it’s overkill for a small skillet with surface rust. Stick with oven cleaner or vinegar unless the pan is solid rust.
After any method, scrub the pan with soap and water (yes, soap is fine on bare iron) to remove residue. Dry it immediately with a towel, then place it in a 200°F (93°C) oven for 10 minutes to evaporate hidden moisture. Your pan should now be a dull gray—bare metal.
Step Three: Seasoning — The Magic Touch
Seasoning is what turns raw iron into a slick, non-stick surface. It’s a polymerization process—oil molecules bond to the iron when heated past their smoke point, forming a hard layer. Here’s my proven method.
- Choose your oil. I’ve tested many: flaxseed oil gives a beautiful hard finish but can flake after heavy use. Vegetable shortening (Crisco) is my champion—it’s cheap, reliable, and creates a durable seasoning. Lodge also sells their own seasoning spray, which works well. Avoid olive oil; its low smoke point and sticky nature lead to a gummy finish.
- Apply a THIN layer. Rub oil all over the pan—inside, outside, handle, bottom. Then take a clean paper towel and wipe it off as if you made a mistake. You want the thinnest possible film. Excess oil will pool and form sticky spots.
- Bake at 400-450°F (204-232°C). Place the pan upside-down on the middle rack (put a sheet of aluminum foil on the lower rack to catch drips). Bake for one hour, then let it cool in the oven. Repeat this process 3-5 times for a robust initial seasoning.
- Cool completely between coats. Each layer builds on the previous one, so patience is key.
Temperatures matter: I aim for 425°F (218°C) with Crisco. For flaxseed oil, 450°F (232°C) is better. Every oven is different; if you see smoke, that’s good—it’s polymerizing. But if it’s billowing smoke, your oven is too hot or you left too much oil. Dial it back.
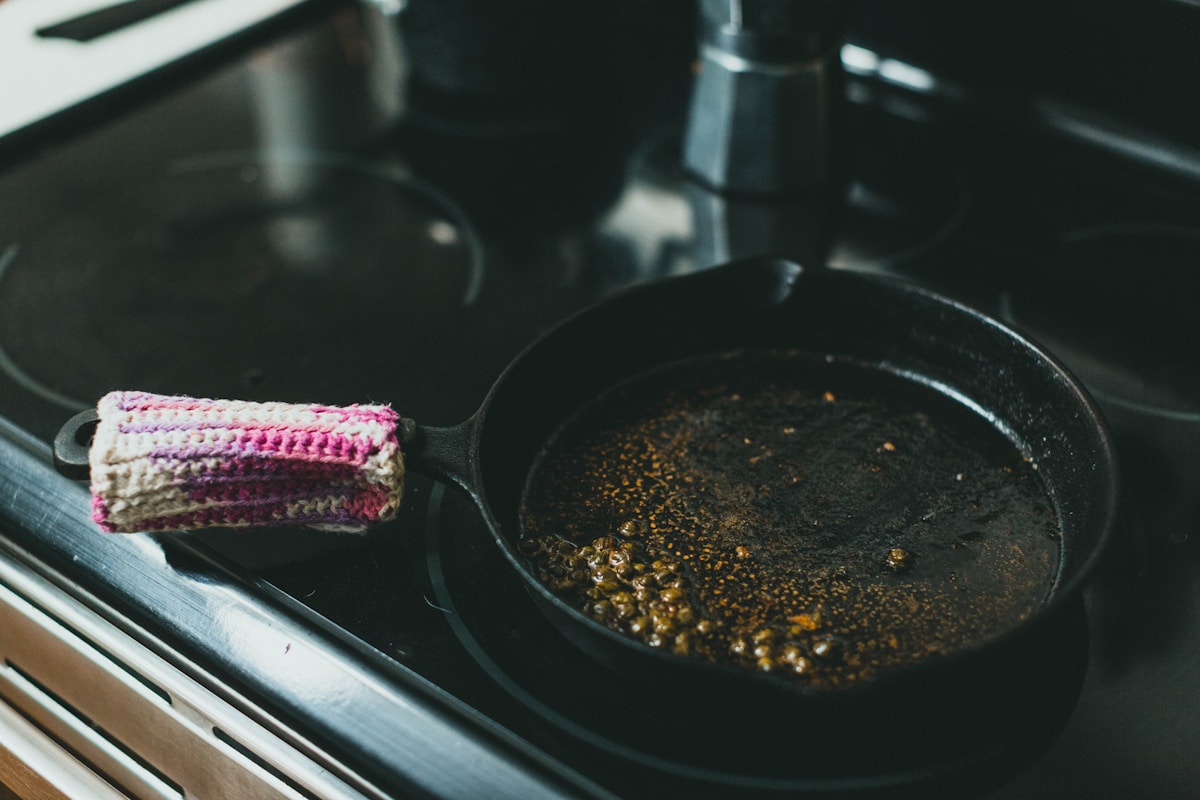
Step Four: Cooking — Putting It to the Test
After seasoning, your pan will look black and glossy. Now cook something fatty to reinforce the seasoning. Start with bacon or fried eggs with butter. Heat the pan slowly (medium heat, not high) and add a pat of butter—see those eggs slide? (Your future self will thank you.) Avoid acidic foods like tomato sauce for the first few uses; acid can strip fresh seasoning. Stick to cornbread, sautéed onions, or skillet pizza.
One kitchen hack: after cooking, clean while the pan is still warm. Scrub with a chainmail pad and hot water—no soap needed if the seasoning is solid. Dry thoroughly and rub a tiny drop of oil over the surface before storing. This keeps seasoning happy and rust at bay.
Real-World Performance: Why Vintage Cast Iron Beats Modern
That 1920s skillet you found is likely lighter and smoother than modern Lodge pans. Older cast iron was sanded to a glass-like finish, while modern pans often have a rough texture. That smooth surface makes them almost non-stick when properly seasoned. I’ve cooked perfectly flipped omelets and crispy-edged cornbread on pans from the 1930s. The only downside? They’re heavier than modern non-stick, but you get even heat distribution that lasts generations.
If you’re worried about damaging the pan, don’t be. Cast iron is tough. The r/castiron community has restored pans found at flea markets, burned in house fires, and even dug up like yours. Each time, the process works. Just follow the steps: test for lead, strip with oven cleaner or vinegar, season with thin oil layers at 400-450°F, and cook with patience.
Final Thoughts: A Pan With a Story
Restoring a yard-found skillet isn’t just about saving money. It’s about connecting with a piece of history—someone cooked bacon and eggs on that pan a century ago. With a little elbow grease and an afternoon of oven time, you’ll have a better non-stick surface than any modern coating. Plus, you’ll never worry about scratching it with a metal spatula. (Go ahead, use that metal spatula.) So grab your rubber gloves, preheat your oven, and give that skillet a second life. Your cooking—and your yard—will thank you.


