Let’s be honest for a second. Have you ever scrolled past a gorgeous photo of a homemade pizza—with that bubbly, golden crust and perfect cheese pull—and thought, “I could never make that”? For so many of us, the roadblock isn’t the toppings; it’s the dough. We have this image in our minds of a giant, expensive stand mixer, a KitchenAid humming away on the counter for ten minutes straight, wrestling a tough ball of dough into submission. If you don’t have one of those machines, homemade pizza feels completely out of reach.
Well, I’m here to tell you that this is one of the biggest myths in the beginner kitchen. You do not need a multi-hundred-dollar appliance to create a pizzeria-quality crust. In fact, some of the best, most flavorful doughs are made with nothing more than a bowl, a spoon, and a little bit of time. We’re going to unlock the magic of high-hydration, no-knead dough, a technique that lets science do all the heavy lifting for you. Get ready to meet your new favorite weeknight hero: the cast iron skillet pizza, made completely by hand.
The Stand Mixer Myth and the Magic of Time
Why did we ever think we needed a machine in the first place? The idea comes from older, stiffer dough recipes. When dough has a lower water content (low hydration), you need a lot of physical force—kneading—to smash the flour and water molecules together, forcing them to form the strong, stretchy gluten network that gives bread its structure. A powerful stand mixer with a dough hook is very, very good at applying that force.
But modern artisan baking has a secret weapon: water. When you increase the amount of water in your dough, something amazing happens. The flour hydrates all by itself, and with a little bit of time and a few simple folds, those gluten strands begin to line up and form a beautiful, elastic web. This is what we call a high-hydration dough, often with a water-to-flour ratio of 70% or higher. (Don’t worry, the math is simple, and I’ll walk you through it.)
Instead of ten minutes of violent kneading, this method relies on two things:
- Enzyme Action: As the dough rests, natural enzymes in the flour start breaking down starches and proteins. This process not only develops incredible flavor but also helps the gluten structure to develop naturally.
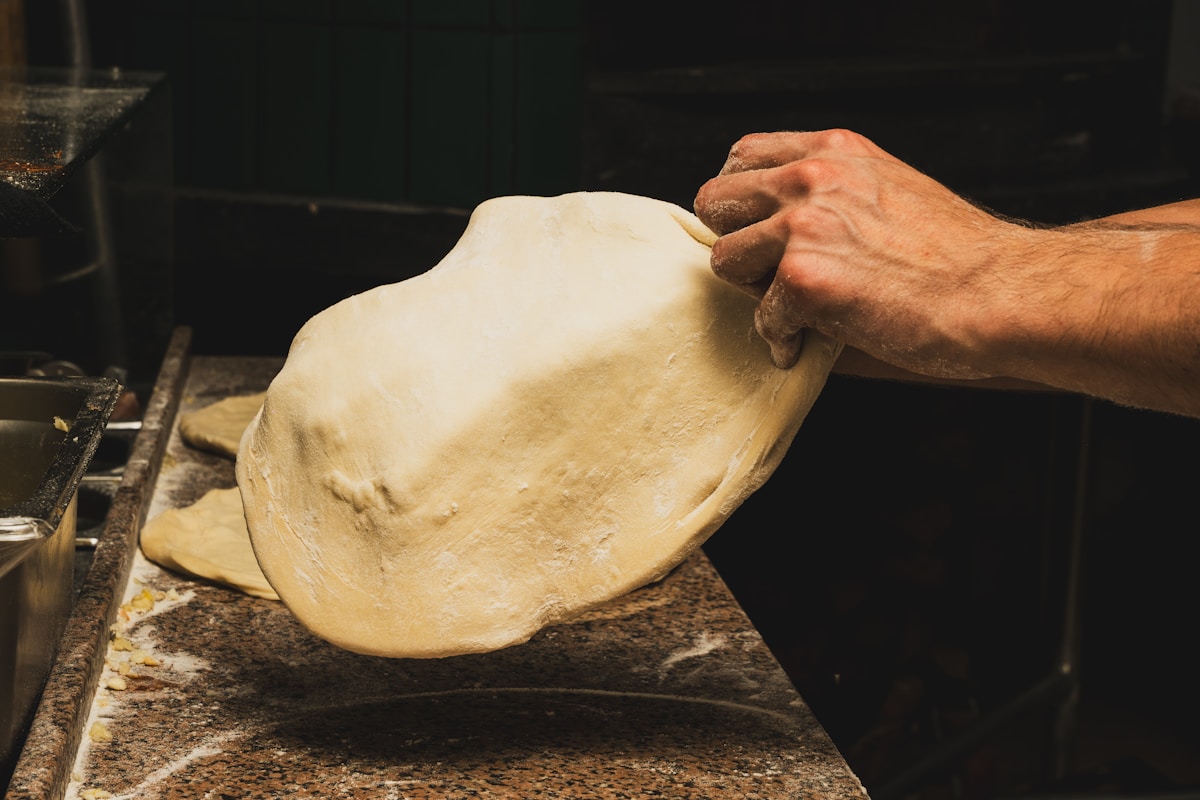
- Folding: Instead of kneading, we gently stretch and fold the dough over on itself a few times. This simple motion helps to organize the developing gluten strands, giving the dough strength and structure without ever breaking a sweat.
Essentially, you’re trading machine power for patience. The results are not a compromise; they are often superior, yielding a crust that is more tender, more flavorful, and beautifully airy.
Your Only Tools A Bowl, A Spoon, and Your Hands
Are you ready for the shockingly short equipment list? This is all you truly need to get started. You probably have all of it right now.
- A Large Bowl: You need something with enough room for the dough to at least double in size. Glass, ceramic, or metal all work perfectly.
- A Wooden Spoon or Silicone Spatula: Just for the initial mix to bring the flour and water together. You don’t want to use your hands just yet, as this dough is very sticky at first.
- Plastic Wrap or a Reusable Bowl Cover: To cover the dough while it rests, keeping it from drying out.
- A 10-inch or 12-inch Cast Iron Skillet: This is the key to that incredible crust. A standard skillet from a brand like Lodge is inexpensive (often under $30) and will last a lifetime. The heavy iron retains heat incredibly well, essentially frying the bottom of the dough in oil to create a crispy, golden-brown foundation that is simply divine.
- Your Hands: For the gentle folding. That’s it. No dough hook, no C-clamp, no motor.
(Yes, really. That’s the entire list. Your pizza nights are about to get a major upgrade.)
The No-Knead Method Step-by-Step
Let’s make some dough. This recipe will make enough for one thick-crust 10-inch cast iron pizza. The measurements are given in grams because it’s far more accurate for baking, but I’ve included approximate cup measures as well.
Ingredients:
- 400g Bread Flour (about 3 cups + 2 tbsp). King Arthur Bread Flour is a fantastic, reliable choice.
- 280g Warm Water (about 1 ¼ cups). Aim for about 95°F / 35°C—like warm bathwater.
- 8g Fine Sea Salt (about 1 ½ tsp)
- 2g Instant Yeast (about ½ tsp)
Step 1: The Shaggy Mix In your large bowl, combine the flour, salt, and instant yeast. Give it a quick whisk to distribute everything evenly. Now, pour in all of the warm water. Using your wooden spoon or spatula, mix until there are no dry patches of flour left. The dough will look like a sticky, shaggy, unappealing mess. This is exactly what you want! Scrape down the sides of the bowl, cover it with plastic wrap, and let it rest on your counter for 30 minutes. This initial rest is called the “autolyse,” and it lets the flour fully absorb the water before we do anything else.
Step 2: The Magic of Folds After 30 minutes, it’s time for the first fold. Wet your hands slightly to prevent sticking. Reach down one side of the bowl, grab the underside of the dough, stretch it up gently, and fold it over the top of the dough ball. Rotate the bowl a quarter turn and repeat. Do this four times in total (one stretch-and-fold for each “side” of the dough). It will feel a little sloppy, and that’s okay. Cover the bowl again and wait 30 minutes.
Repeat this process two more times, for a total of three sets of folds spaced 30 minutes apart. You will notice a dramatic change. With each set of folds, the dough will transform from a sticky blob into a smooth, elastic, and cohesive ball. You are literally building the structure by hand.
Step 3: The Long Rest (Bulk Fermentation) After your third and final set of folds, cover the bowl and let the dough rest at room temperature for 3 to 5 hours, or until it has at least doubled in size and you see some bubbles on the surface. The exact time will depend on the temperature of your kitchen. Warmer kitchens mean a faster rise.
Step 4: The Cold Proof (Optional but Recommended) This step is where the flavor happens. Once the dough has doubled, you can either use it right away or place the covered bowl in the refrigerator for at least 24 hours and up to 3 days. This cold fermentation slows down the yeast activity but allows those wonderful enzymes to keep working, developing a much more complex and delicious flavor in your final crust. (Your future self will thank you for planning ahead.)
From Dough to Delicious Cast Iron Pizza
It’s pizza time! Here’s how to turn that beautiful ball of dough into a masterpiece.
-
Prepare the Pan: Pour a generous amount of olive oil into your cast iron skillet—about 2 tablespoons. Use your fingers to coat the entire bottom and sides of the pan. This is not the time to be shy with the oil; it’s what will “fry” the crust to crispy perfection.
-
Shape the Dough: If your dough was in the fridge, take it out about 2-3 hours before you want to bake to let it come to room temperature. Gently scrape the dough out of its bowl and into the oiled skillet. It will deflate a bit. Using your oiled fingertips, gently press and dimple the dough outwards until it fills the bottom of the pan. If it springs back, cover it and let it rest for 15 minutes, which will relax the gluten, then try again.
-
The Final Proof: Cover the skillet and let the dough rest in the pan for 1-2 hours. It will puff up beautifully and look pillowy. This final rise gives you that light, airy crumb structure.
-
Top and Bake: About 30 minutes before baking, preheat your oven to its highest setting, typically 500°F / 260°C. Once the dough is ready, uncover it and add your toppings. For a first attempt, a simple Margherita with crushed San Marzano tomatoes, fresh mozzarella, and basil is perfect. Be careful not to overload it with sauce.
-
Bake to Perfection: Place the skillet on the middle rack of your screaming hot oven. Bake for 12-18 minutes, or until the cheese is bubbly and the edges of the crust are a deep golden brown. The exact time will vary wildly depending on your oven.
Once it’s done, use a spatula to carefully slide the pizza out of the hot skillet and onto a cutting board. Let it rest for a few minutes before slicing. Listen for that crunch when you cut into it—it’s one of the most satisfying sounds in the kitchen.
Try This Tonight
Feeling empowered? You should be! You now hold the secret to incredible pizza that doesn’t require any fancy gear. Your mission, should you choose to accept it, is to try this over the weekend. Don’t worry about perfection. If it’s a little misshapen, who cares? If it’s a little too crispy, you’ll know for next time. The most important ingredient in this recipe isn’t the flour or the yeast—it’s the confidence you build by trying. Now go forth and make pizza!


